Andes Mints Brownies

_DSC0119

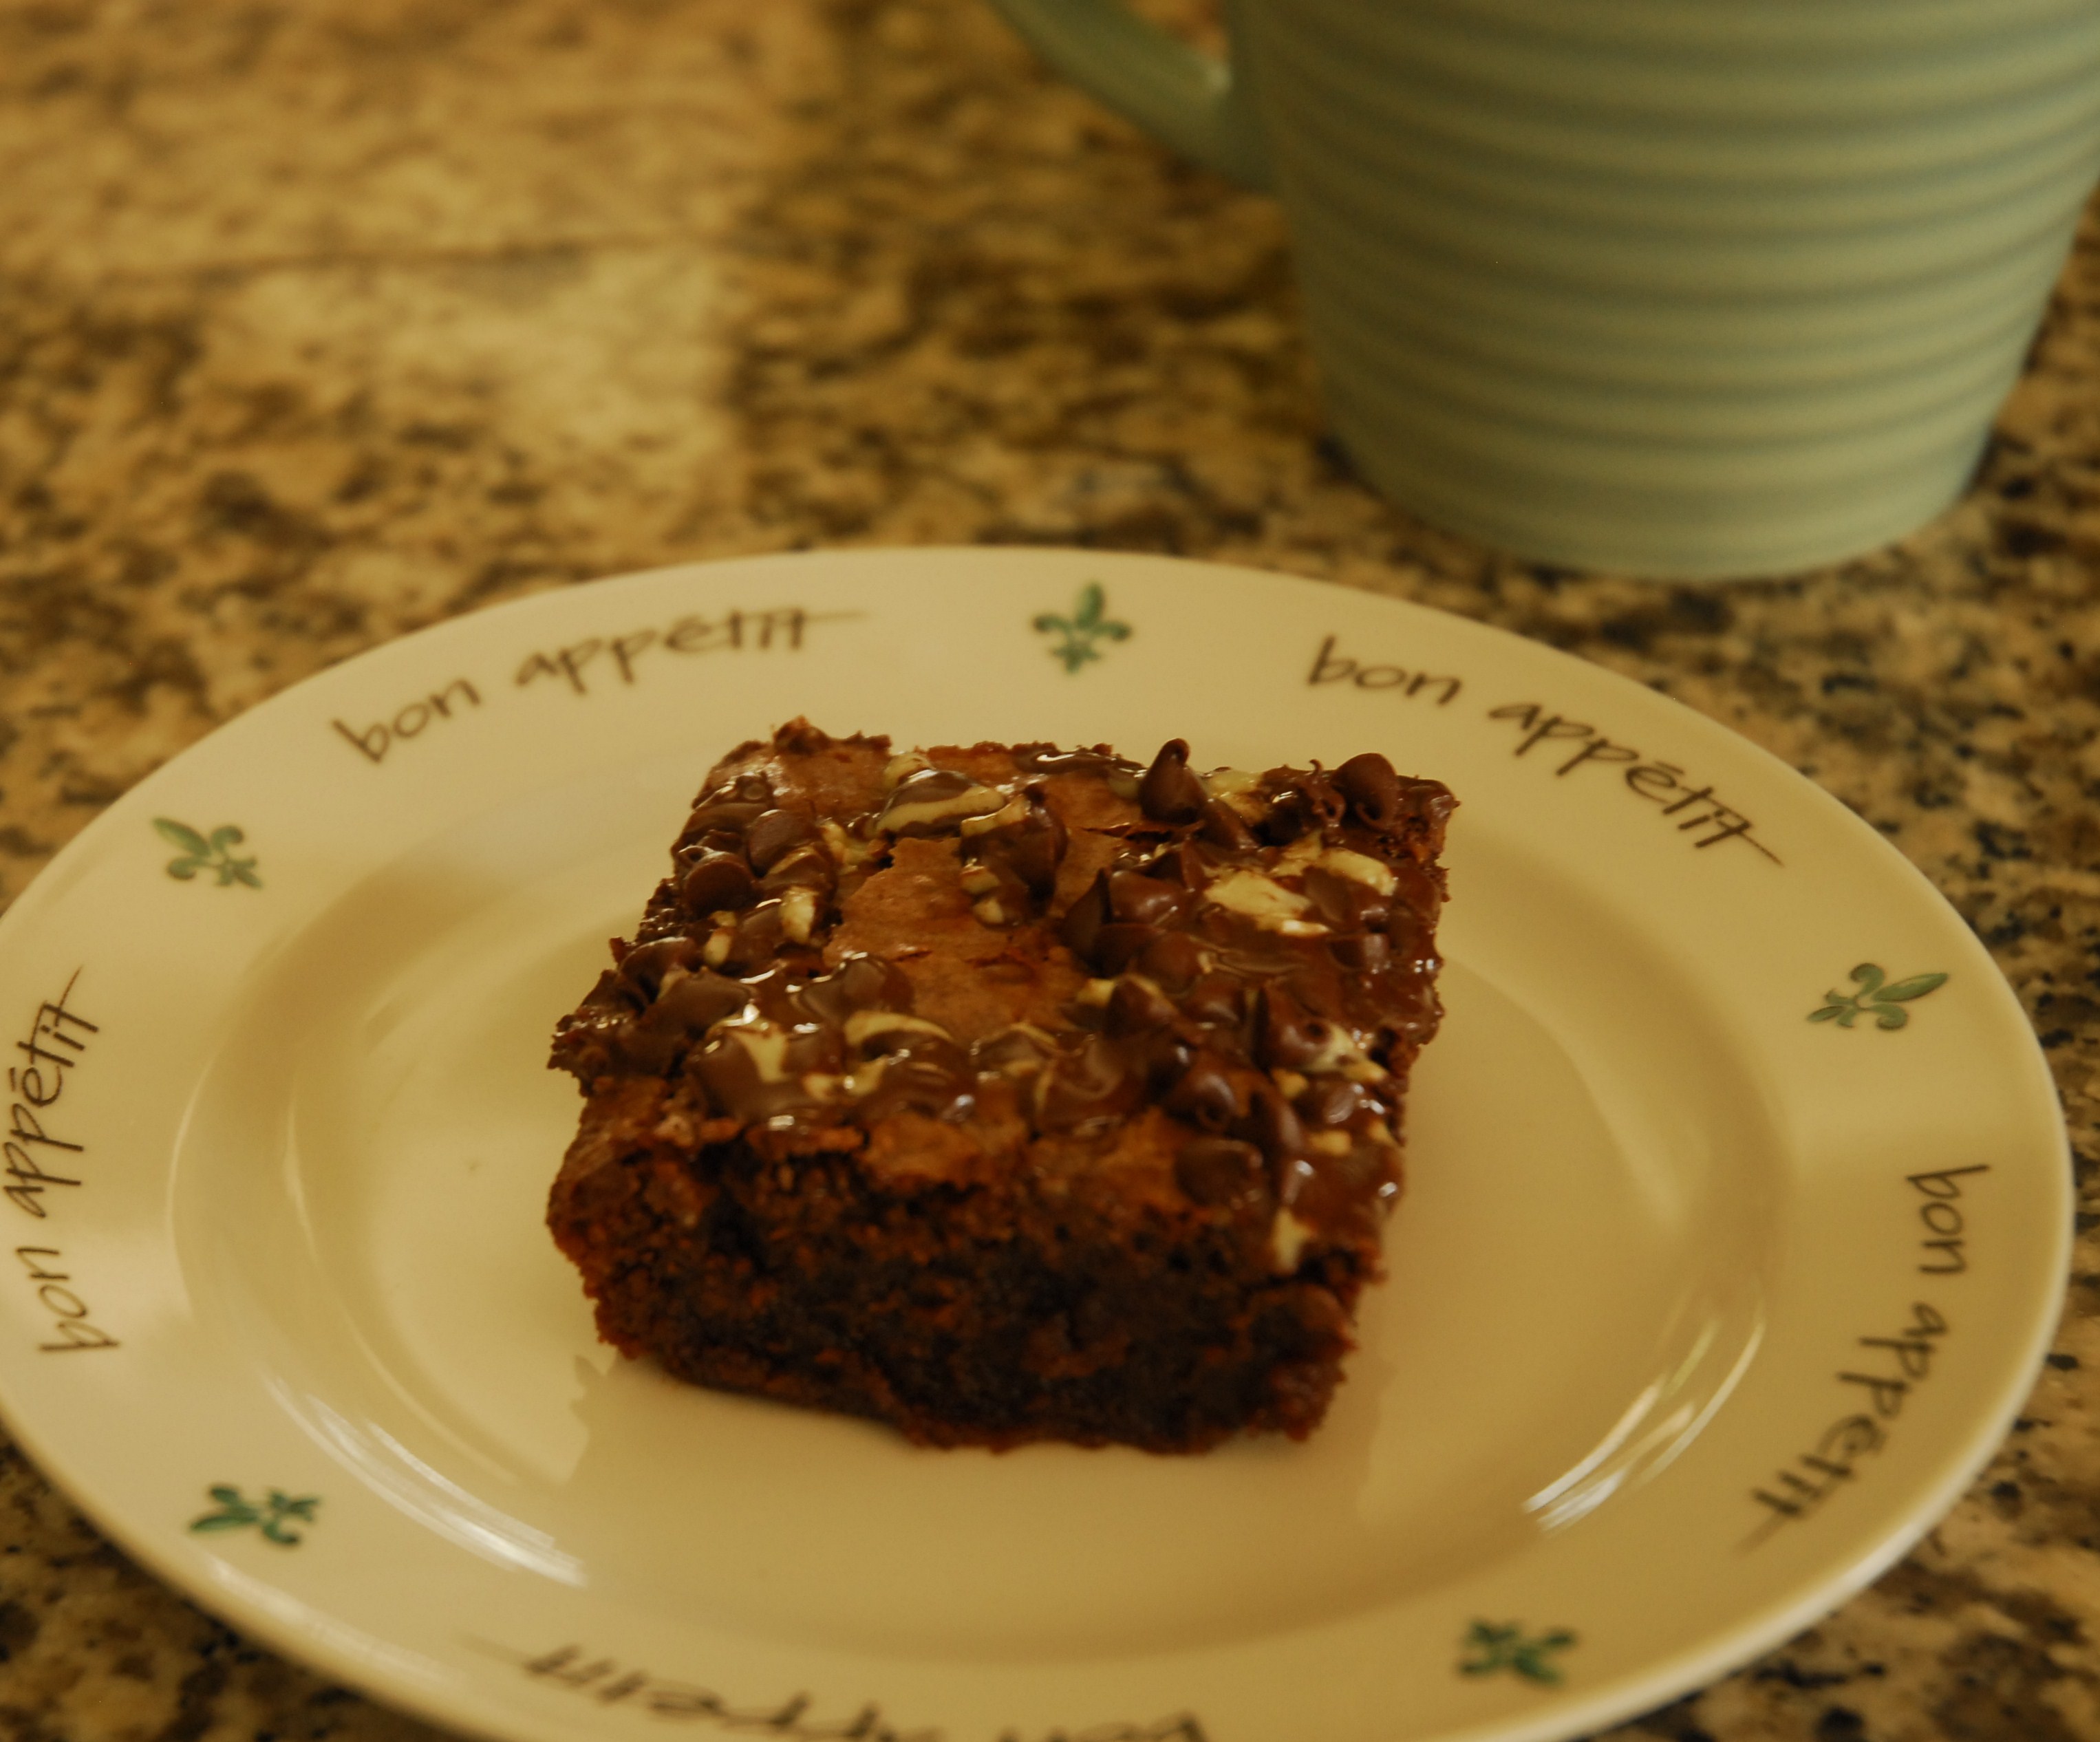
These babies are crazy good!

I had a hankering for brownies the other day and I remembered that I had picked up a bag of Andes Creme de Menthe Baking Pieces just a few days before from the grocery store. Who knew these delicious little treats existed? I didn’t – and now I’m sort of sorry that I discovered them.

So back to the brownies, I took a basic brownie recipe and just modified it a bit. The result was a gooey, mint chocolate brownie that was delicious! You’re welcome!

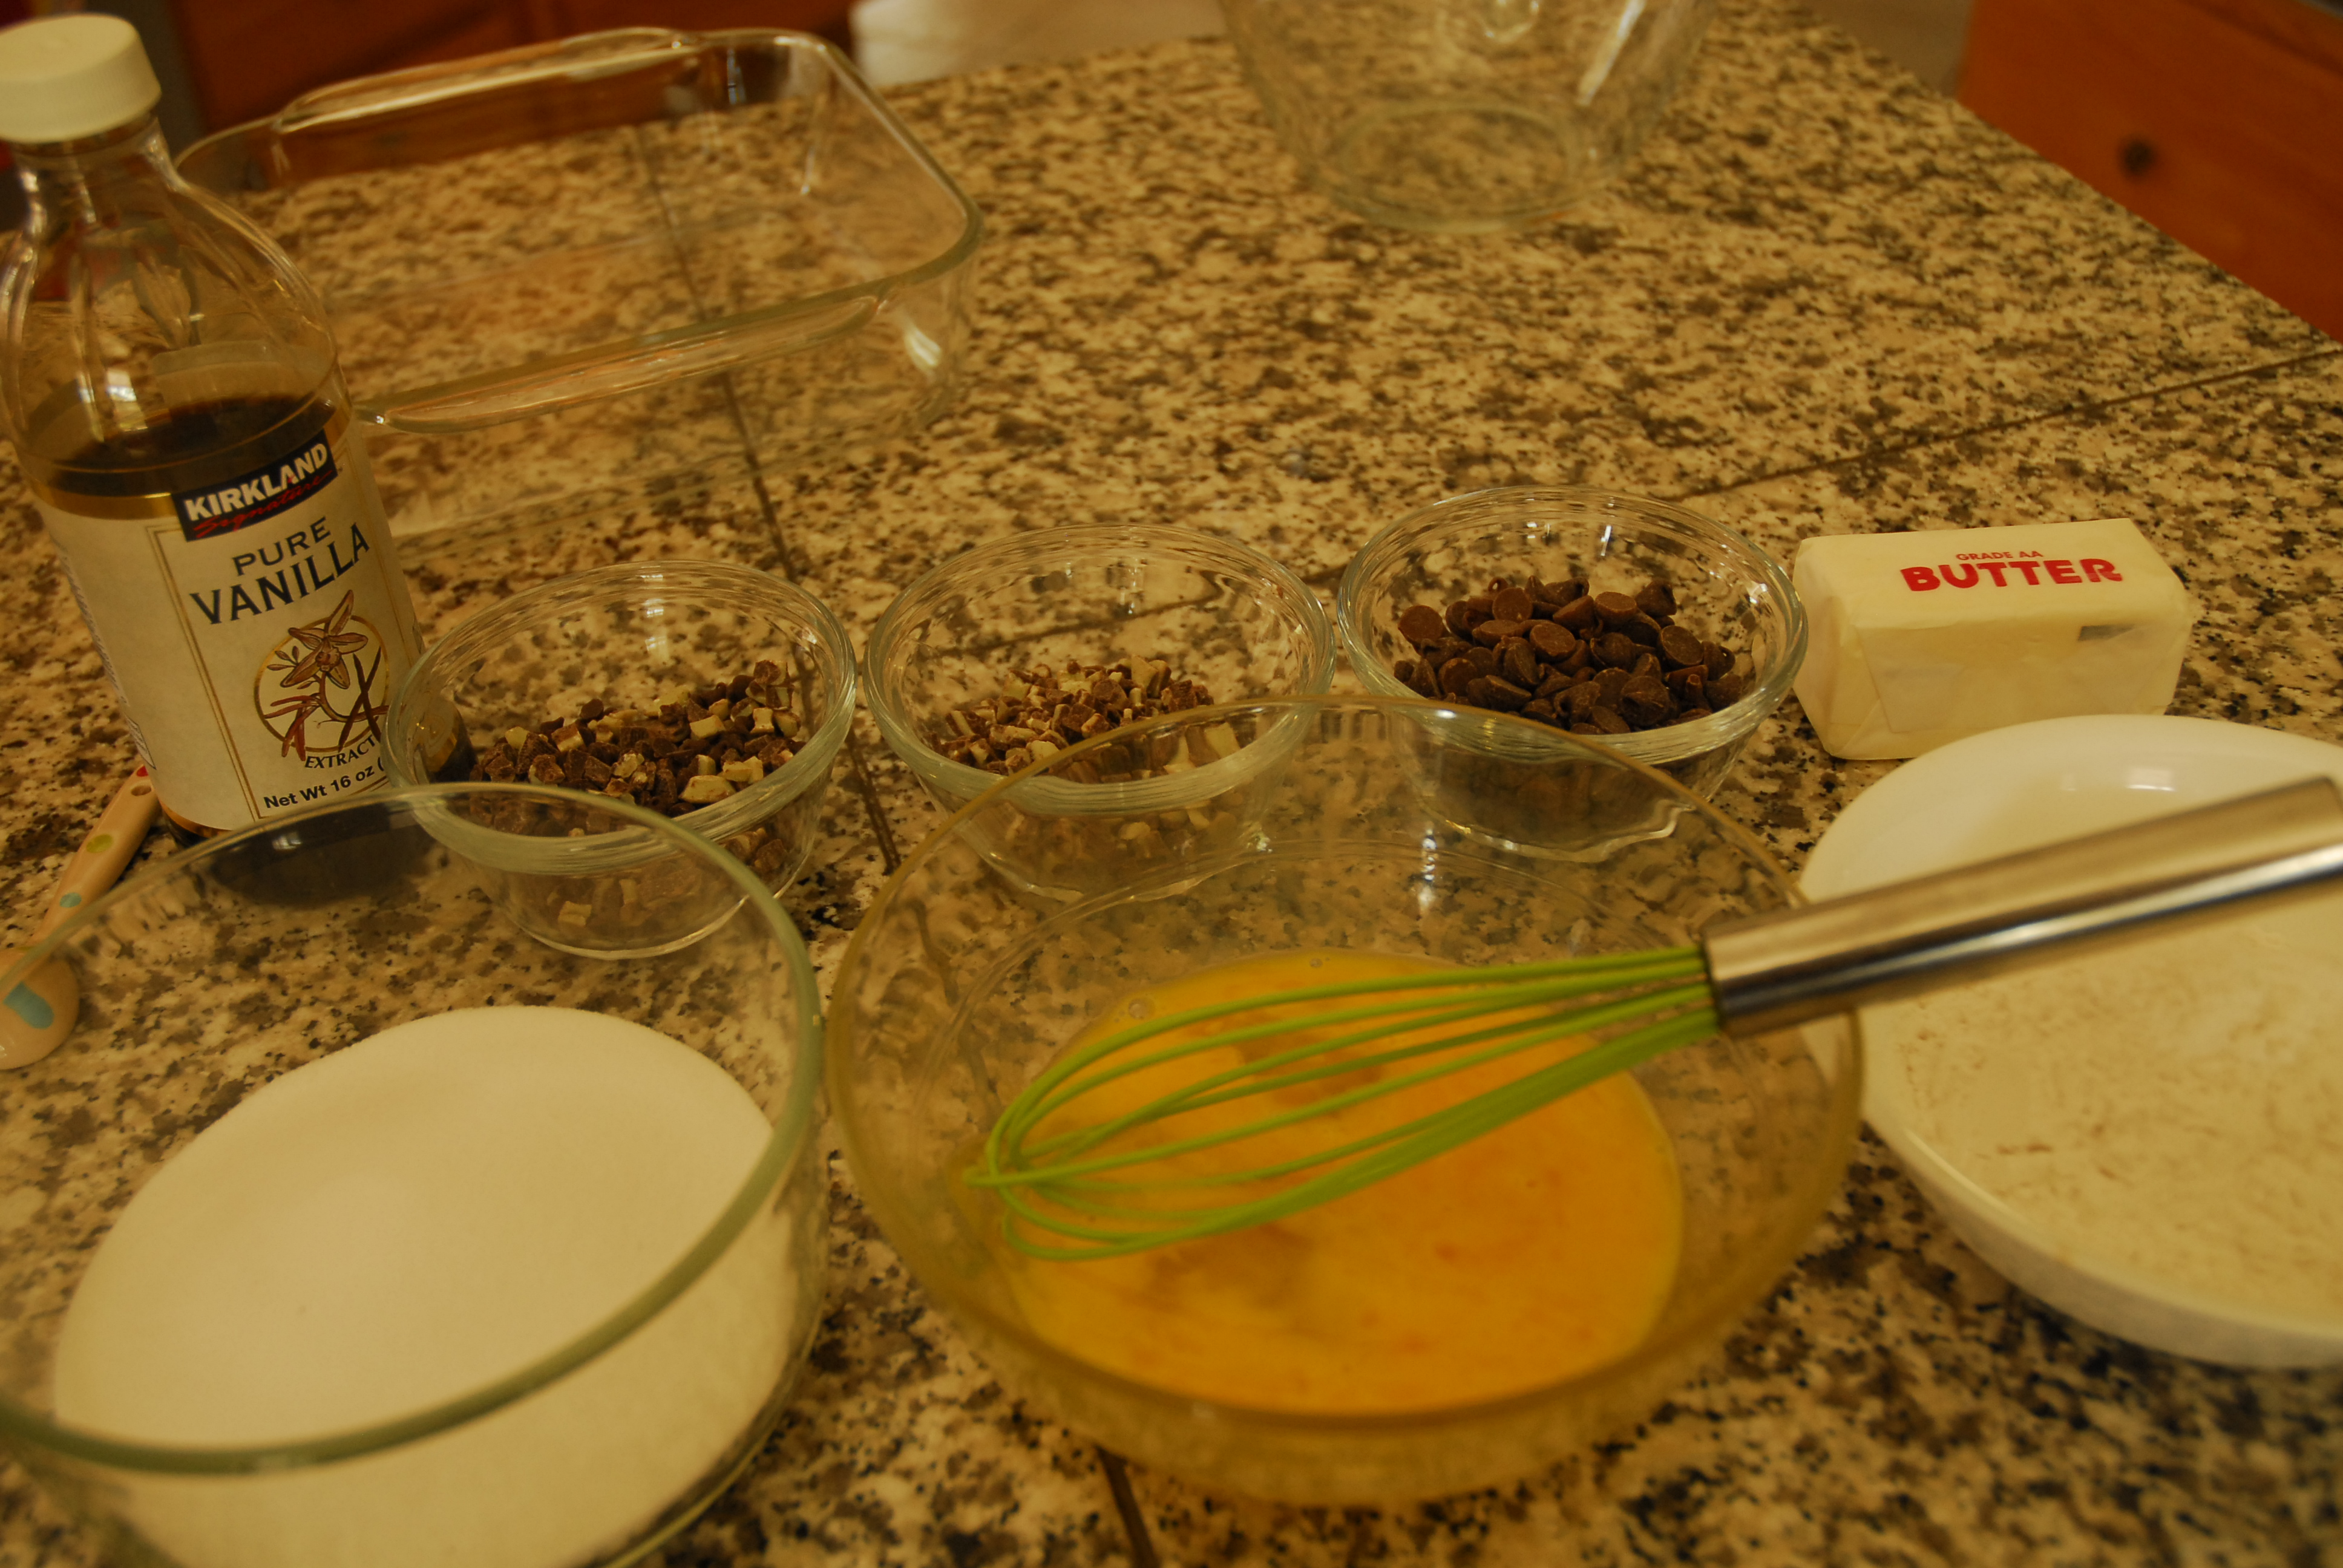
Here are the ingredients…

_DSC0094

Start by melting the chocolate chips, the Andes mint chips and the butter in a saucepan.

_DSC0101

Dump in the rest of the ingredients…

_DSC0104

and stir well.

_DSC0108

Pour into an 8×8 pan.

_DSC0110

Bake at 325* for 45-50 minutes or until cooked through. Remove pan from oven, then sprinkle 1/8 of a cup of chocolate chips and 1/8 of a cup of Andes mint chips over the cooked brownies.

_DSC0113

Allow the brownies to cool (slightly) and then dig in! We enjoyed ours with a scoop of yummy vanilla ice cream. Mmmmmmm!

_DSC0149

Andes Mint Brownies

1/2 cup semi sweet chocolate chips
1/4 cup Andes Creme de Menthe Baking Chips
1 stick butter
1 1/4 cup sugar
3 beaten eggs
3/4 cup flour
1 tsp. vanilla

In a saucepan over low heat, melt together the 1 stick of butter, the chocolate and the mint baking chips. Once melted, remove from heat.

Add the rest of the ingredients and mix well.

Spread into a 8×8″ pan.

Bake at 350* for 45 to 50 minutes. As soon as you pull out of the oven sprinkle 1/8 cup of mini chocolate chips and 1/8 cup of Andes Creme de Menthe Baking Chips over the top of the cooked brownies. Allow the brownies to cool and then dig in! We enjoyed ours with a scoop of yummy vanilla ice cream. Mmmmmmm!

tags- dessert, chocolate, brownies, sweets, mint

Advertisement

Bean Salad

_DSC0073

Bean Salad – I know, such a boring description. I started to say colorful bean salad, because it is colorful. Then I thought I would say yummy, but of course it is! Why else would I have it on here? What can you really say about a bean salad? The truth is that this is a super easy salad that is so flavorful. I have modified this recipe 100 different ways – but I always do the dressing the same way – why mess with perfection? The dressing is awesome! Try this today!

Drain and rinse the beans.

_DSC0018

While the beans are draining, mix the dressing up in a separate bowl or measuring cup. Mix well, the sugar sort of sits at the bottom.

_DSC0043

Here are the veggies for the bean salad all displayed on a beautiful handmade cutting board. I actually save this cutting  board for special occasions, because it’s so pretty. Travis (my middle son), made it for me at woodshop when he was in Junior High. All three kids took woodshop from Mr. Wood (yes, that is really his name- sort of seems like he was pre-destined for that job, huh?). Mr. Wood is an awesome teacher who worked for many years at the public school and then started teaching homeschool students after he retired. Donald, my husband, actually took woodshop from him when he was in Junior High.

Another reason that I used this cutting board for the picture, besides the fact that I just like it, is that our other cutting boards are so ugly and gross.

So anyway, here are the veggies…

_DSC0030

Dump the beans into a large bowl and add all of the veggies, add the dressing and mix well. Squeeze one lime over the top and mix again.

_DSC0062

That’s it! It is delicious immediately, even better a few hours later! The salad will keep for a couple days in the refrigerator.

_DSC0103

Be creative and add whatever you like. We’ve added fresh corn, zucchini, carrots, etc. We often add a bit of avocado just before serving because we love avocado! Enjoy!

Bean Salad
4 15 ounce cans of beans – whatever kind you like. We used black, small red and white beans.
1 cup bell pepper, chopped
1/2 cup red onion, chopped
1/2 cup cilantro, chopped

Dressing
1/3 cup apple cider vinegar
1/4 cup olive oil
1/4 cup sugar
1 1/2 tsp. salt
1 tsp. pepper
1/2 tsp. cumin
Juice from 1 lime

Drain and rinse the beans. While the beans are draining, mix the dressing up in a separate bowl or measuring cup. Mix well, the sugar sort of sits at the bottom. Dump the beans into a large bowl and add all of the veggies, add the dressing and mix well. Squeeze one lime over the top and mix again. That’s it! It is delicious immediately, even better a few hours later! The salad will keep for a couple days in the refrigerator.


tags- bean dish, side dish, salad

Banana Pancakes

_DSC0282

Happy Friday! I can’t believe another week has passed. It is crazy! Speaking of crazy, these banana pancakes are crazy good! I stole, er borrowed this recipe from one of my favorite blogs, Iowa Girl Eats. I made a few minor changes and added an amazing bananas foster-like sauce and now I call it my own!

Just kidding, check out iowagirleats.com for a sweet post on her brother’s famous banana pancakes and then try this recipe yourself this weekend.

If you don’t want to make the super sweet sauce – the pancakes are light and fluffy and absolutely delish without the sauce. But they are amazing WITH the sauce!

First, moosh the bananas and set aside-

_DSC0194

Mix together flour, baking powder, baking soda, salt and sugar in a large bowl, making a well in the center.

_DSC0199

In a separate bowl whisk together eggs, melted butter, milk and vanilla. Pour the wet ingredients into dry and mix until combined.

_DSC0207

Dump in the smashed bananas…

_DSC0216

and fold them in.

_DSC0210

Brush pre-heated skillet with a bit of melted butter, then pour a 1/3 cup batter to form each pancake. When bubbles appear all over the top of each pancake, flip and cook until golden brown.

_DSC0227

Remove to a plate and keep warm while you are finishing up the batter and making the amazing sauce.

For the incredible sauce, melt the butter in a skillet over medium heat.

_DSC0226

And add the brown sugar. Turn down the heat just a bit – you don’t want this to burn.

_DSC0248

Then add the syrup, vanilla and cinnamon and mix well.

_DSC0253

Add the bananas and cook until the sauce gets sort of bubbly and the bananas are heated. Don’t overcook this or the bananas will get soggy.

_DSC0254

Amazing, right??

_DSC0269

Serve over banana pancakes. No need for butter or syrup. Mmmmmm!

_DSC0294

Amazing Banana Pancakes

2 cups flour
2 tsp. baking powder
1 1/2 tsp. baking soda
1/2 tsp. salt
3 T. sugar
2 eggs, slightly beaten
2 T. butter, melted
2 cups milk
2 bananas, smashed
1 tsp. vanilla

Mix together flour, baking powder, baking soda, salt and sugar in a large bowl, making a well in the center. In a separate bowl whisk together eggs, melted butter, milk and vanilla. Pour the wet ingredients into dry and mix until combined. Fold in the smashed bananas.

Brush pre-heated skillet with a bit of melted butter, then pour a 1/3 cup batter to form each pancake. When bubbles appear all over the top of each pancake, flip and cook until golden brown. Remove to a plate and keep warm while you are finishing up the batter and making the amazing sauce.

Sauce for Banana Pancakes
This sauce would be great on ice cream too – sort of like bananas foster, but without the booze.

3 bananas, sliced
2 T. butter
1/4 cup brown sugar (I used dark)
1 T. maple syrup
1 tsp. vanilla
1/2 tsp. cinnamon

In a skillet over medium heat, melt the butter and brown sugar together. Turn down the heat just a bit – you don’t want this to burn. Then add the syrup, vanilla and cinnamon and mix well. Add the bananas and cook until the sauce gets sort of bubbly and the bananas are heated. Don’t overcook this or the bananas will get soggy.

Serve over banana pancakes. No need for butter or syrup. Mmmmmm!


tags- breakfast, sweet, pancakes, fruit

Confession Time

I have to confess – I got into bed last night at 7:15. I know, pathetic, right? It seemed crazy to actually go to sleep before it was even dark outside, also my kids would have mercilessly harassed me if I had, so I decided to read for a bit.

I have several great books on my nightstand ….

image

but I wanted something different. So I went to Jordan’s bookshelf and chose one of my favorites! One of her favorites too – that’s why it’s in her room.

Anyhow, the book is The Guernsey Literary and Potato Peel Pie Society by Mary Ann Shaffer and Annie Barrows. Don’t let the title scare you – it’s worth the read! The book was recommended to me and as soon as I heard the name – I was not interested! Then I started hearing great things about the book, so I gave it a try. I’m so glad I did. It is an epistolary novel, meaning that it is all in letter form. The authors do an amazing job developing the characters, I got so attached to Juliet and Dawsey that I wanted them to write to me and it made me wish that I was a better letter writer!

A brief description on Amazon says the following, “January 1946: writer Juliet Ashton receives a letter from a stranger, a founding member of The Guernsey Literary and Potato Peel Pie Society. And so begins a remarkable tale of the island of Guernsey during the German occupation, and of a society as extraordinary as its name.”

Ok – so that’s not really an intriguing description – but I promise, it’s a great book. I was so sad to see the book end that I started looking for other epistolary novels and found Daddy-Long-Legs and Dear Enemy, both by Jean Webster. I think I will save that review for another post!

So the end of my sad story is, that I lasted until it was dark and then went to sleep (by 8:00)!
Sweet dreams!

Ham & Swiss Cheese Quiche

I love breakfast for dinner! It’s always so simple and yummy. Quiche is one of our favorite breakfast for dinner recipes, not only because it’s so delicious, but also because it is an easy way to use up the abundance of eggs we have thanks to our hens.

Yet another admirable characteristic of quiche is that there are so many variations you can throw together. We normally start with the basic ham and Swiss cheese recipe below, and then add whatever we have on hand. This has included: green chiles, sauteed bell peppers, pepper jack cheese, feta cheese, cheddar cheese and today we added leftover steamed broccoli (gag!). Since I’m the only member of the family who doesn’t enjoy broccoli, sometimes I give in and make it for them. But I still refuse to eat it. I have to admit though, the broccoli did look quite pretty in the quiche (not that I’ll be able to tell you how it tasted or anything).

Here are the ingredients~

_DSC0033

And, yes, we do use a store-bought pie crust (**gasp!**). The pie crust provides even more opportunities to add variety to the quiche recipe: you could, of course, use a homemade pie crust or you could go the (lazy) route that we do, using a pre-made crust. We’ve even made it with no crust at all, which turned out well; yet another option, that we have not tried, is to make a potato crust.

The first step is to form the pastry dough into the pie plate, being sure to get the crust all the way up the edge of the dish. Then, using a fork, prick the inside of the pie shell, and bake for 8 minutes. I use a crust protector to make sure that the crust doesn’t get to crispy, but you could also just use foil.

This is after we pulled it out of the oven~

_DSC0063

After you have pulled the pie crust out, lower the oven temperature to 325*

Now we come to the filling. The last couple of times that I have made this, I have used chunky, leftover ham, however we have also used sliced lunch meat ham. The original recipe that we (loosely) based this on called for bacon, so that is yet another option.

Next, put the rest of the ingredients in a large bowl…

_DSC0053

and mix well.

_DSC0055

Pour the egg mixture into the baked pie crust.

Here is the quiche with broccoli~

_DSC0066

And here’s the original ham & Swiss cheese~

_DSC0068

As you can see, we normally make two, especially if we are eating them for dinner…

_DSC0075

Now bake at 325* for 40-50 minutes, depending on how full your pie crusts are. Just keep checking on them until they are no longer goopy.

If you can contain yourself, wait 10 minutes to slice.

_DSC0085

Ham & Swiss Cheese Quiche

Makes one 9 inch quiche

  • one 9 inch deep dish pie crust
  • approximately one cup of chopped ham 
  • 3-4 chopped green onions
  • 1/2 cup half-and-half
  • 1/2 cup milk
  • 7 eggs
  • 8-9 ounces shredded Swiss cheese
  • salt and pepper to taste

Instructions:

Preheat oven to 400*

Using a fork, prick the inside of the pie shell, then bake for 8 minutes. Remove from the oven; lower the temperature to 325*

In a large bowl, mix all the remaining ingredients. Pour the egg mixture into the baked pie shell.

Cover the edges of the crust with either foil or a crust protector. Bake until set, about 40-50 minutes. Let stand for 10 minutes before slicing.


tags- breakfast, quiche, pie, eggs, ham