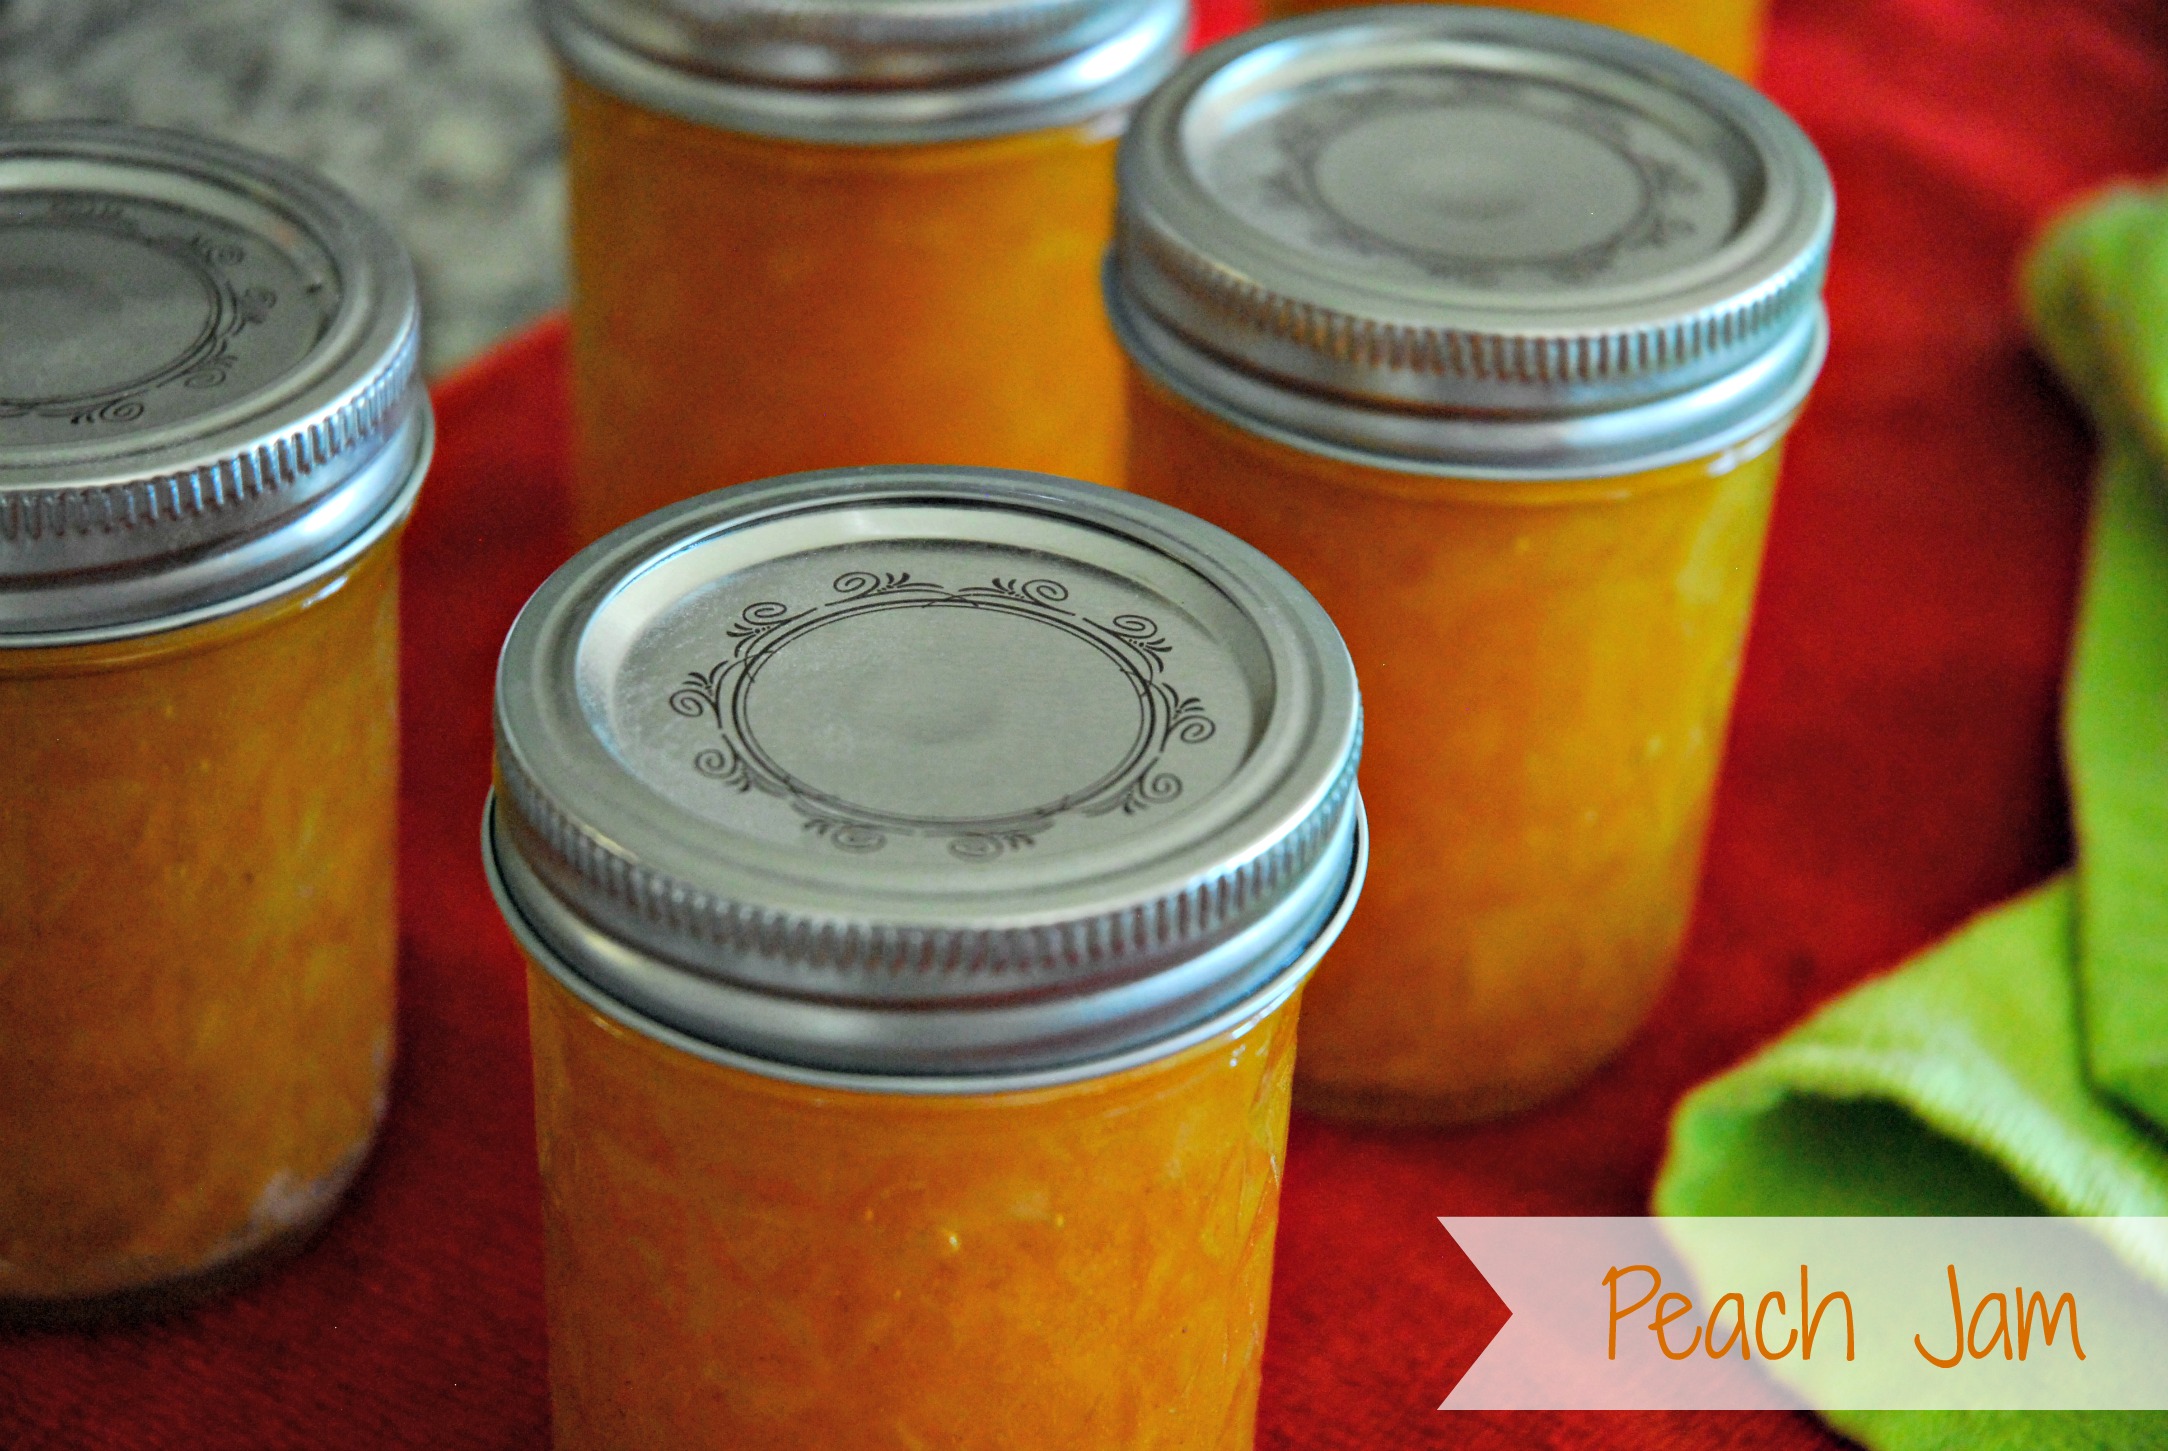
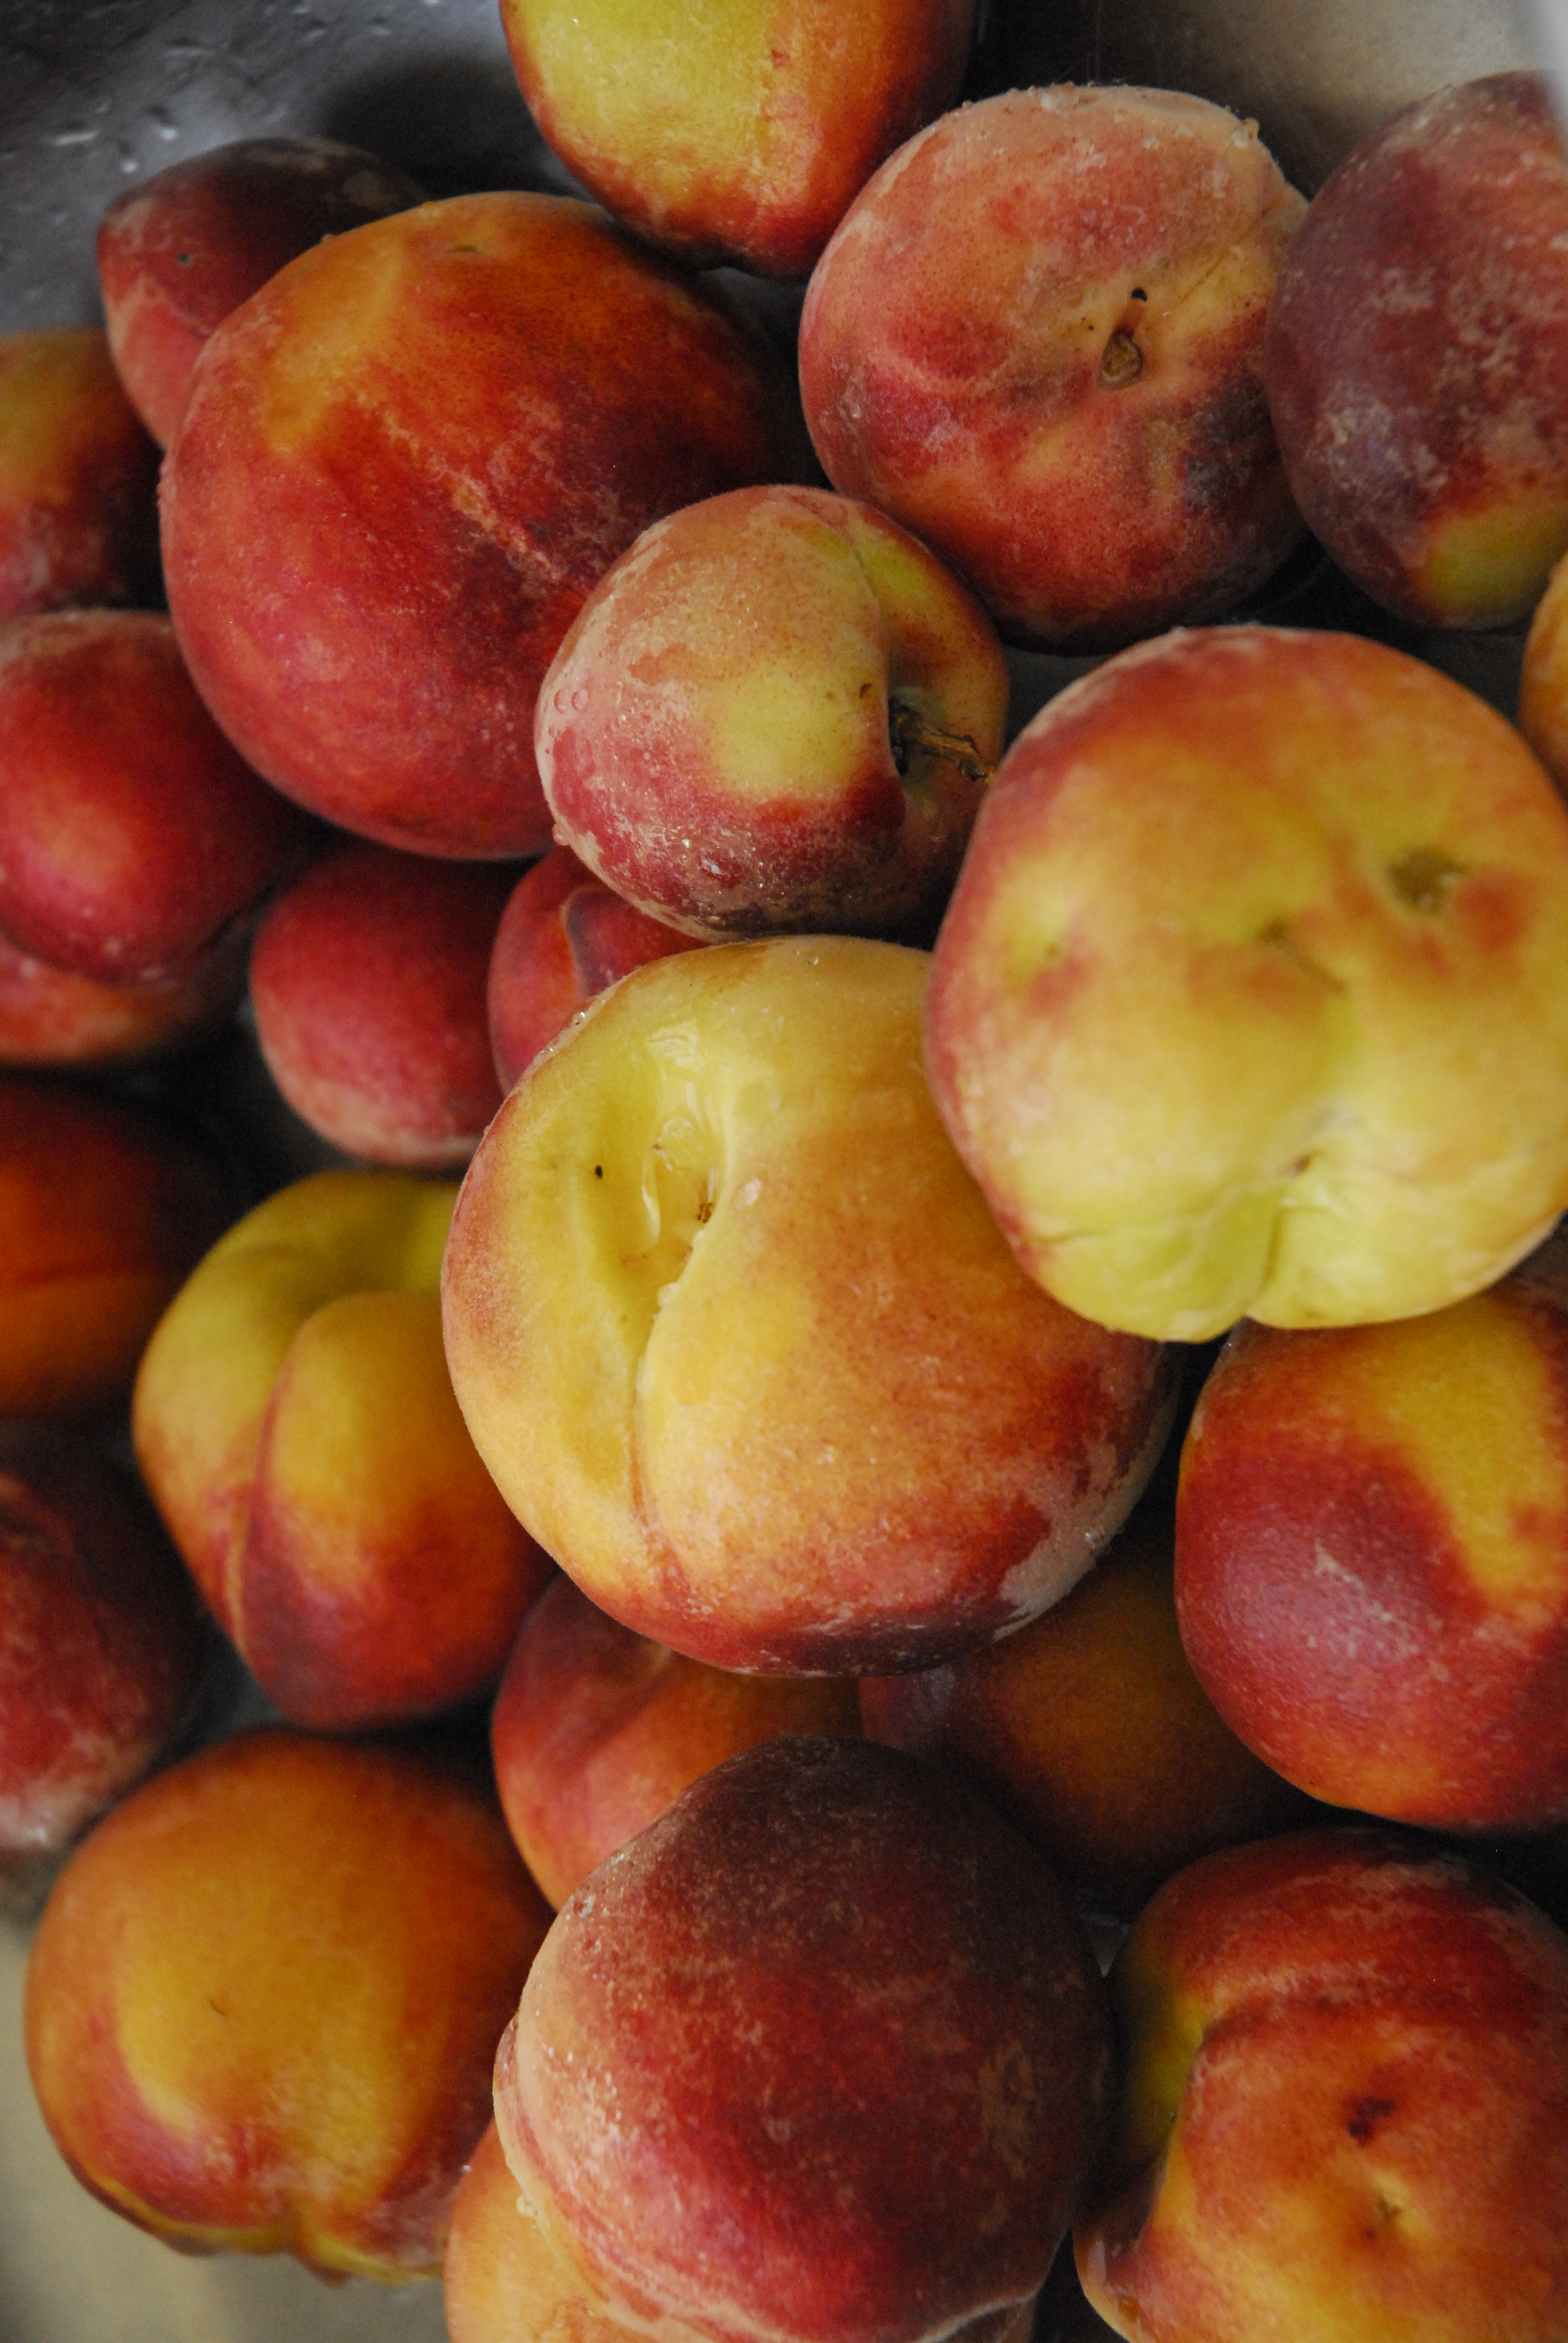
We are fortunate to know several people with peach trees and we were blessed with a bunch this year. When you get that many ripe peaches, you better get eating/cooking right away. We made peach smoothies, peach crisp and this yummy peach jam. I love the way this jam turned out. It had a great flavor; the vanilla and cinnamon was so perfect with the ripe peaches. The recipe didn’t call for all that much sugar – compared to some recipes.
Peel and slice peaches. Place sliced peaches, sugar, and lemon in a bowl.

Cover and let sit for one hour, so the peaches will release their juices.

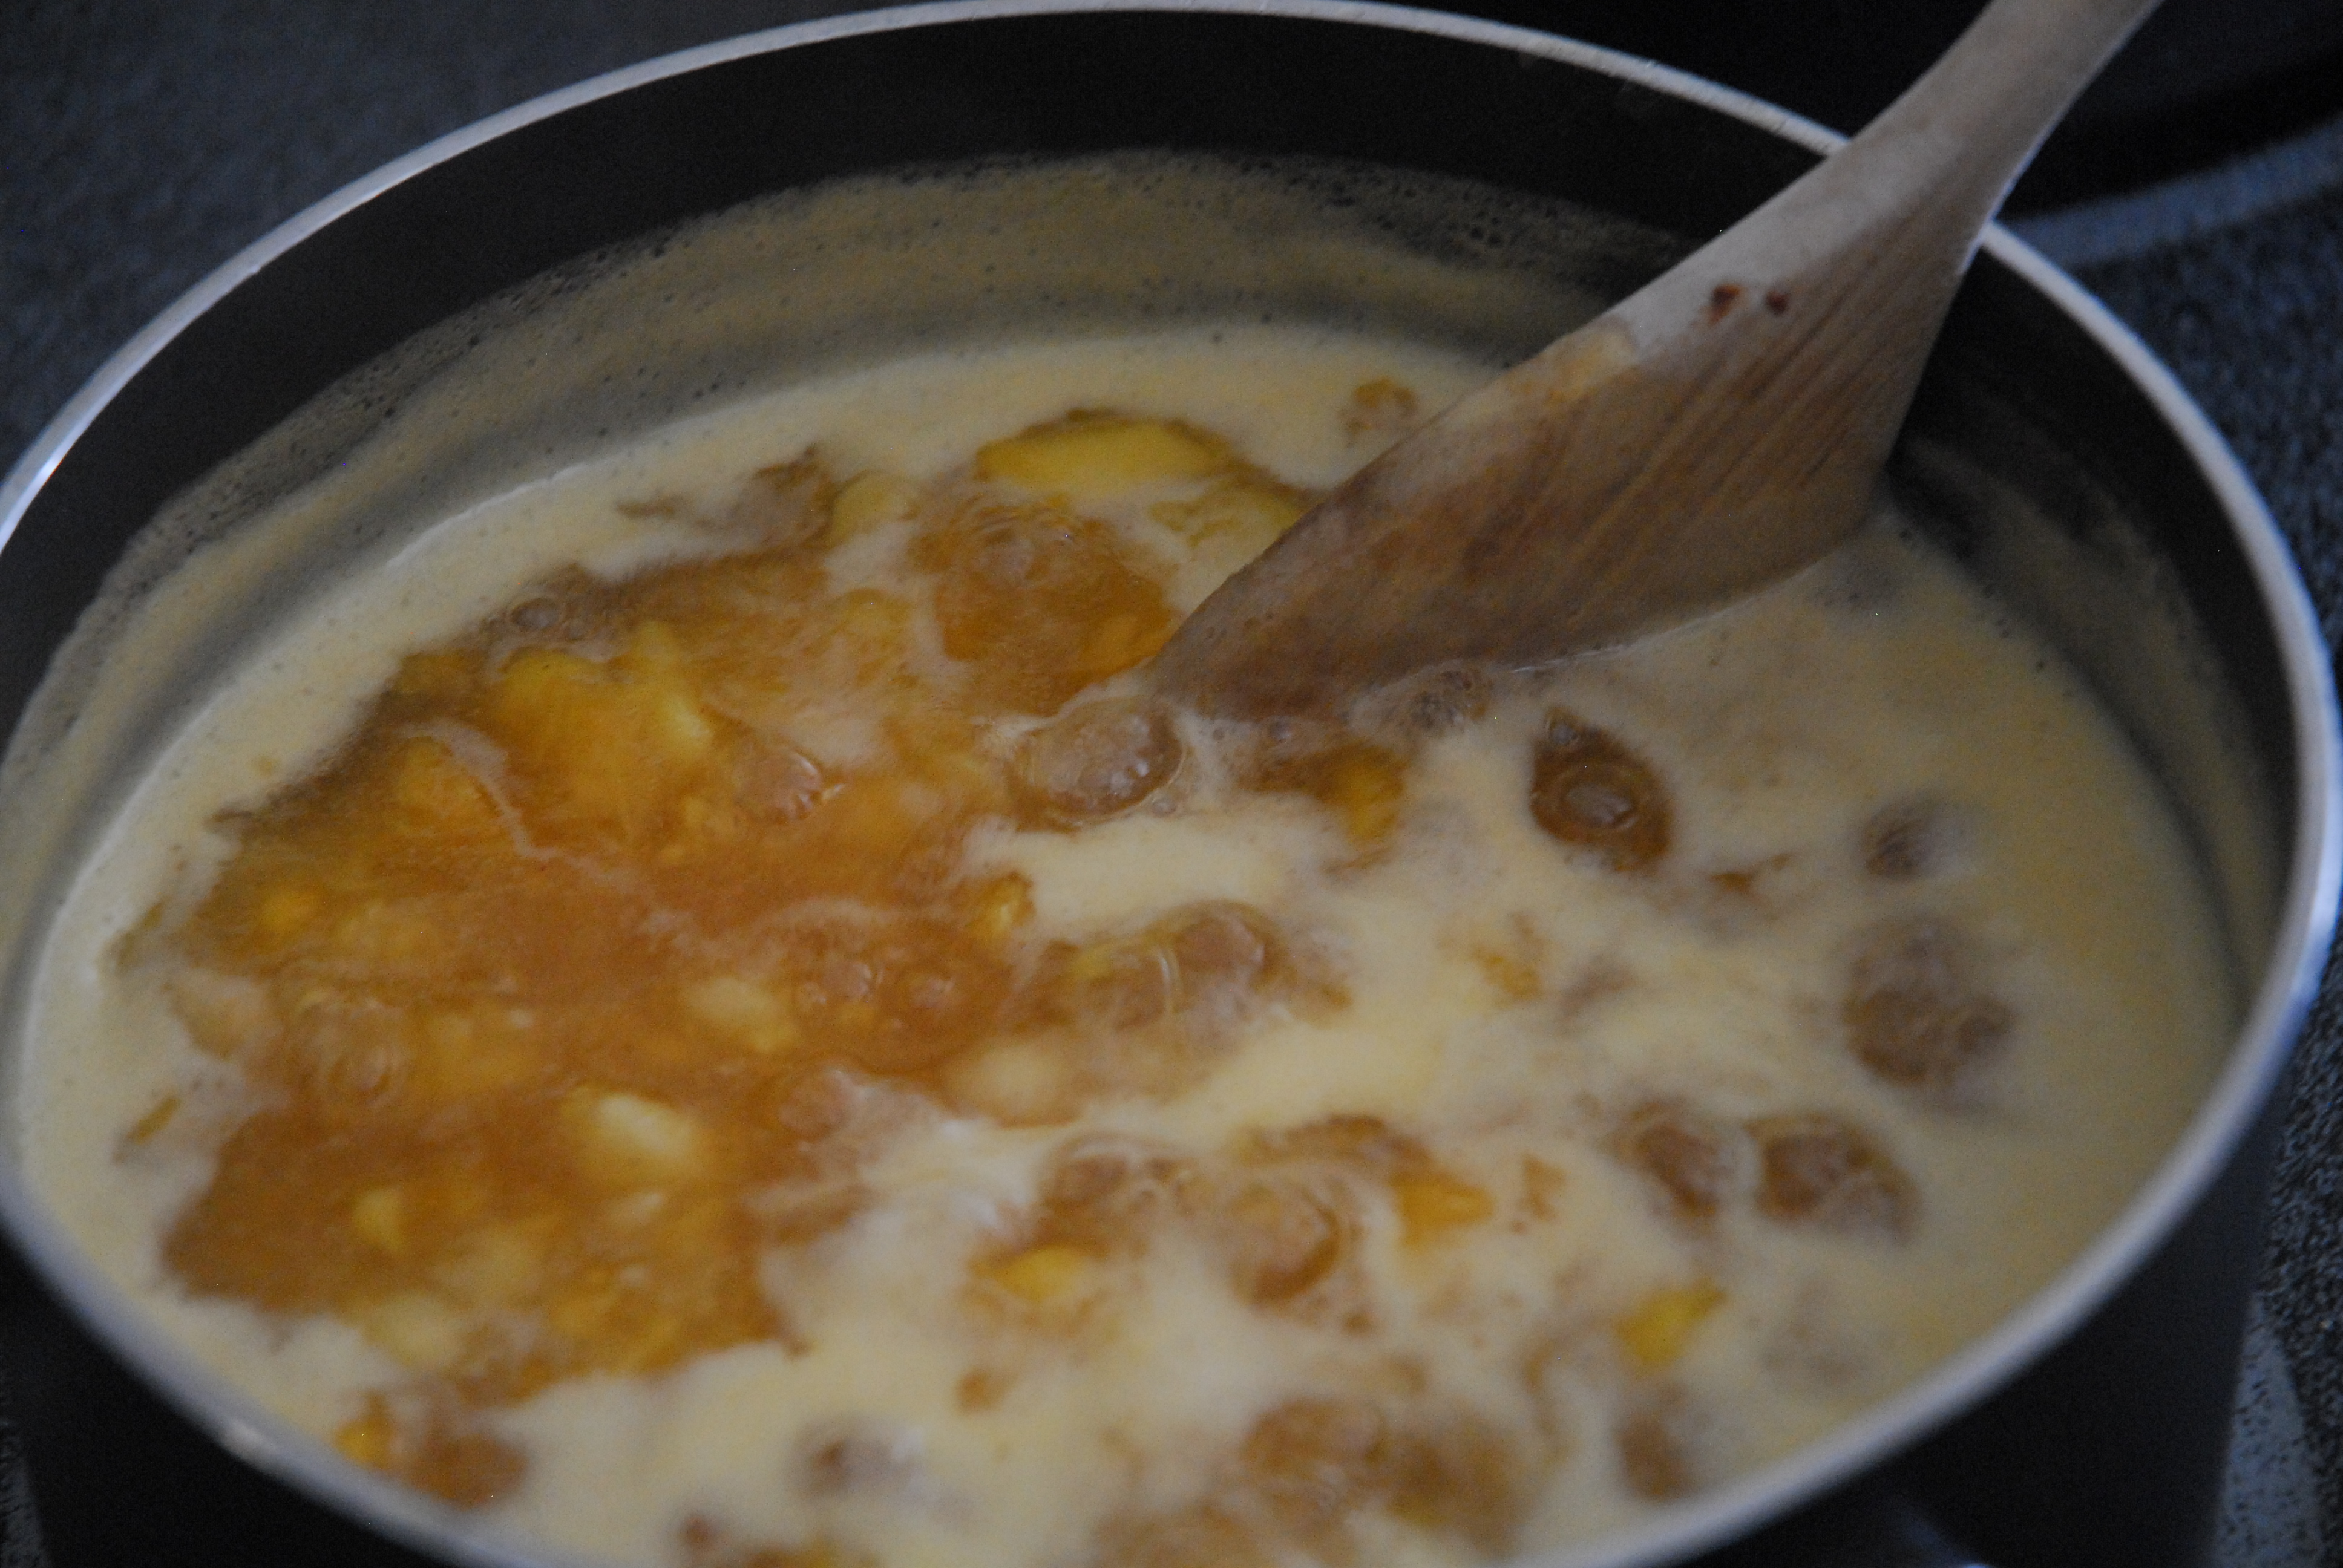
Place peaches, cinnamon and vanilla into a large pot and bring liquid to a boil.

Using a potato masher begin to mash peaches down.

Use a wooden spoon to continue stirring as peaches cook. We cooked ours 30 minutes.
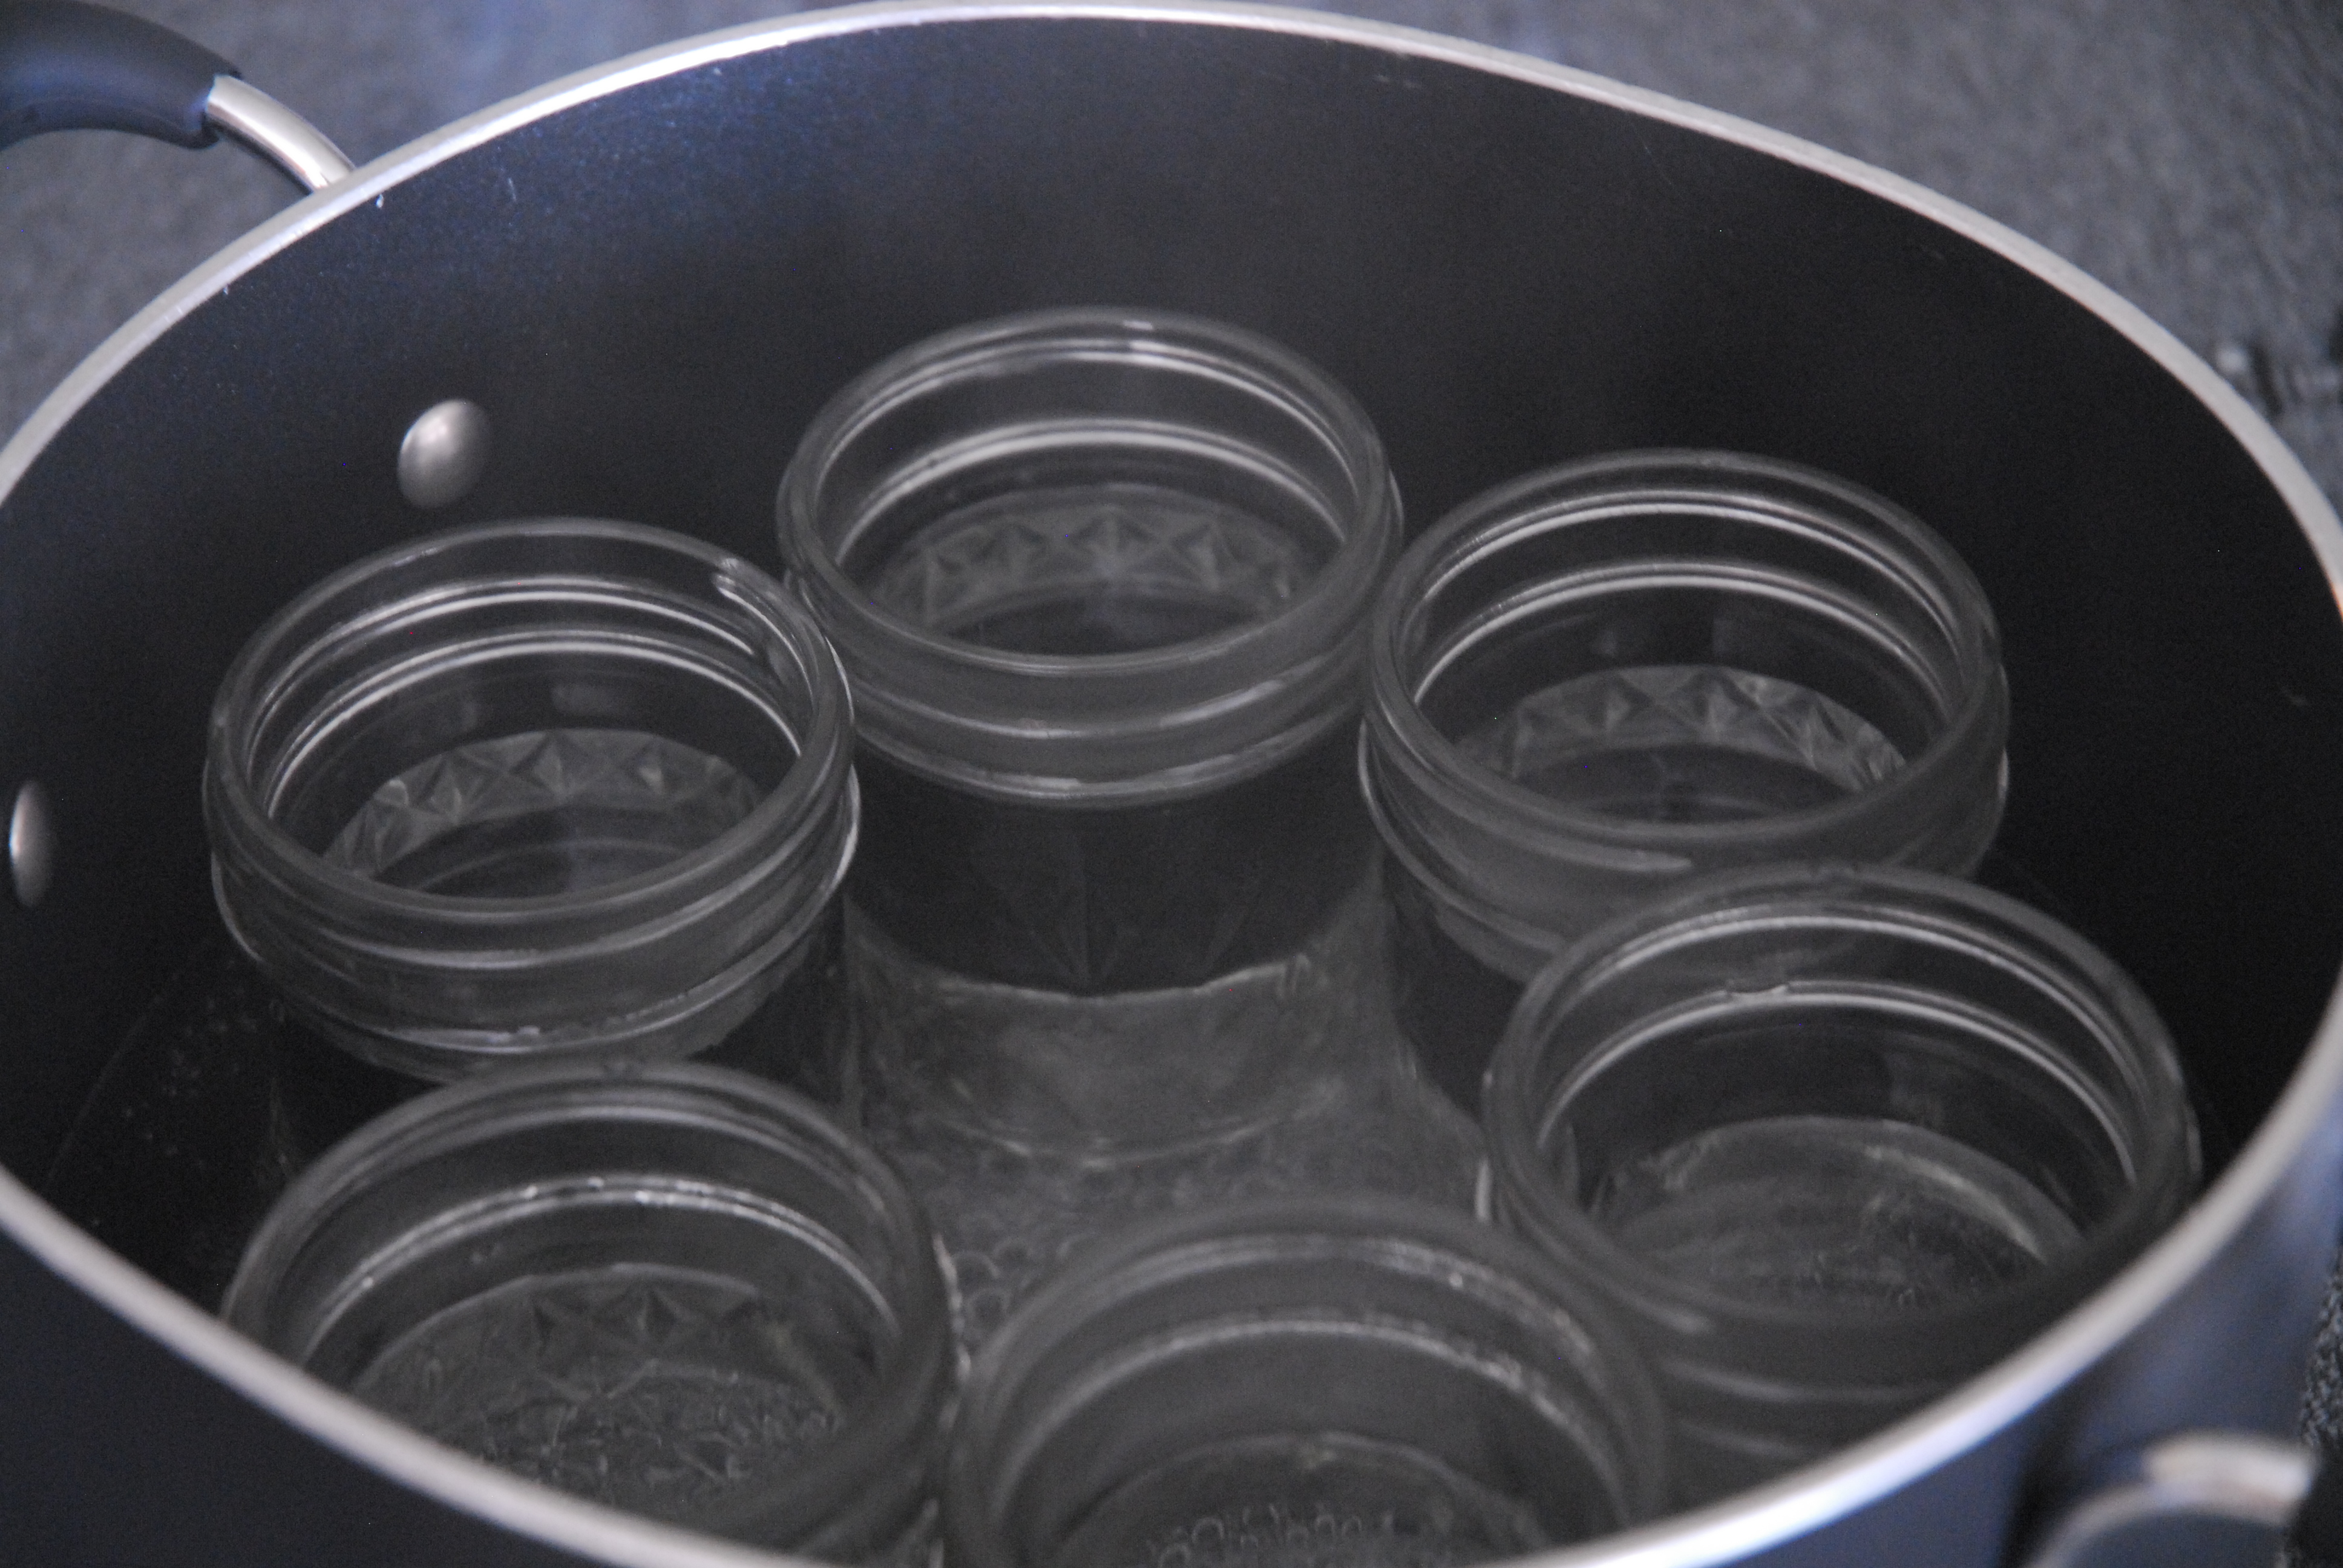
While your peaches are cooking down, sanitize your jars by placing in boiling water for 5 minutes. Remove pot from heat, but keep jars in and add lids to the warm water until you are ready to can.
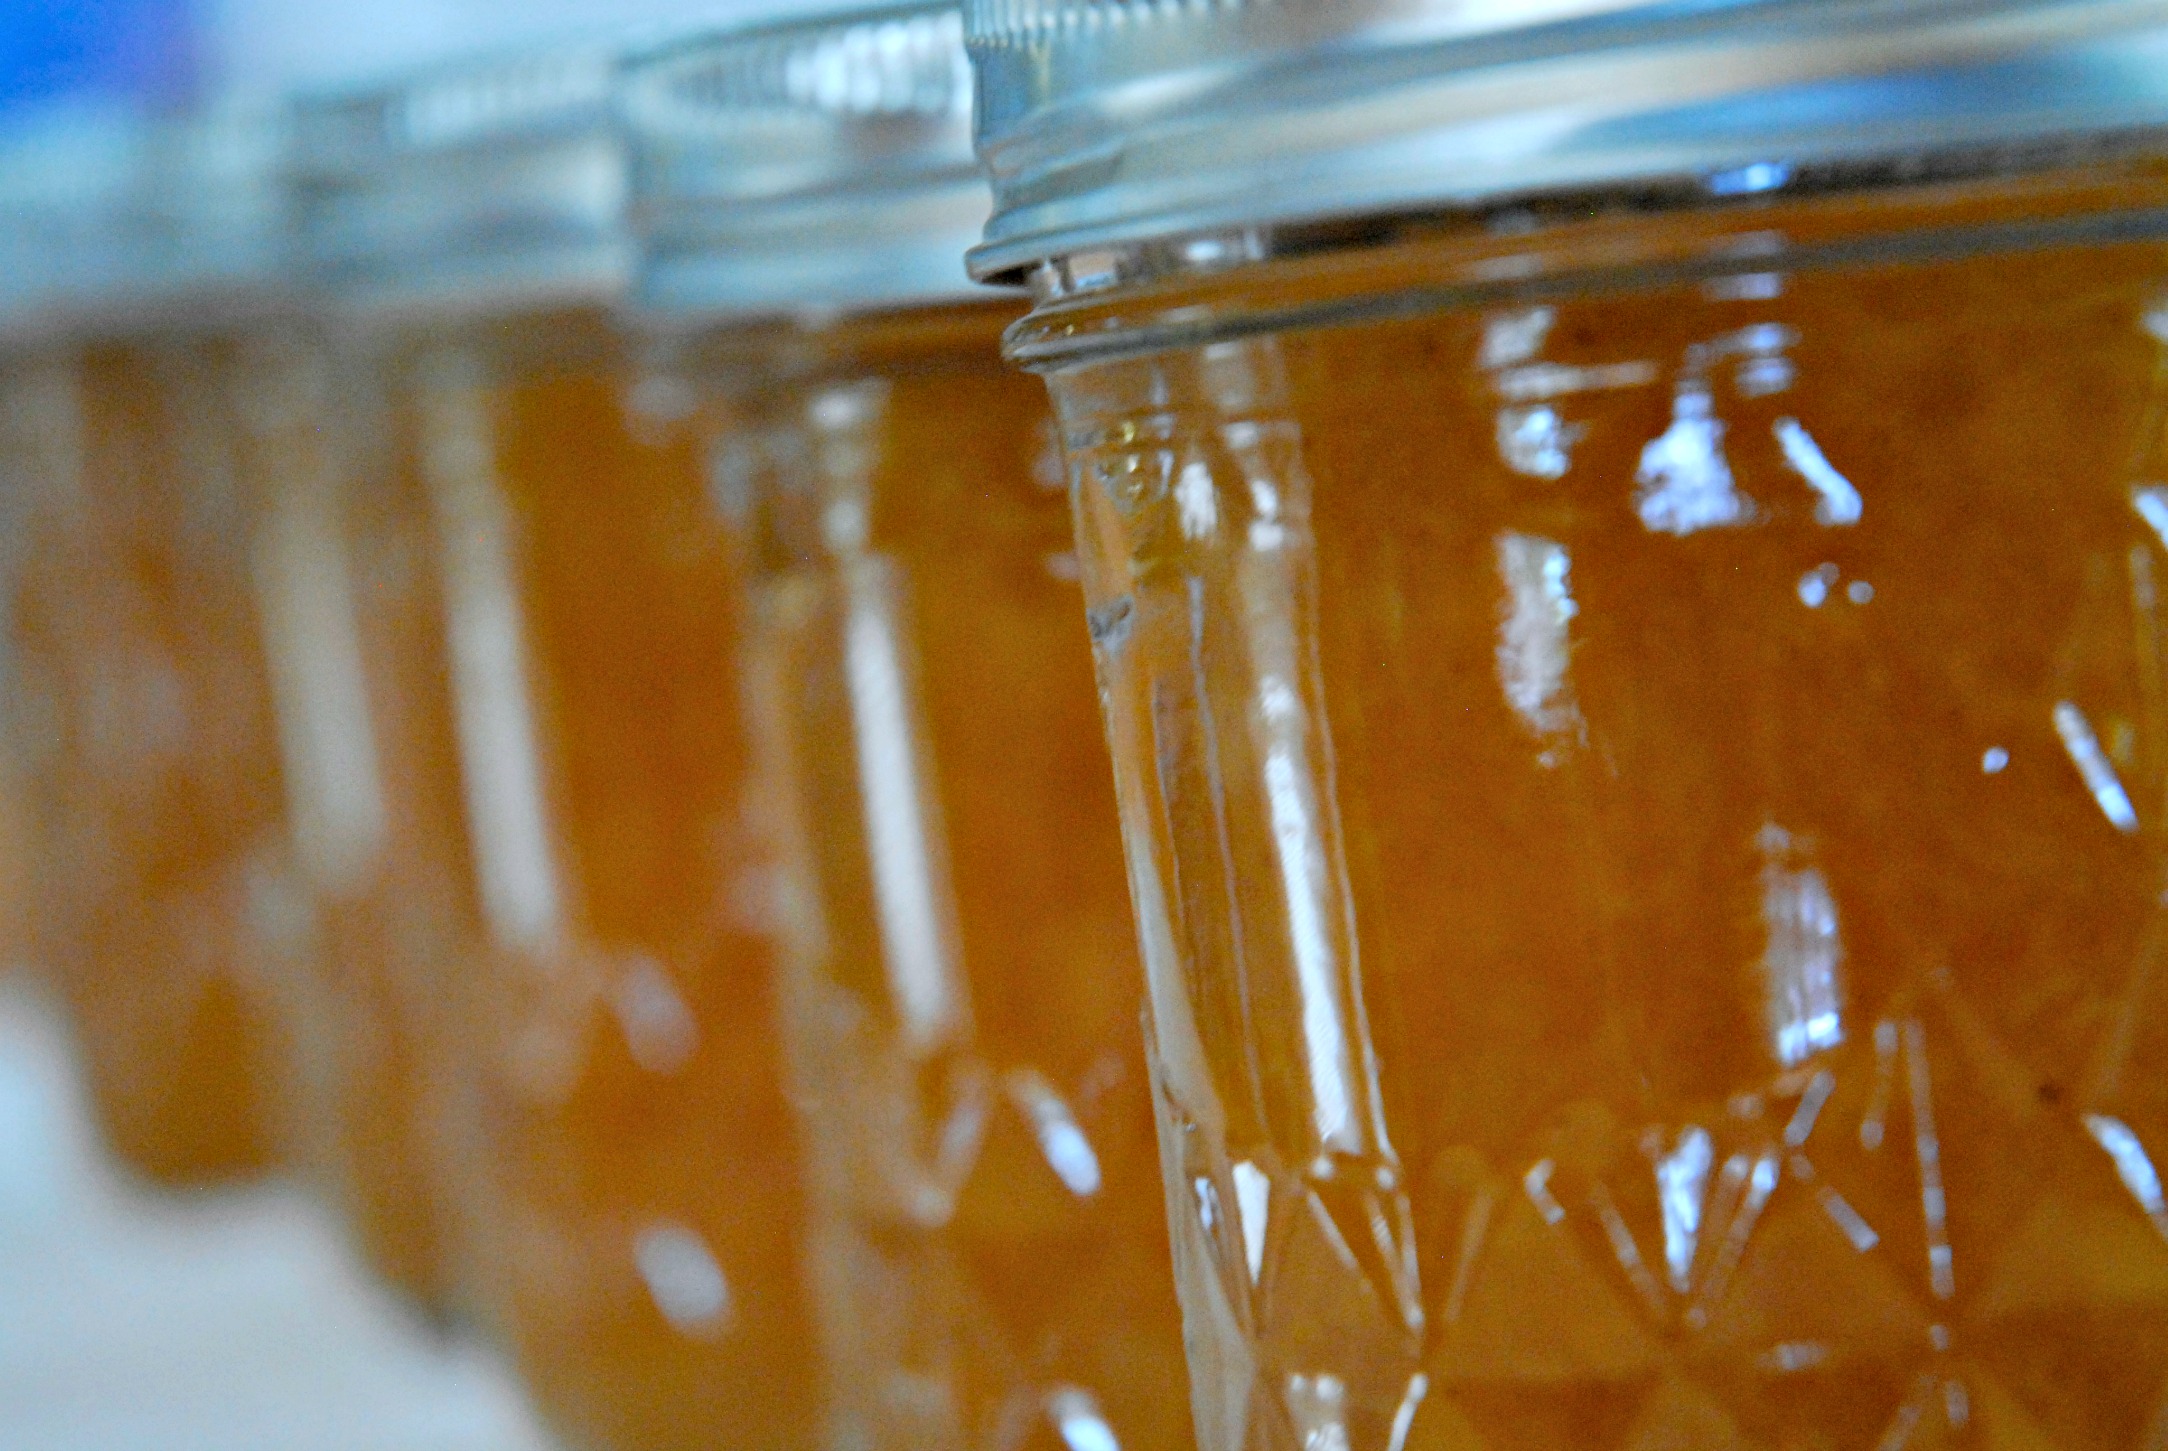
Right before canning, remove your jars and lids from the water. Ladle hot fruit into each jar, leaving a 1/2 inch at the top of the jar. Wipe the rim and screw on lids securely, but not too tight.

Place in boiling water for 5 minutes (the water should completely cover the jars).

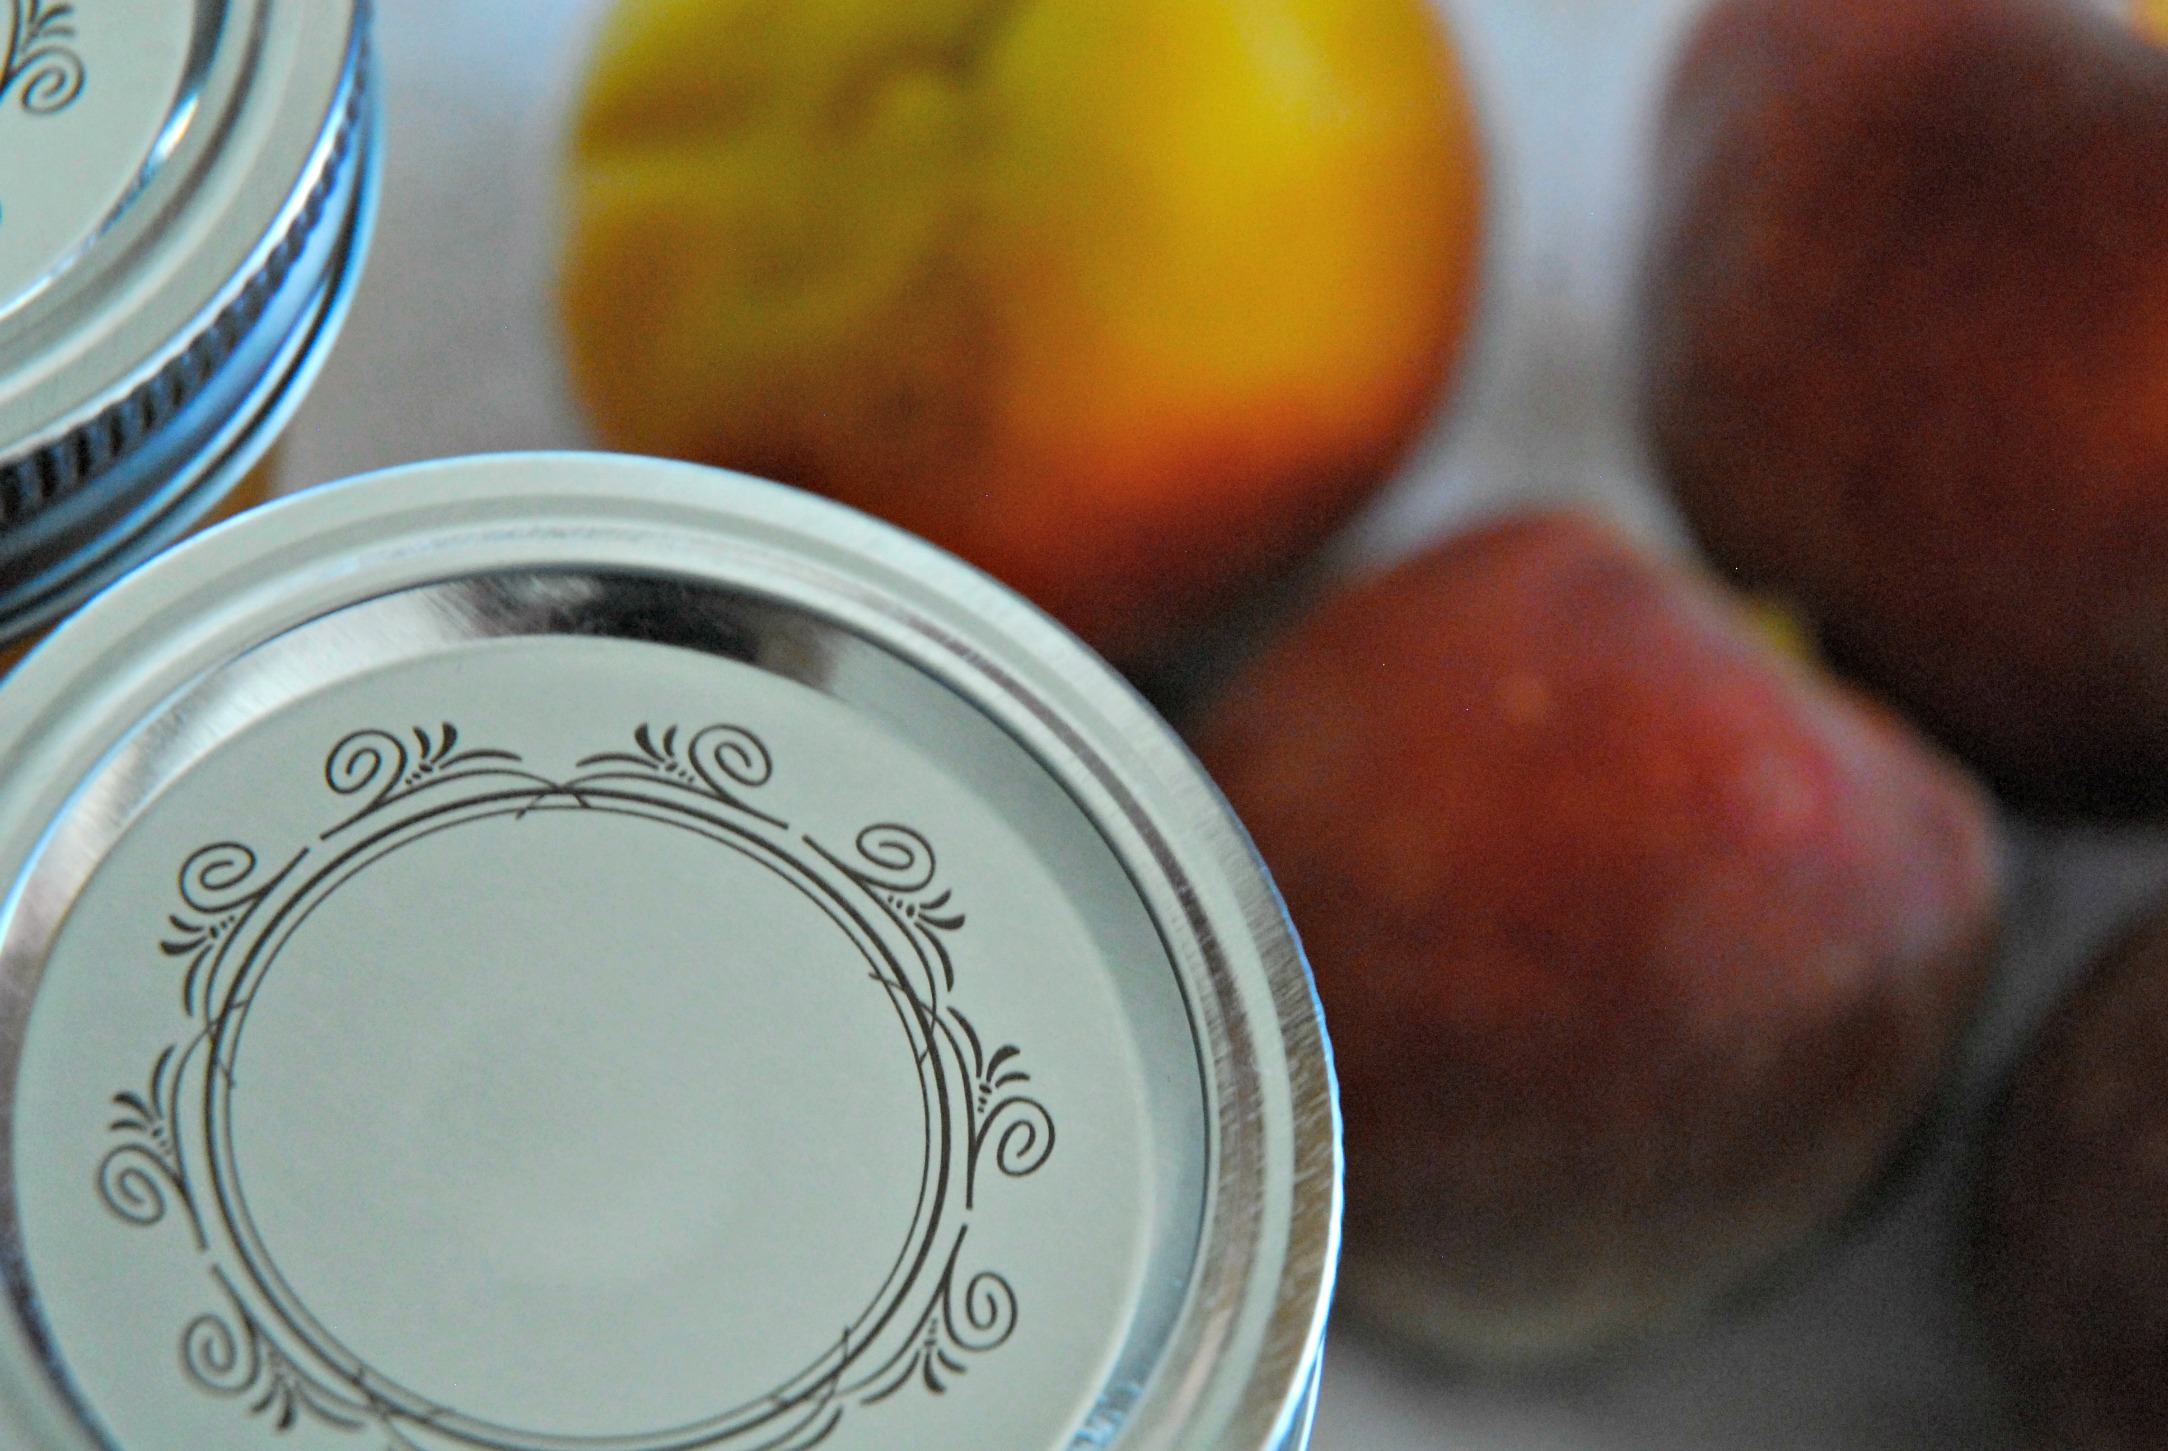
Using tongs, remove jars carefully from the water and set on the counter. As the jars cool and seal, you should hear them ping.

Peach Jam
4 pounds of peaches (7 cups or so)
1/4 cup lemon juice
2 cups sugar
1/4 teaspoon cinnamon
1 teaspoon vanilla
Directions:
Peel and slice peaches. Place sliced peaches, sugar, and lemon in a bowl. Cover and let sit for one hour, so the peaches will release their juices.
Place peaches, cinnamon and vanilla into a large pot and bring liquid to a boil.
Using a potato masher begin to mash peaches down. Use a wooden spoon to continue stirring as peaches cook. We cooked ours 30 minutes.
While your peaches are cooking down, sanitize your jars by placing in boiling water for 5 minutes. Remove pot from heat, but keep jars in and add lids to the warm water until you are ready to can. Right before canning, remove your jars and lids from the water.
Ladle hot fruit into each jar, leaving a 1/2 inch at the top of the jar. Wipe the rim and screw on lids securely, but not too tight. Place in boiling water for 5 minutes (the water should completely cover the jars).
Using tongs, remove jars carefully from the water and set on the counter. As the jars cool and seal, you should hear them ping.