This time of year it is all about the zucchini. How to use up the surplus of the lovely, green vegetable that grows so prolifically. I think people actually avoid me when they see me coming at them with bags of squash!
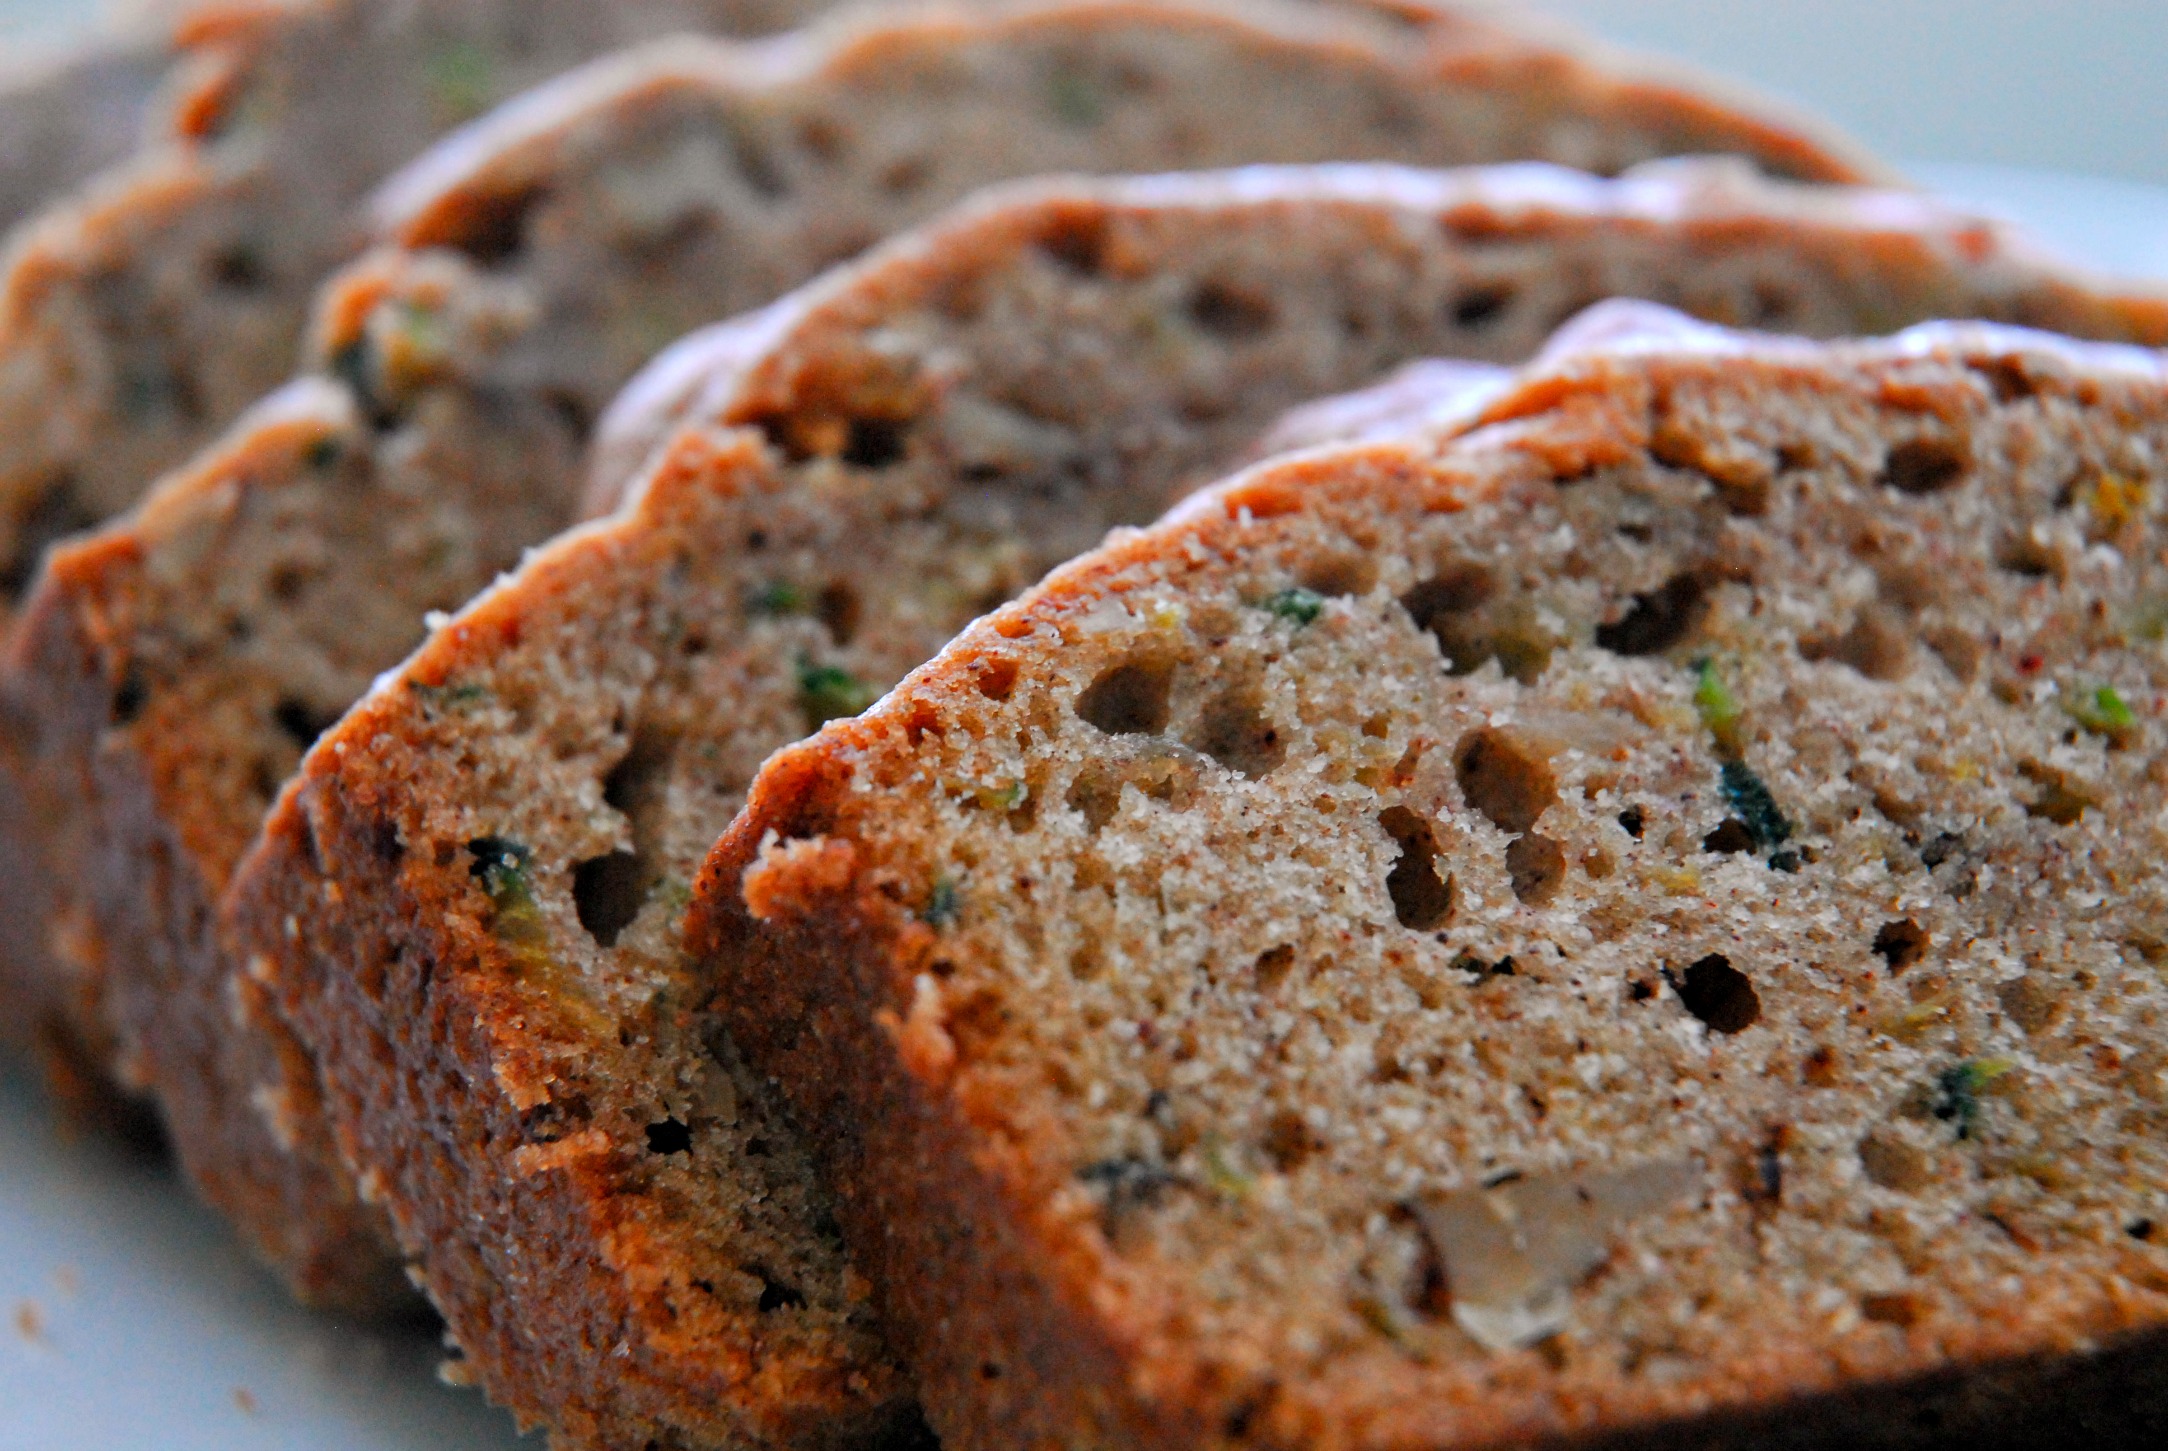
Today we decided to just go for the tried and true zucchini bread. We have made several different recipes, but I love the lemon zest in this one and also the cinnamon and nutmeg. Mmmmm, the house smells so good right now – I can’t wait for it to come out of the oven.

The original recipe from The Better Homes and Gardens New Cookbook only makes one loaf. I figure if I am going to get everything dirty, I may as well make at least two loaves, so I doubled the recipe and modified it slightly.
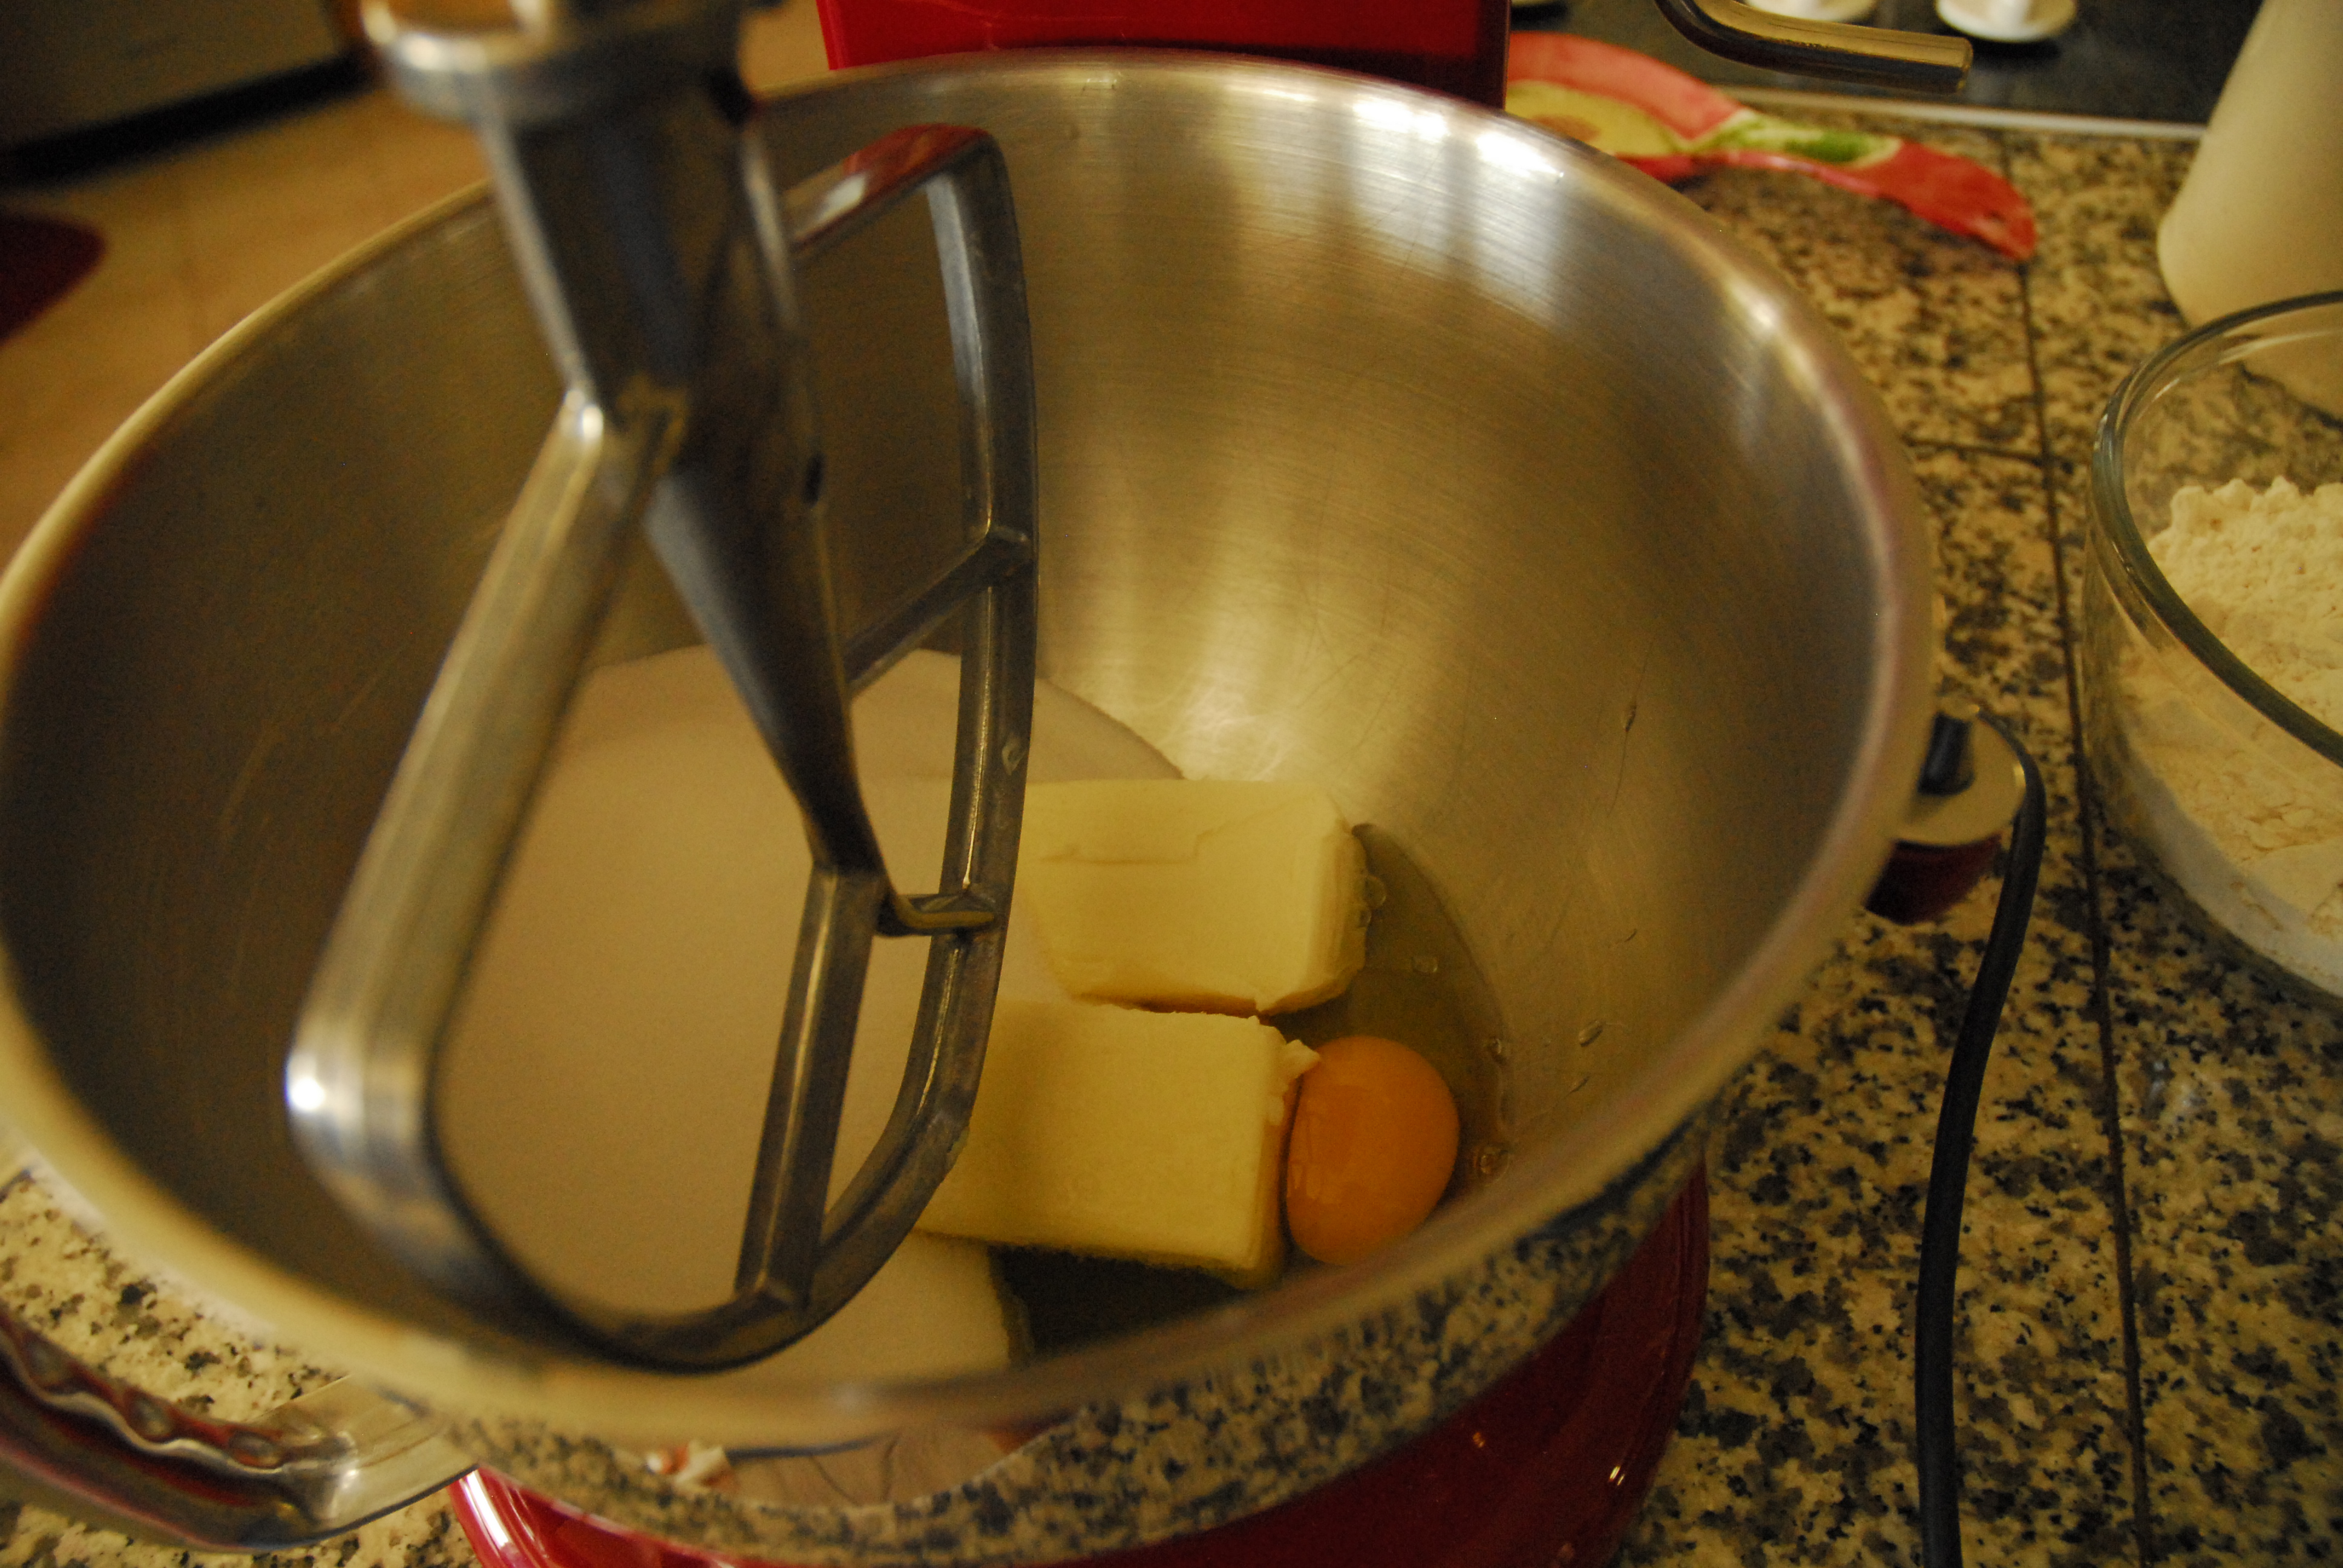
Preheat oven to 350*. In mixing bowl beat together sugar, zucchini, and egg.
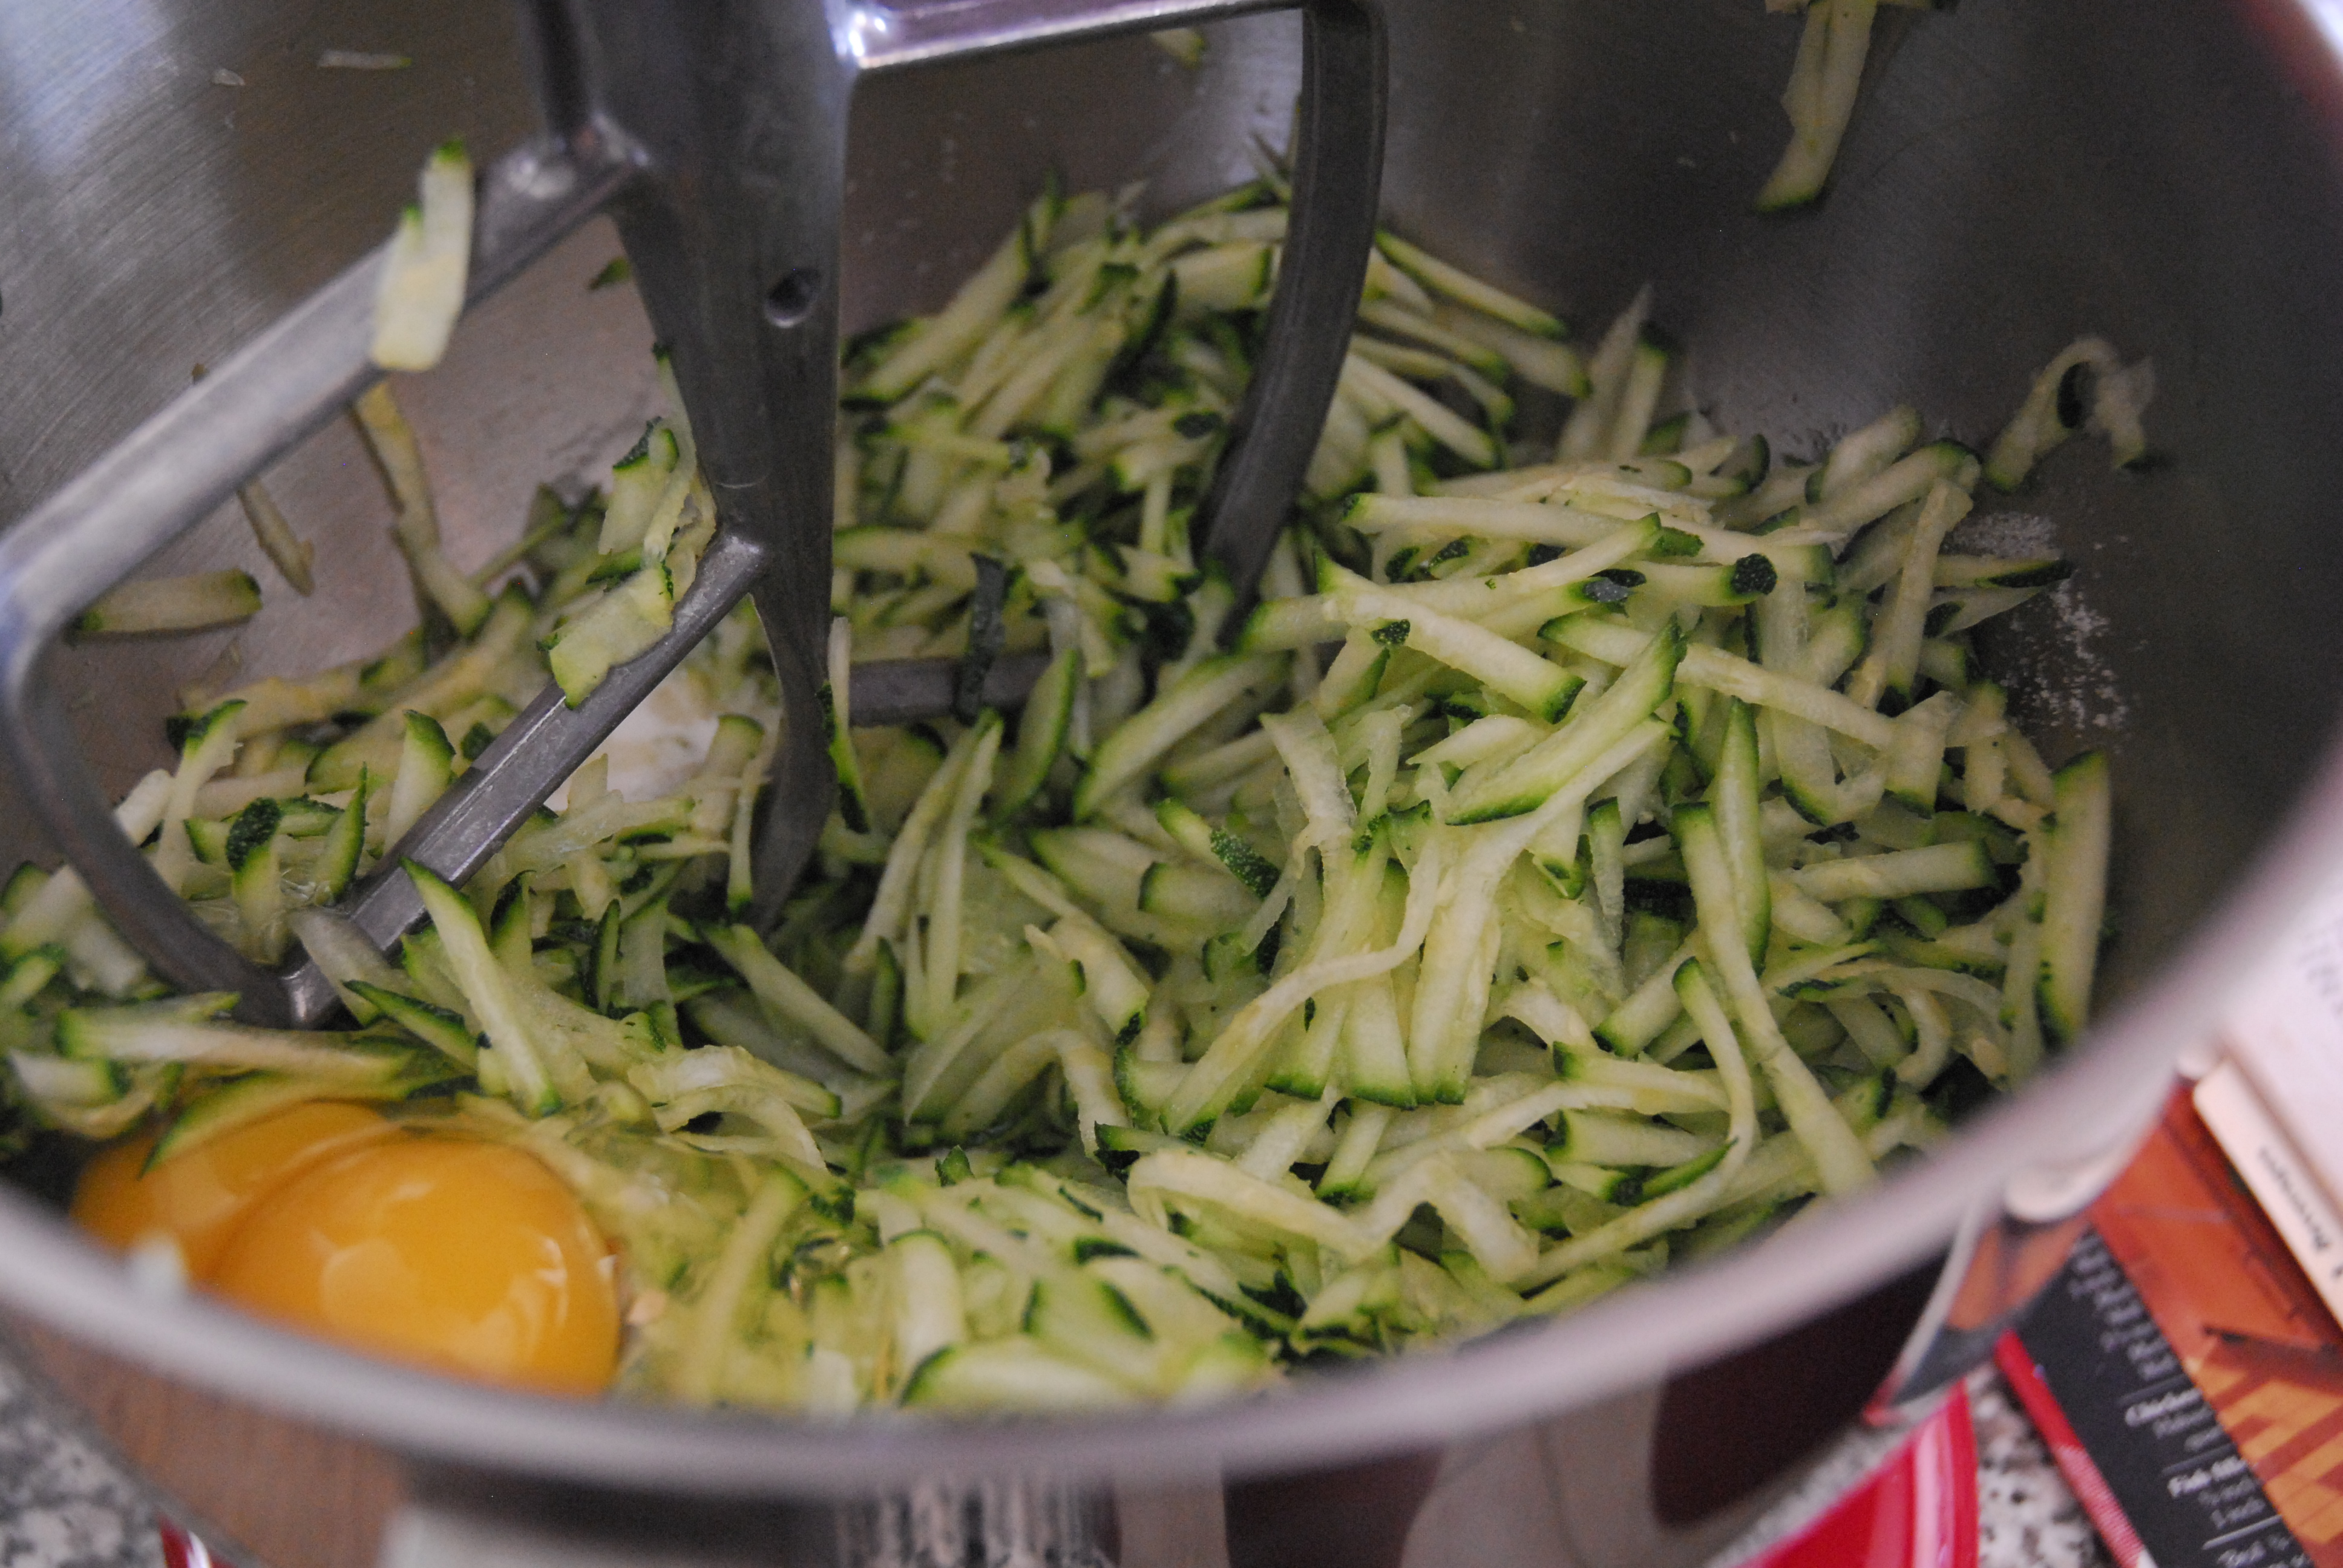

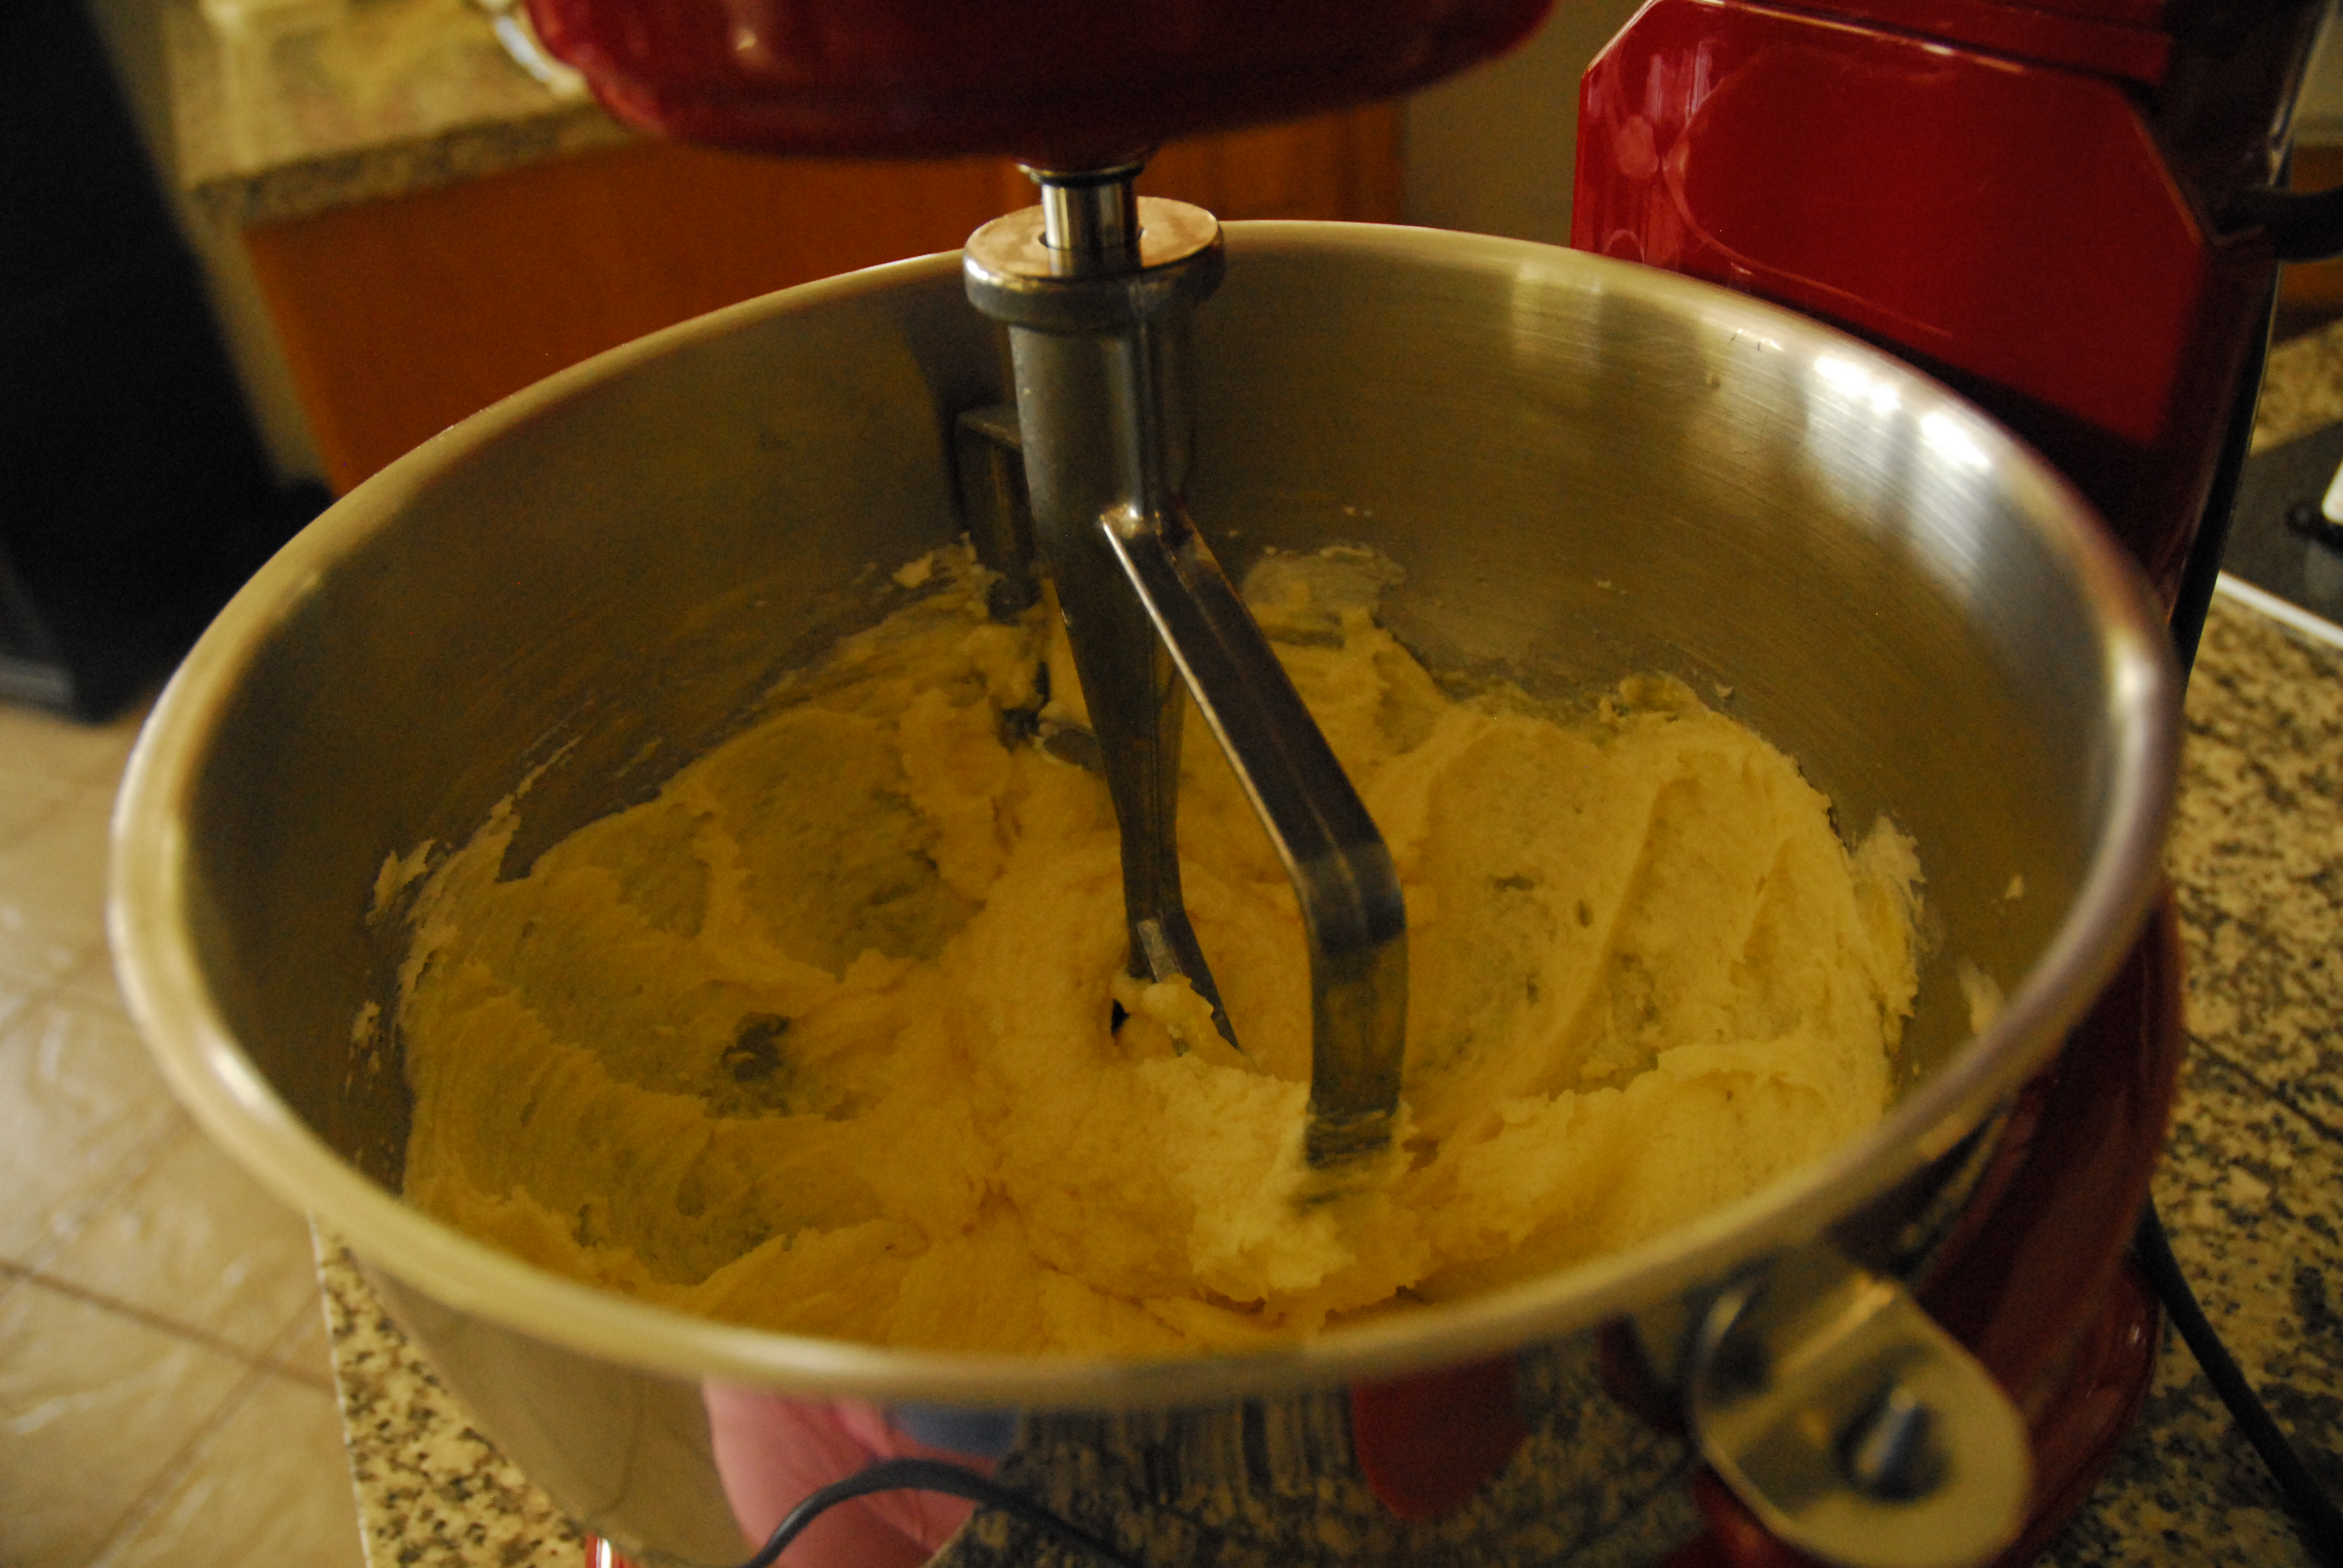
Add oil and lemon zest and mix well.

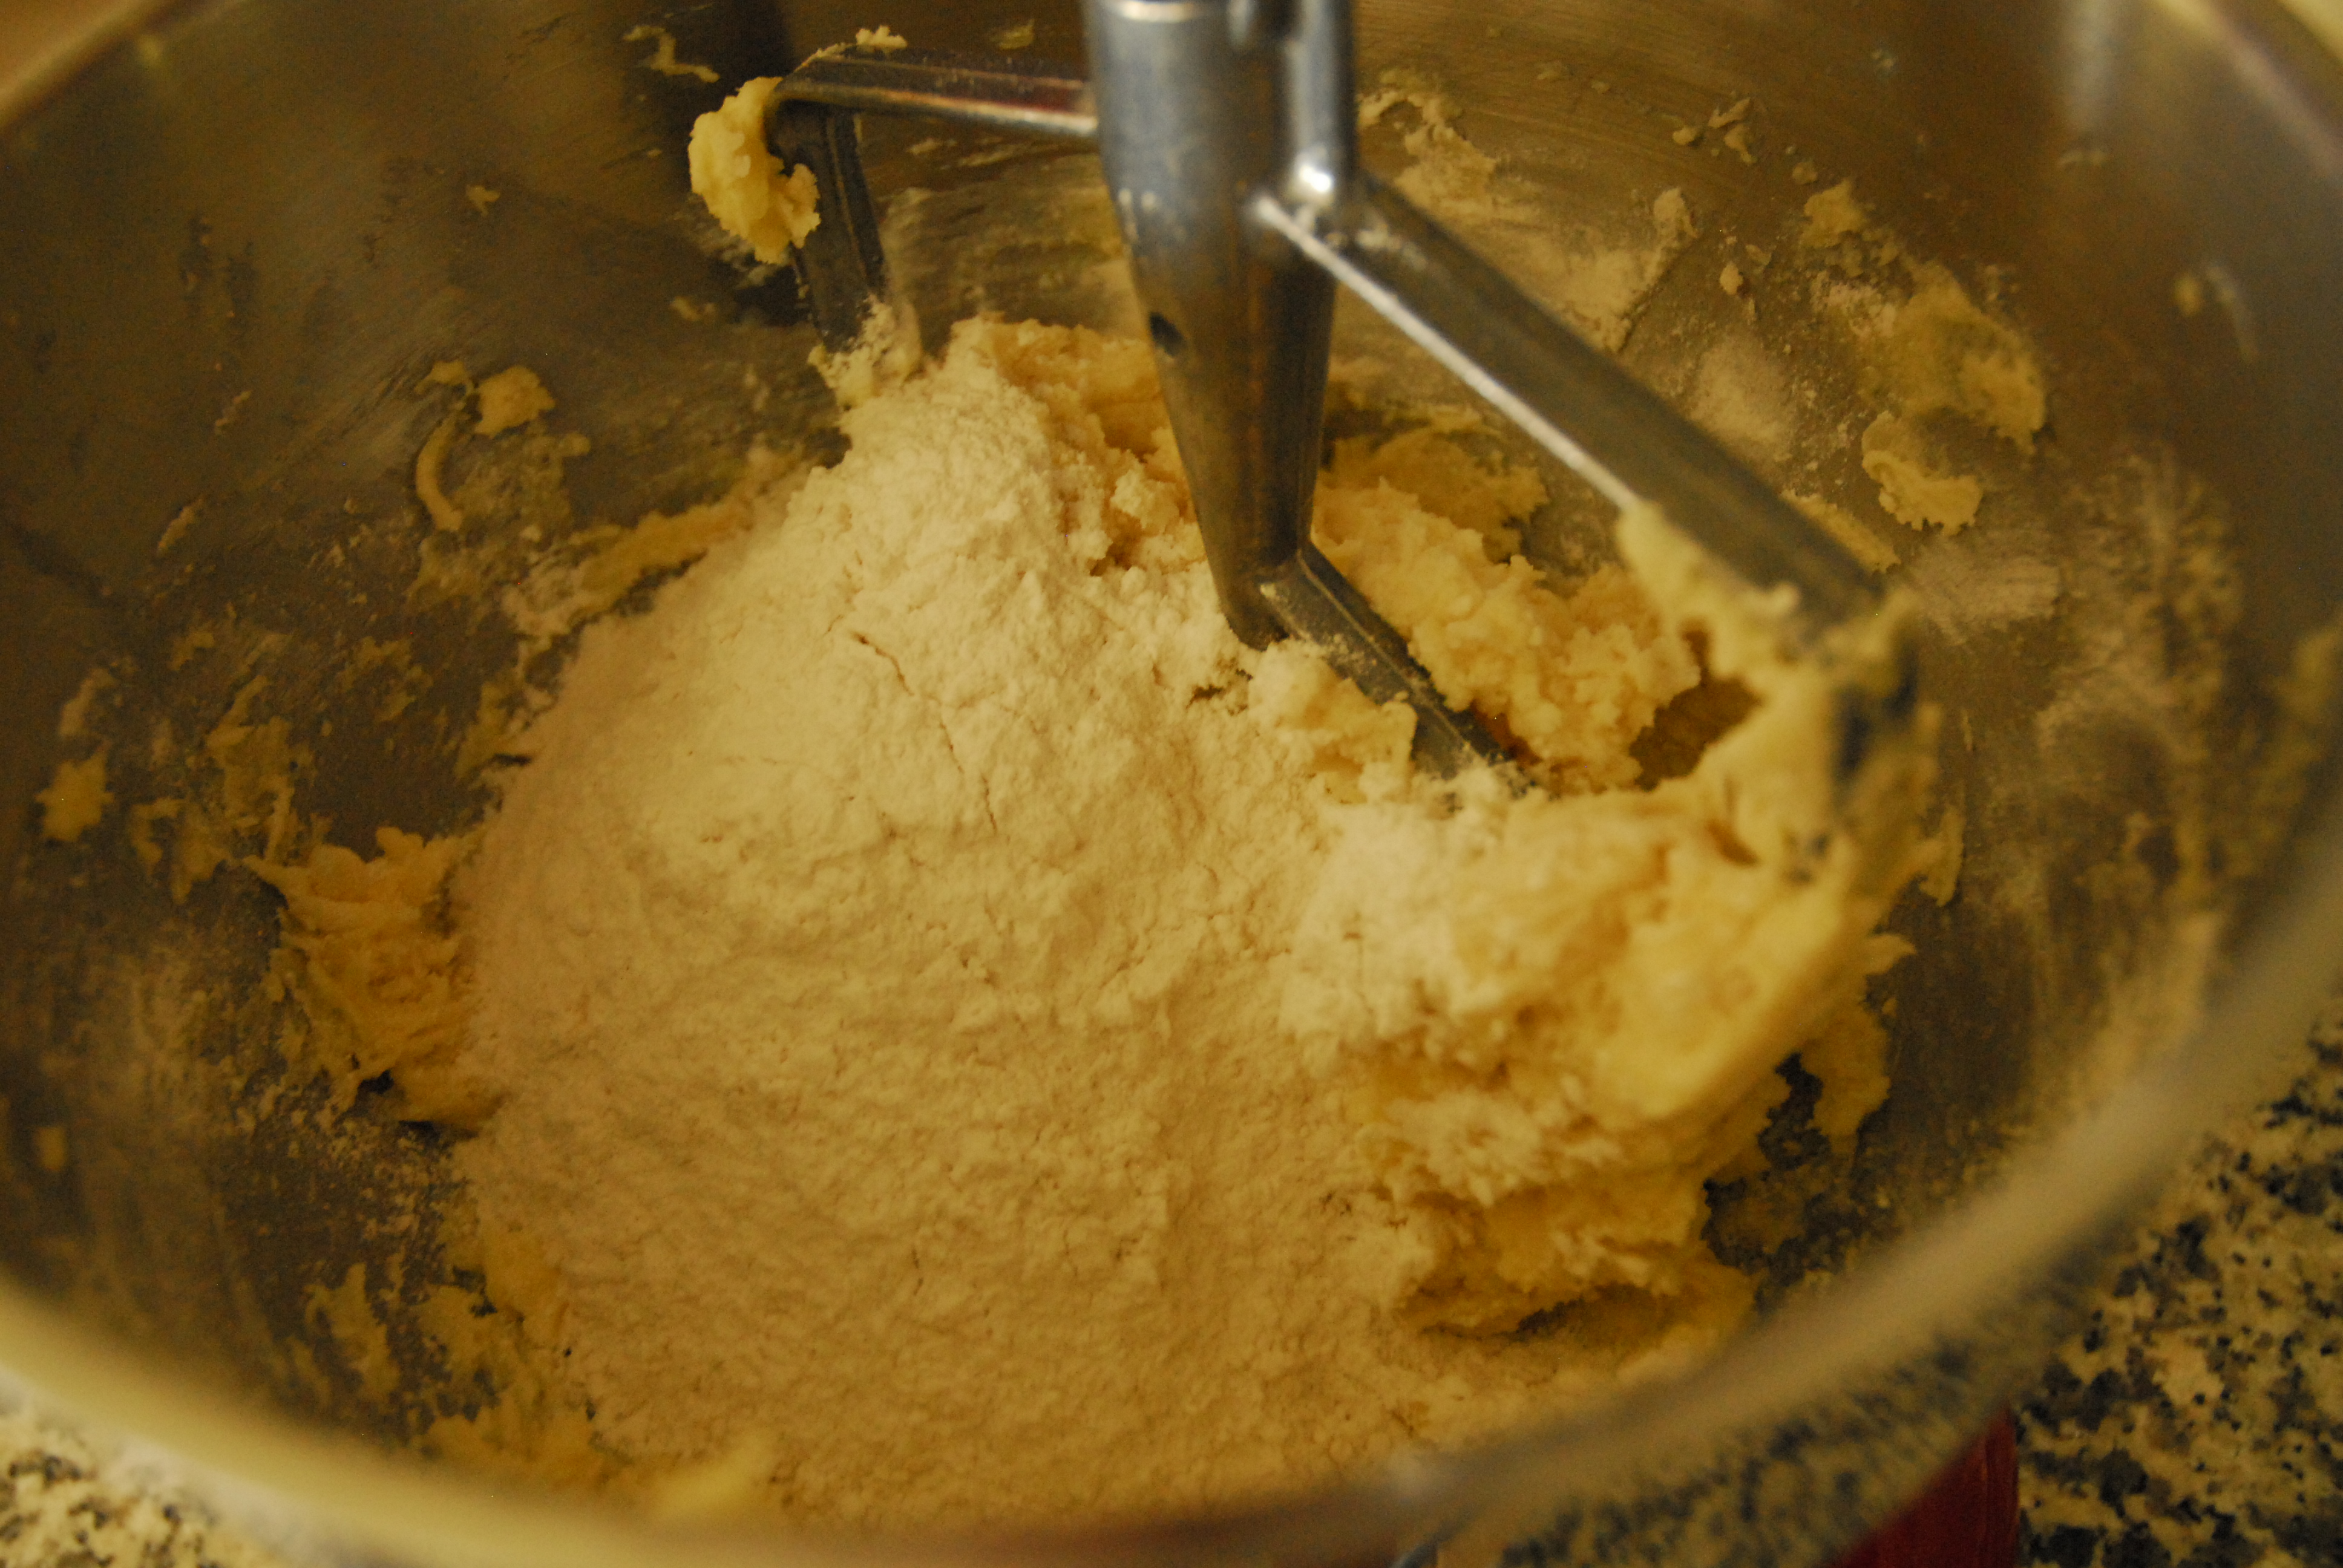
Add in the flour, cinnamon, baking soda, salt, nutmeg, and baking powder…
and mix well.

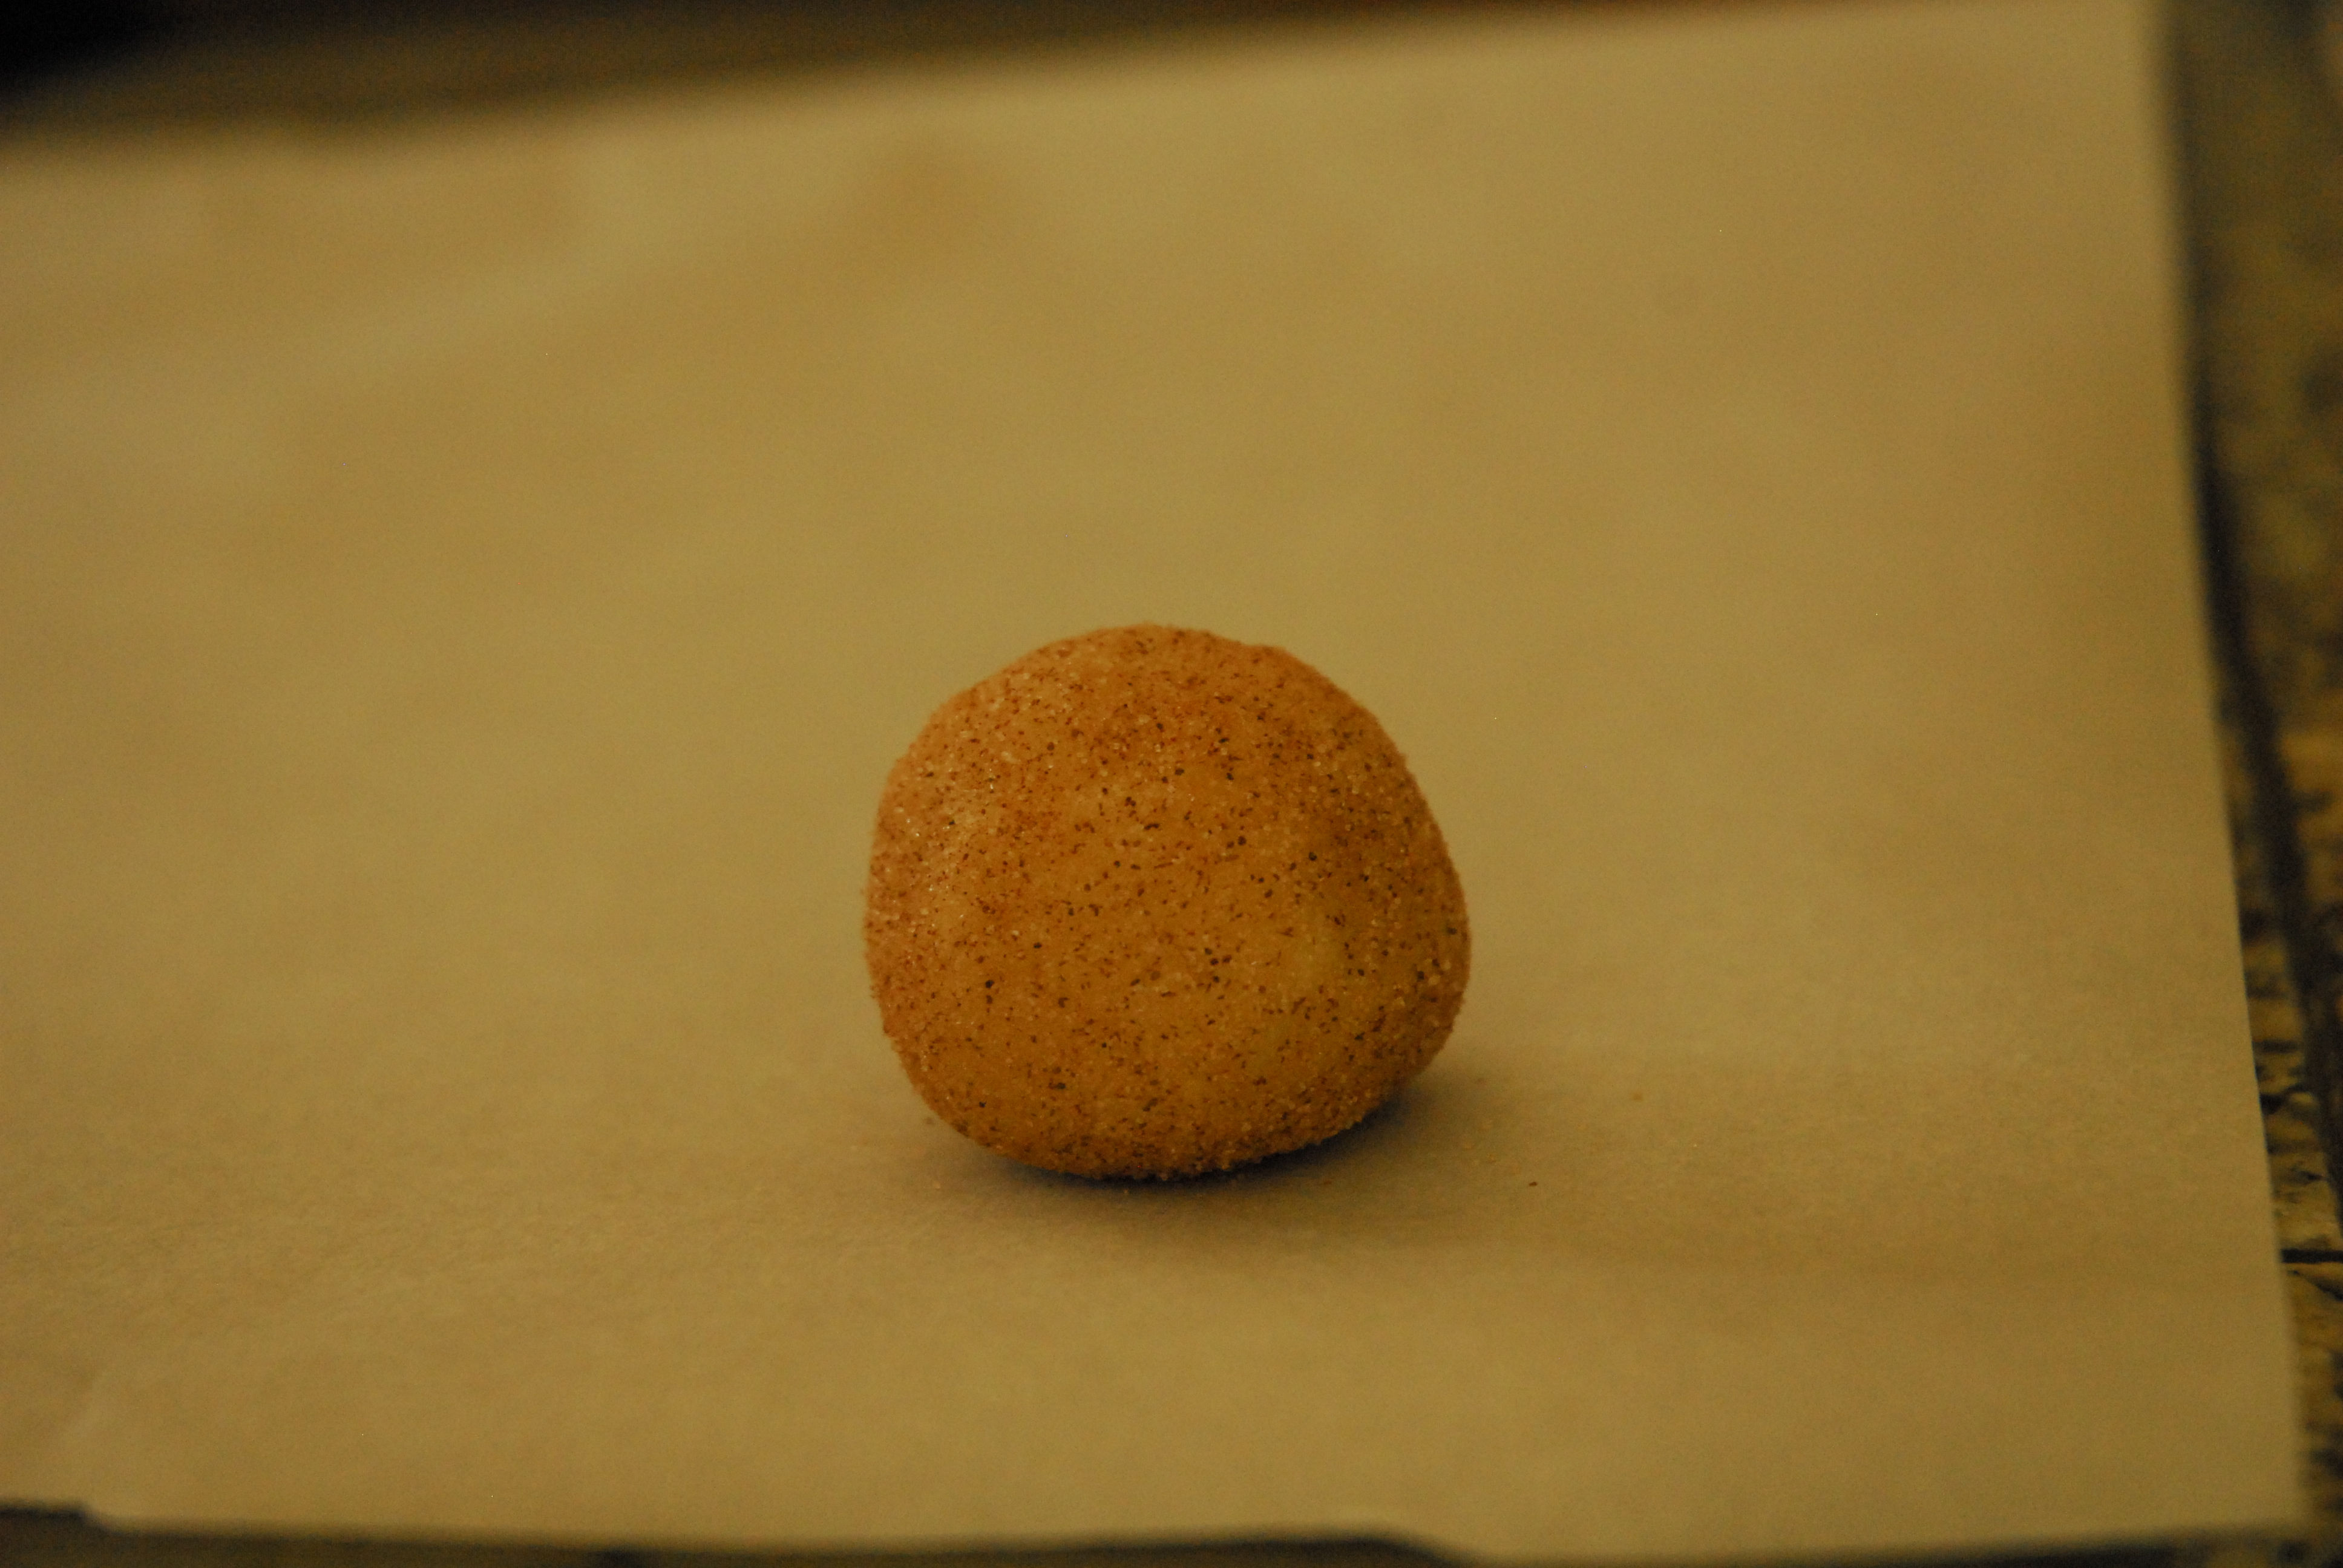
Gently fold in chopped nuts. Turn batter into a greased loaf pan, I sprinkle a bit of cinnamon sugar into the pan after spaying in a bit of oil.

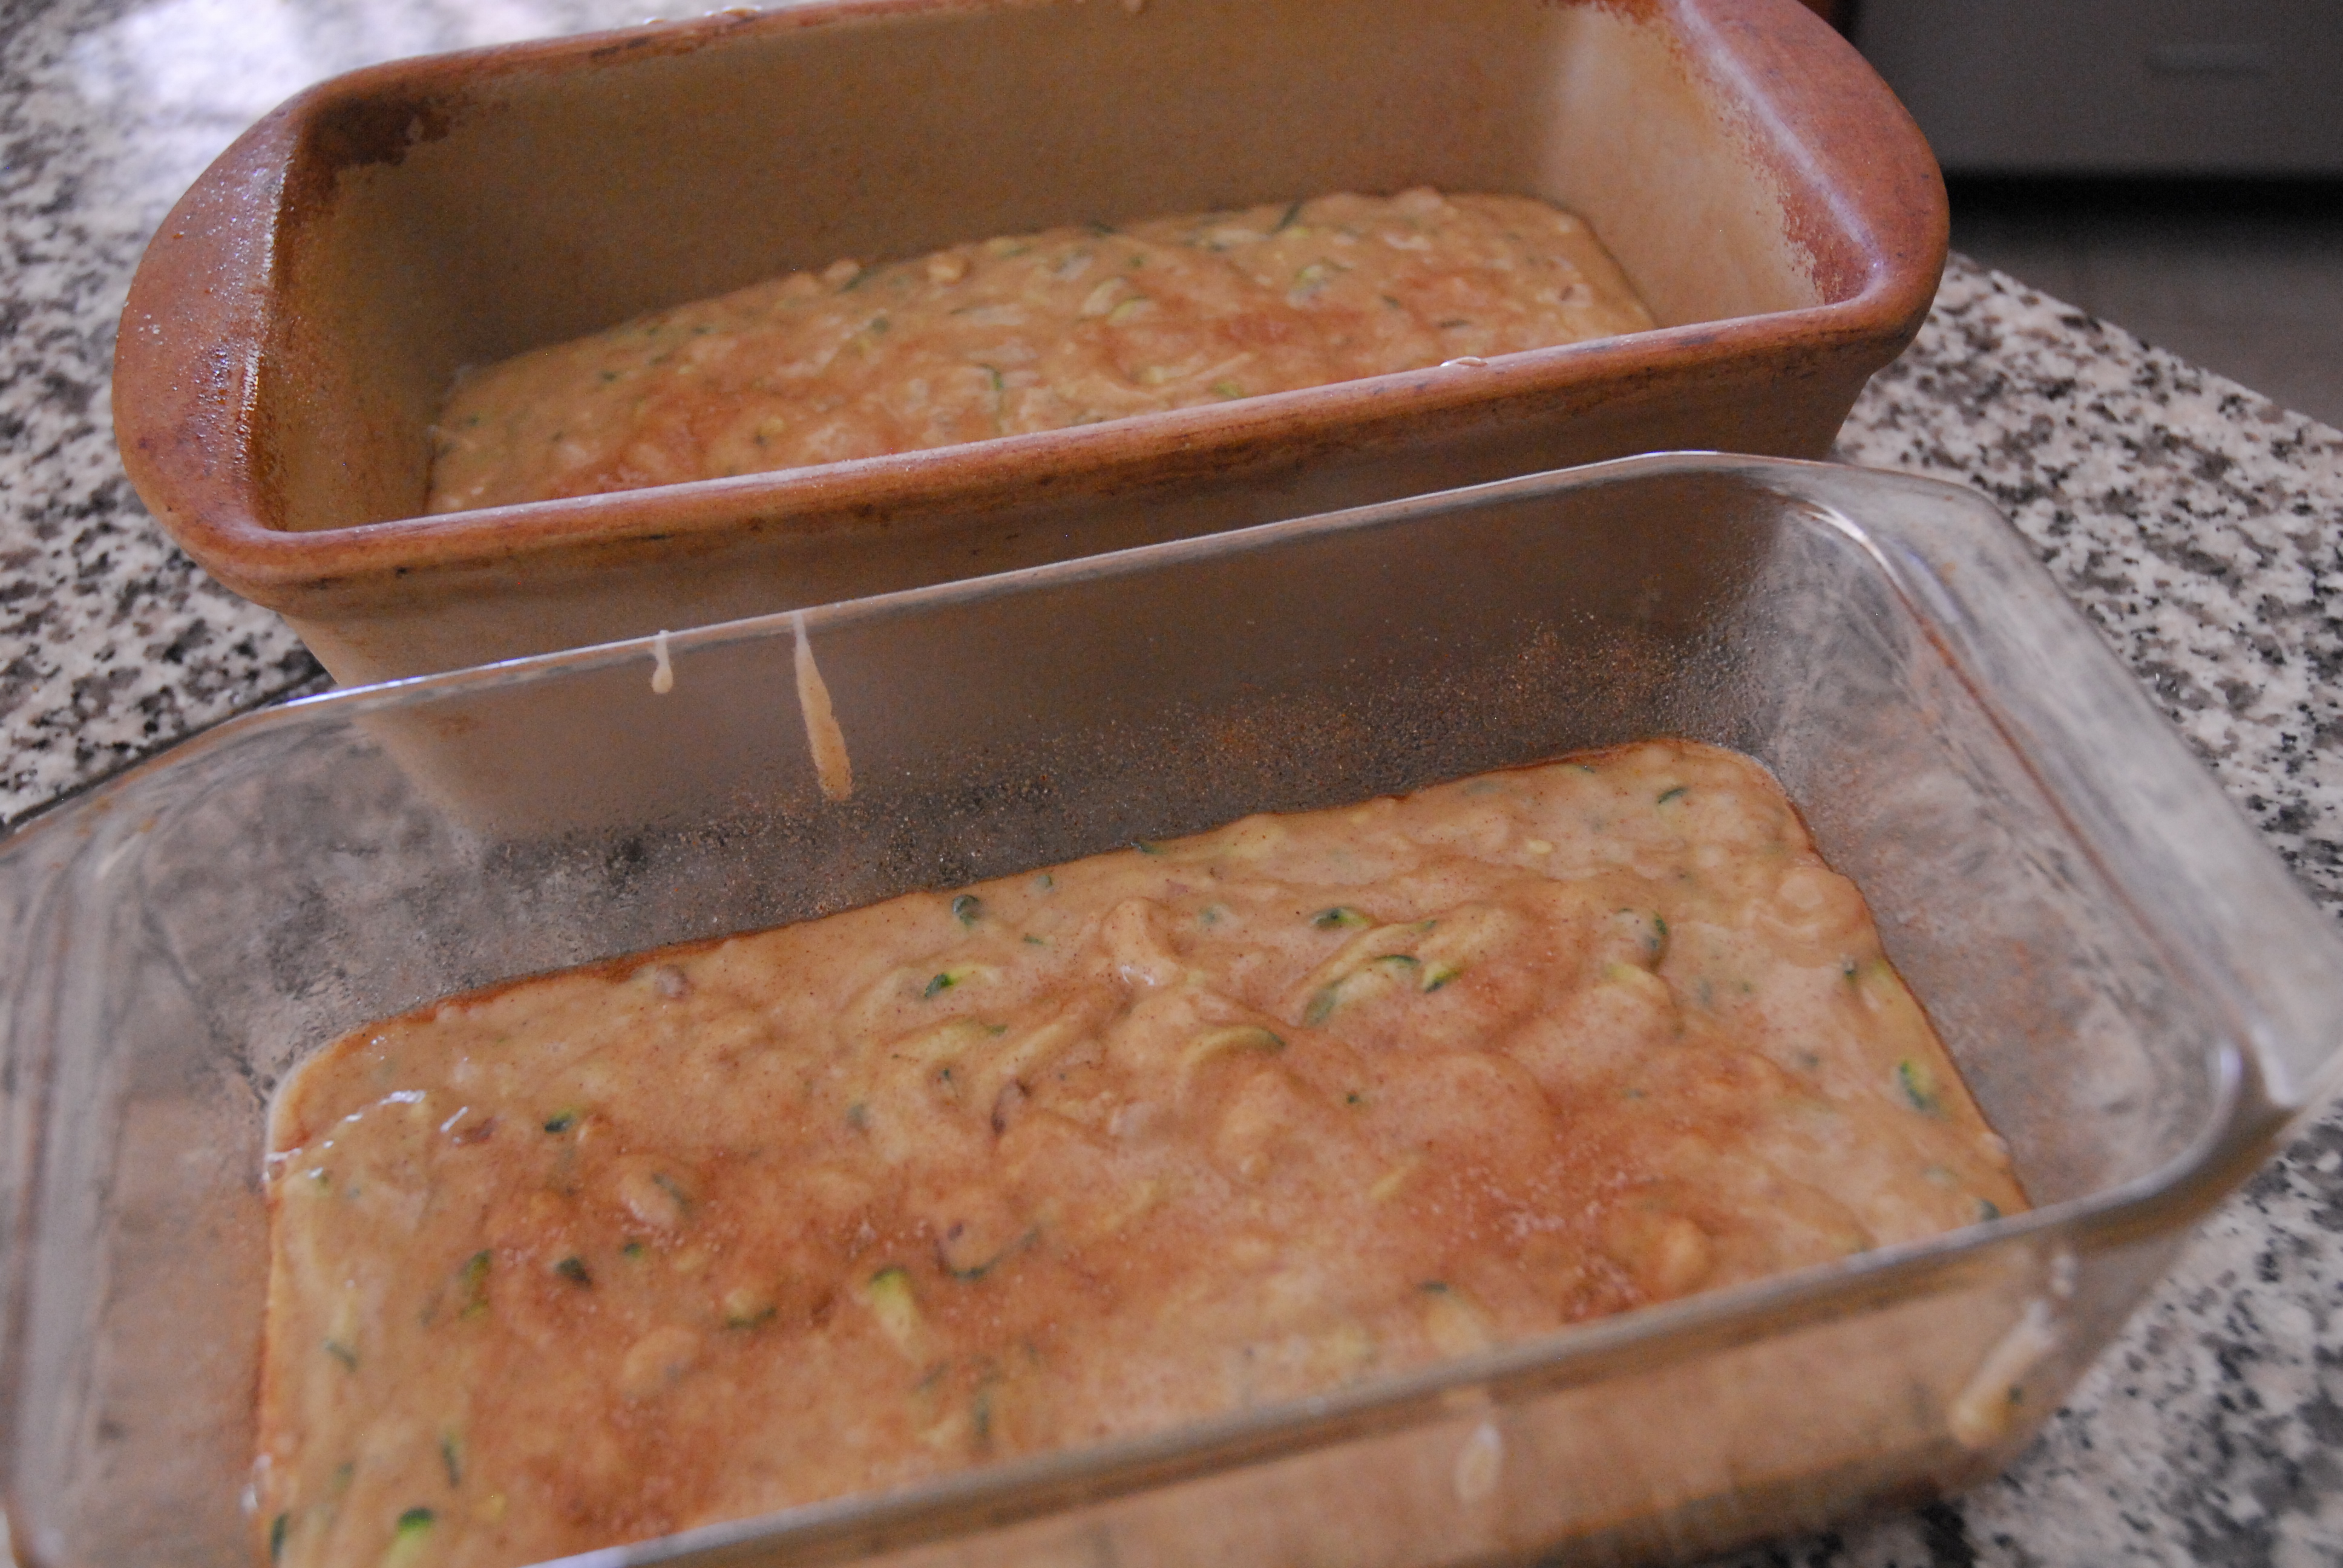
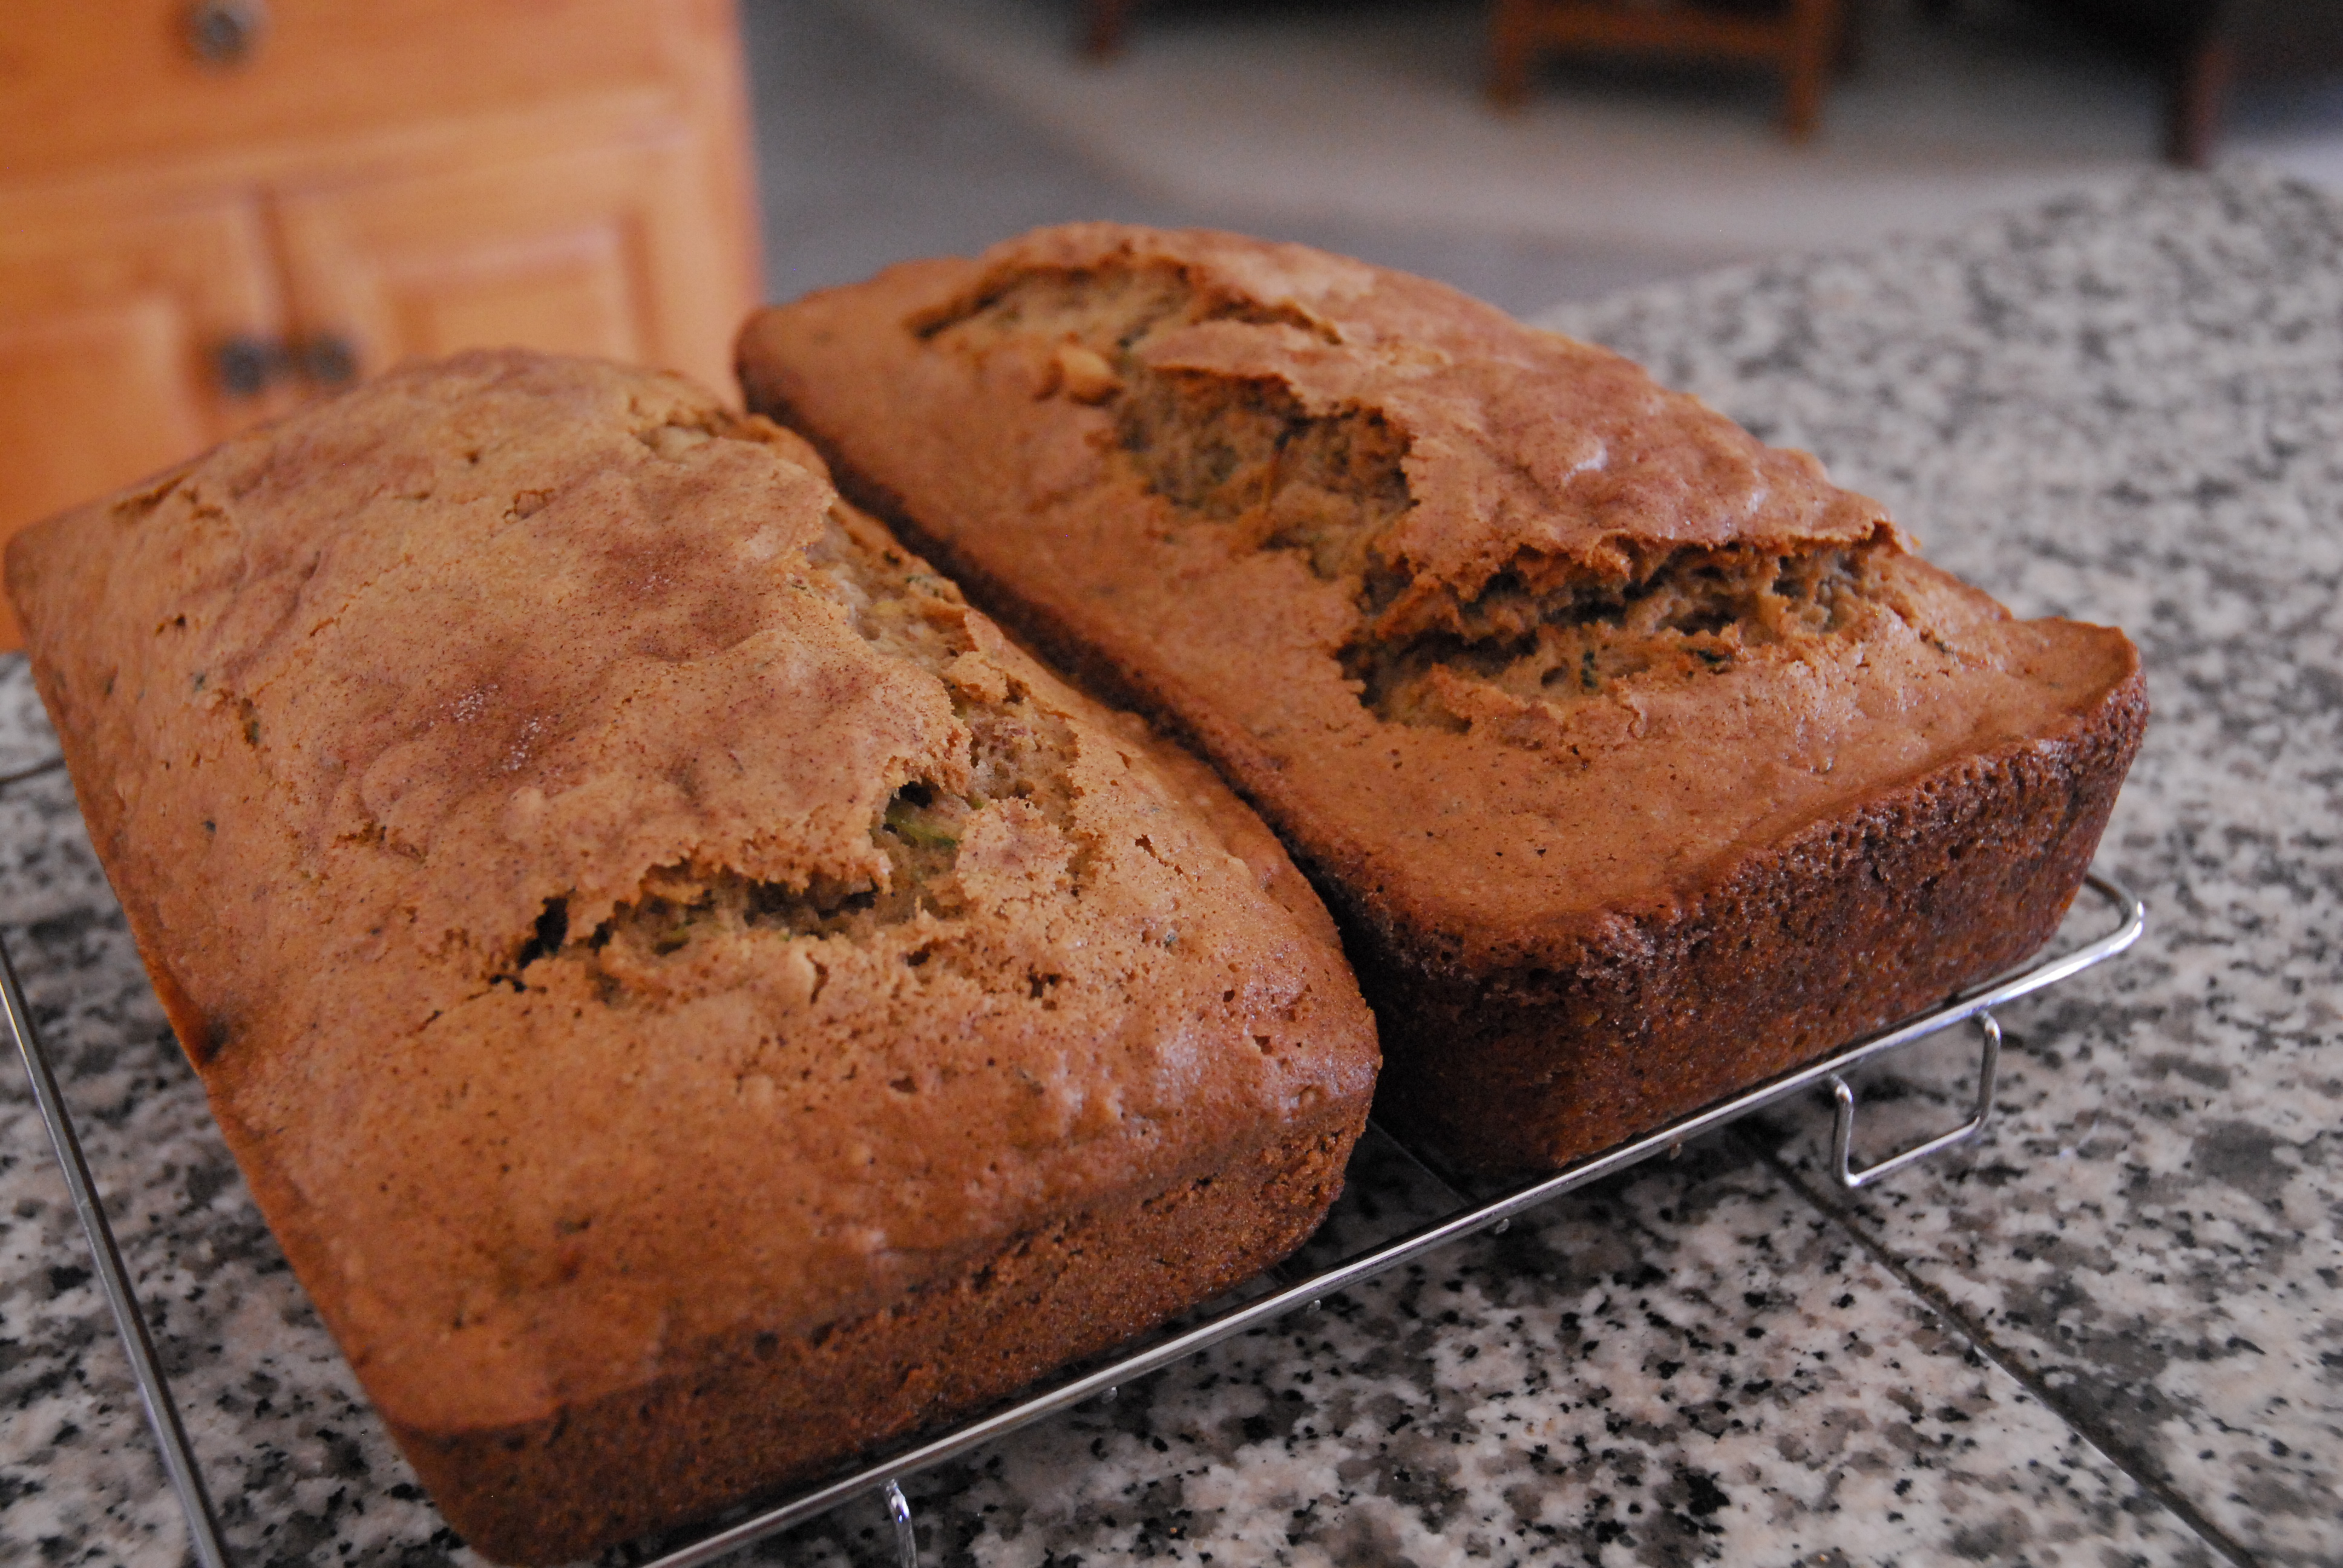
I also sprinkle a bit more of the cinnamon sugar onto the batter before putting it into the oven. Bake at 350* for 50 to 60 minutes or till a wooden toothpick inserted near the center comes out clean. Cool in pan 10 minutes. Remove from pan, and cool on a rack.

Psych is definitely going to be an “Obsessions” post sometime in the near future- we love that show! In fact, we just finished watching the Season 7 finale- it’s a sad day in our household.
Zucchini Nut Bread
(makes two loaves)
Preheat oven to 350*
3 cups flour
2 tsp. cinnamon
1 tsp. baking soda
1 tsp. salt
1/4 tsp. nutmeg
1/2 tsp. baking powder
2 cups sugar
2 1/2 cups shredded zucchini
2 eggs
1/2 cup oil
1/2 tsp. lemon zest
3/4 cup chopped walnuts
In mixing bowl beat together sugar, zucchini, and egg. Add oil and lemon zest and mix well. Add in the flour, cinnamon, baking soda, salt, nutmeg, and baking powder, and mix well. Gently fold in chopped nuts. Turn batter into a greased loaf pan, i sprinkle a bit of cinnamon sugar into the pan after spaying in a it of oil. I also sprinkle a bit more of the cinnamon sugar onto the batter before putting it into the oven. Bake at 350* for 50 to 60 minutes or till a wooden toothpick inserted near the center comes out clean. Cool in pan 10 minutes. Remove from pan, and cool on a rack.
tags: zucchini, bread, walnuts, lemon, citrus, dessert, sweets, breakfast, garden