On Wednesday, we will be posting our 100th post!!! Because of this momentous occasion, we’re revisiting some of our favorite recipes/posts. So without further ado, a brownie recipe from way back in April!
I had a hankering for brownies the other day and I remembered that I had picked up a bag of Andes Creme de Menthe Baking Pieces just a few days before from the grocery store. Who knew these delicious little treats existed? I didn’t – and now I’m sort of sorry that I discovered them.
So back to the brownies, I took a basic brownie recipe and just modified it a bit. The result was a gooey, mint chocolate brownie that was delicious! You’re welcome!
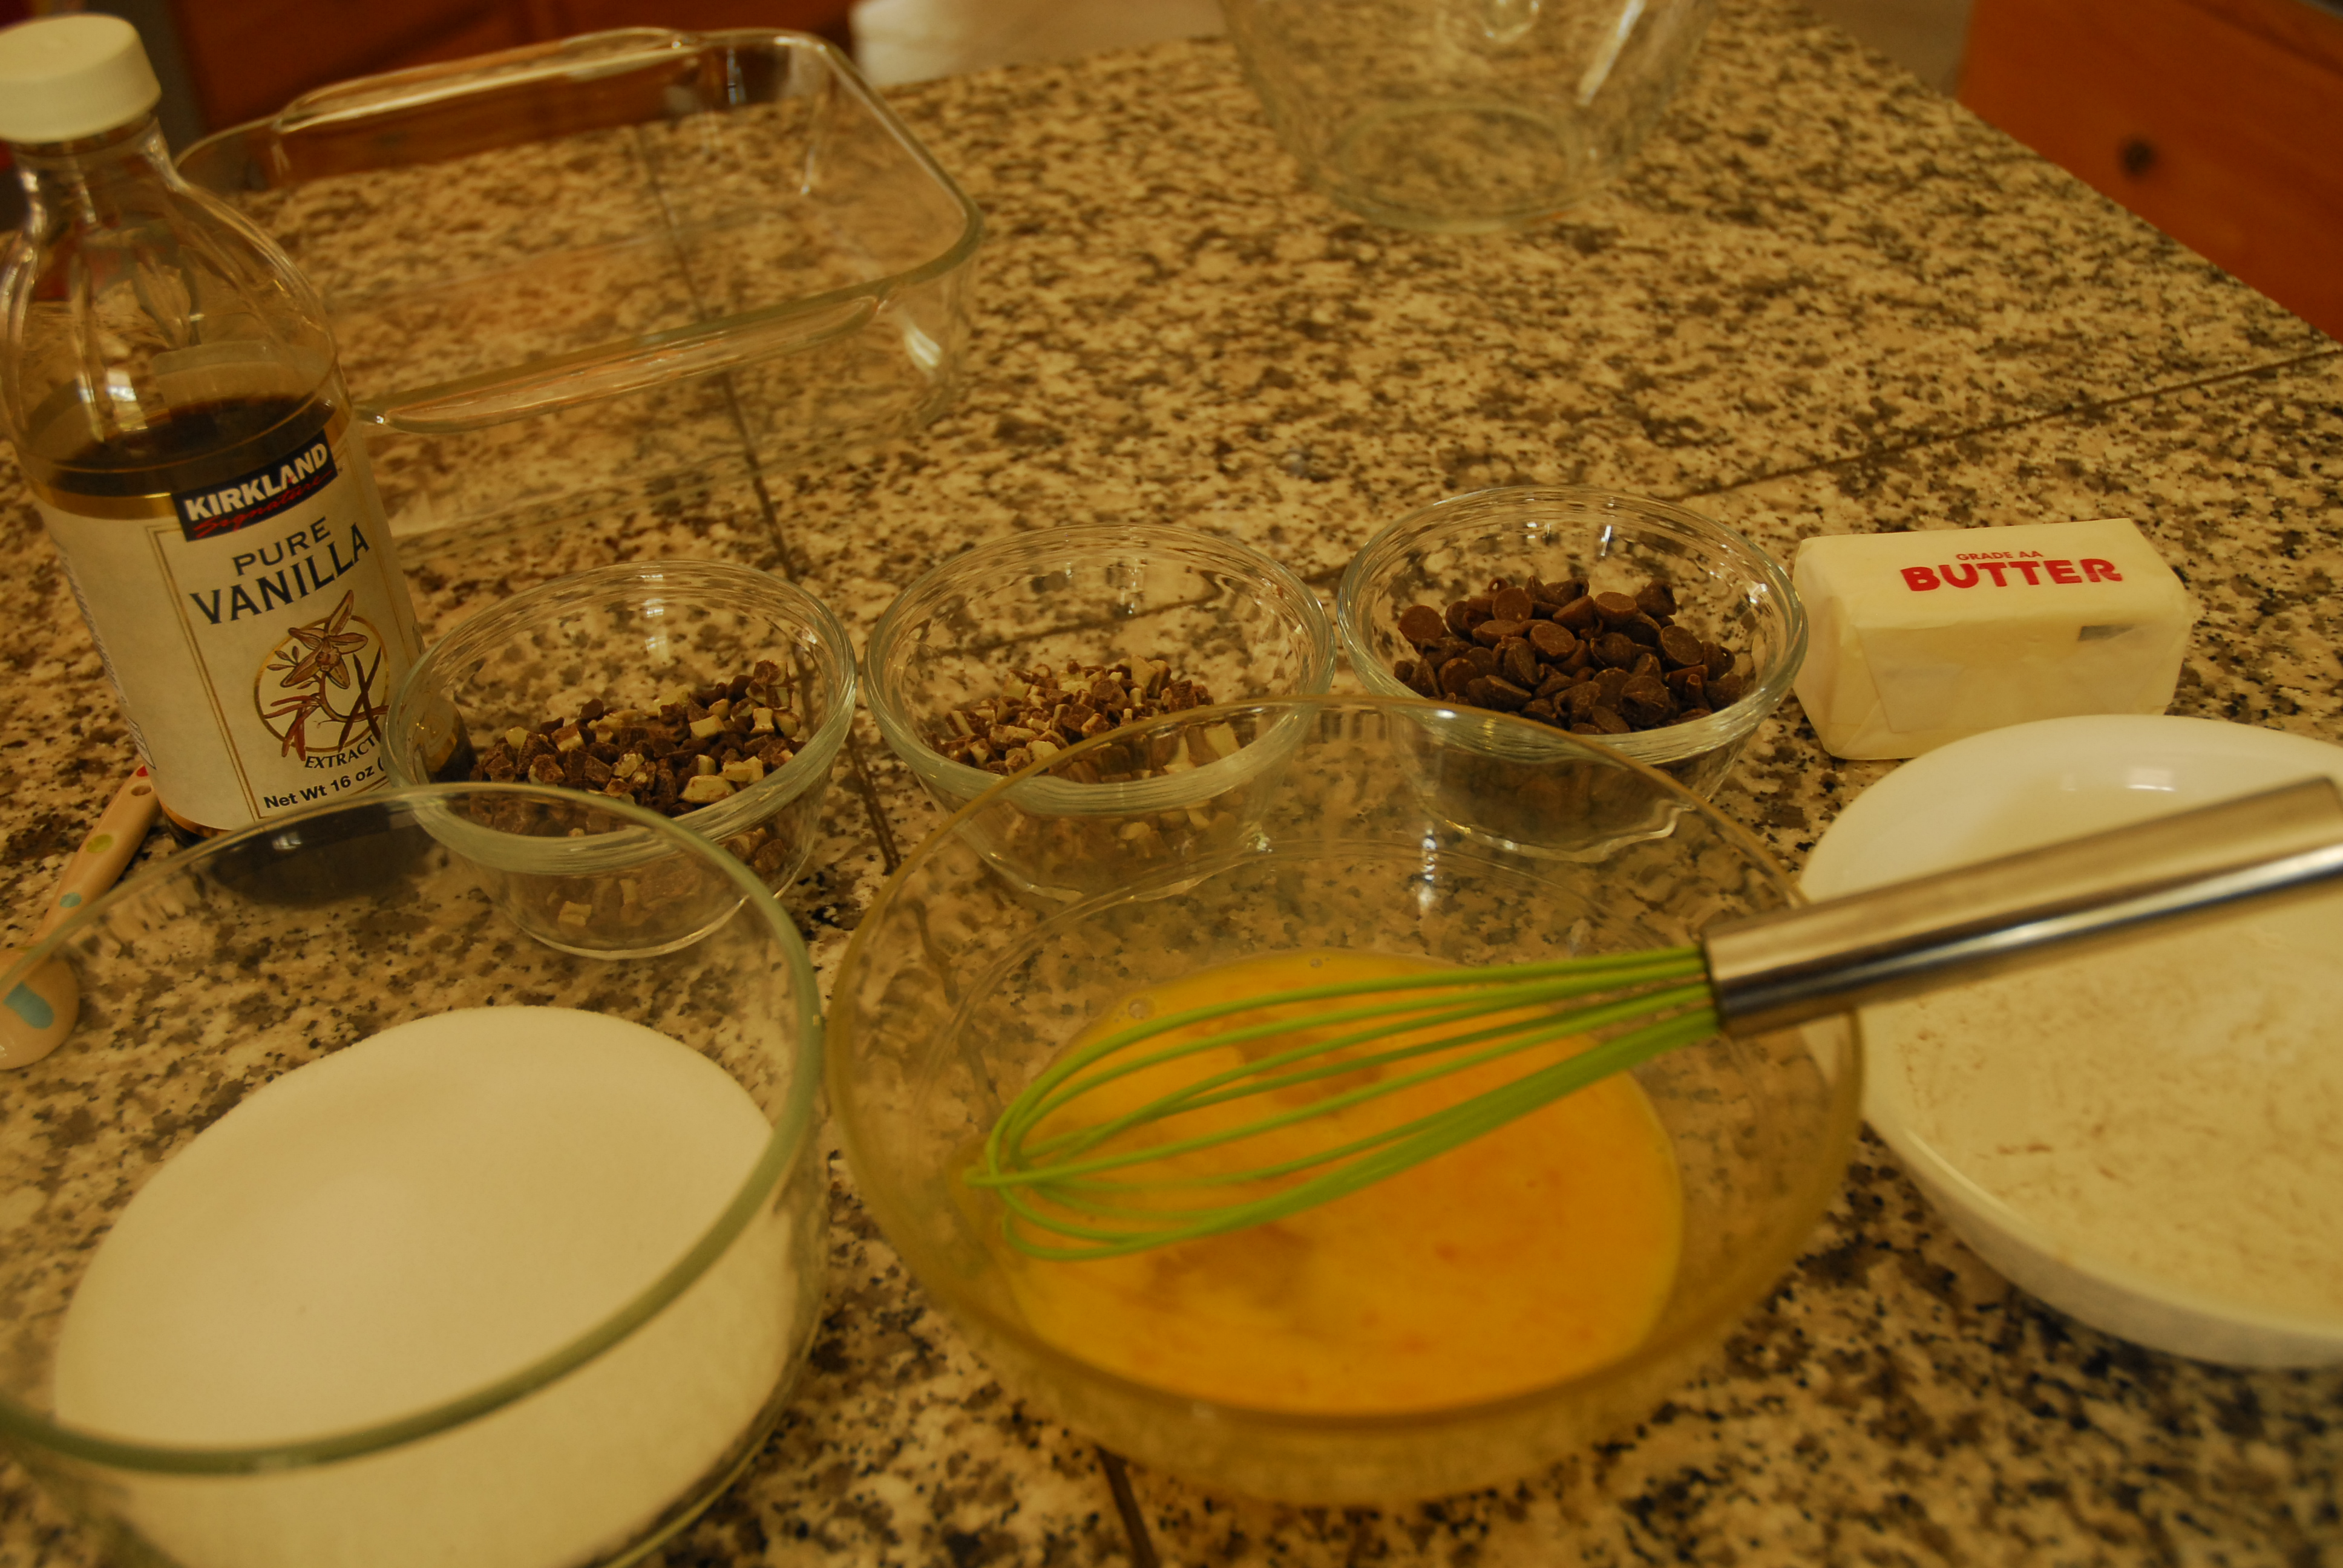
Here are the ingredients…
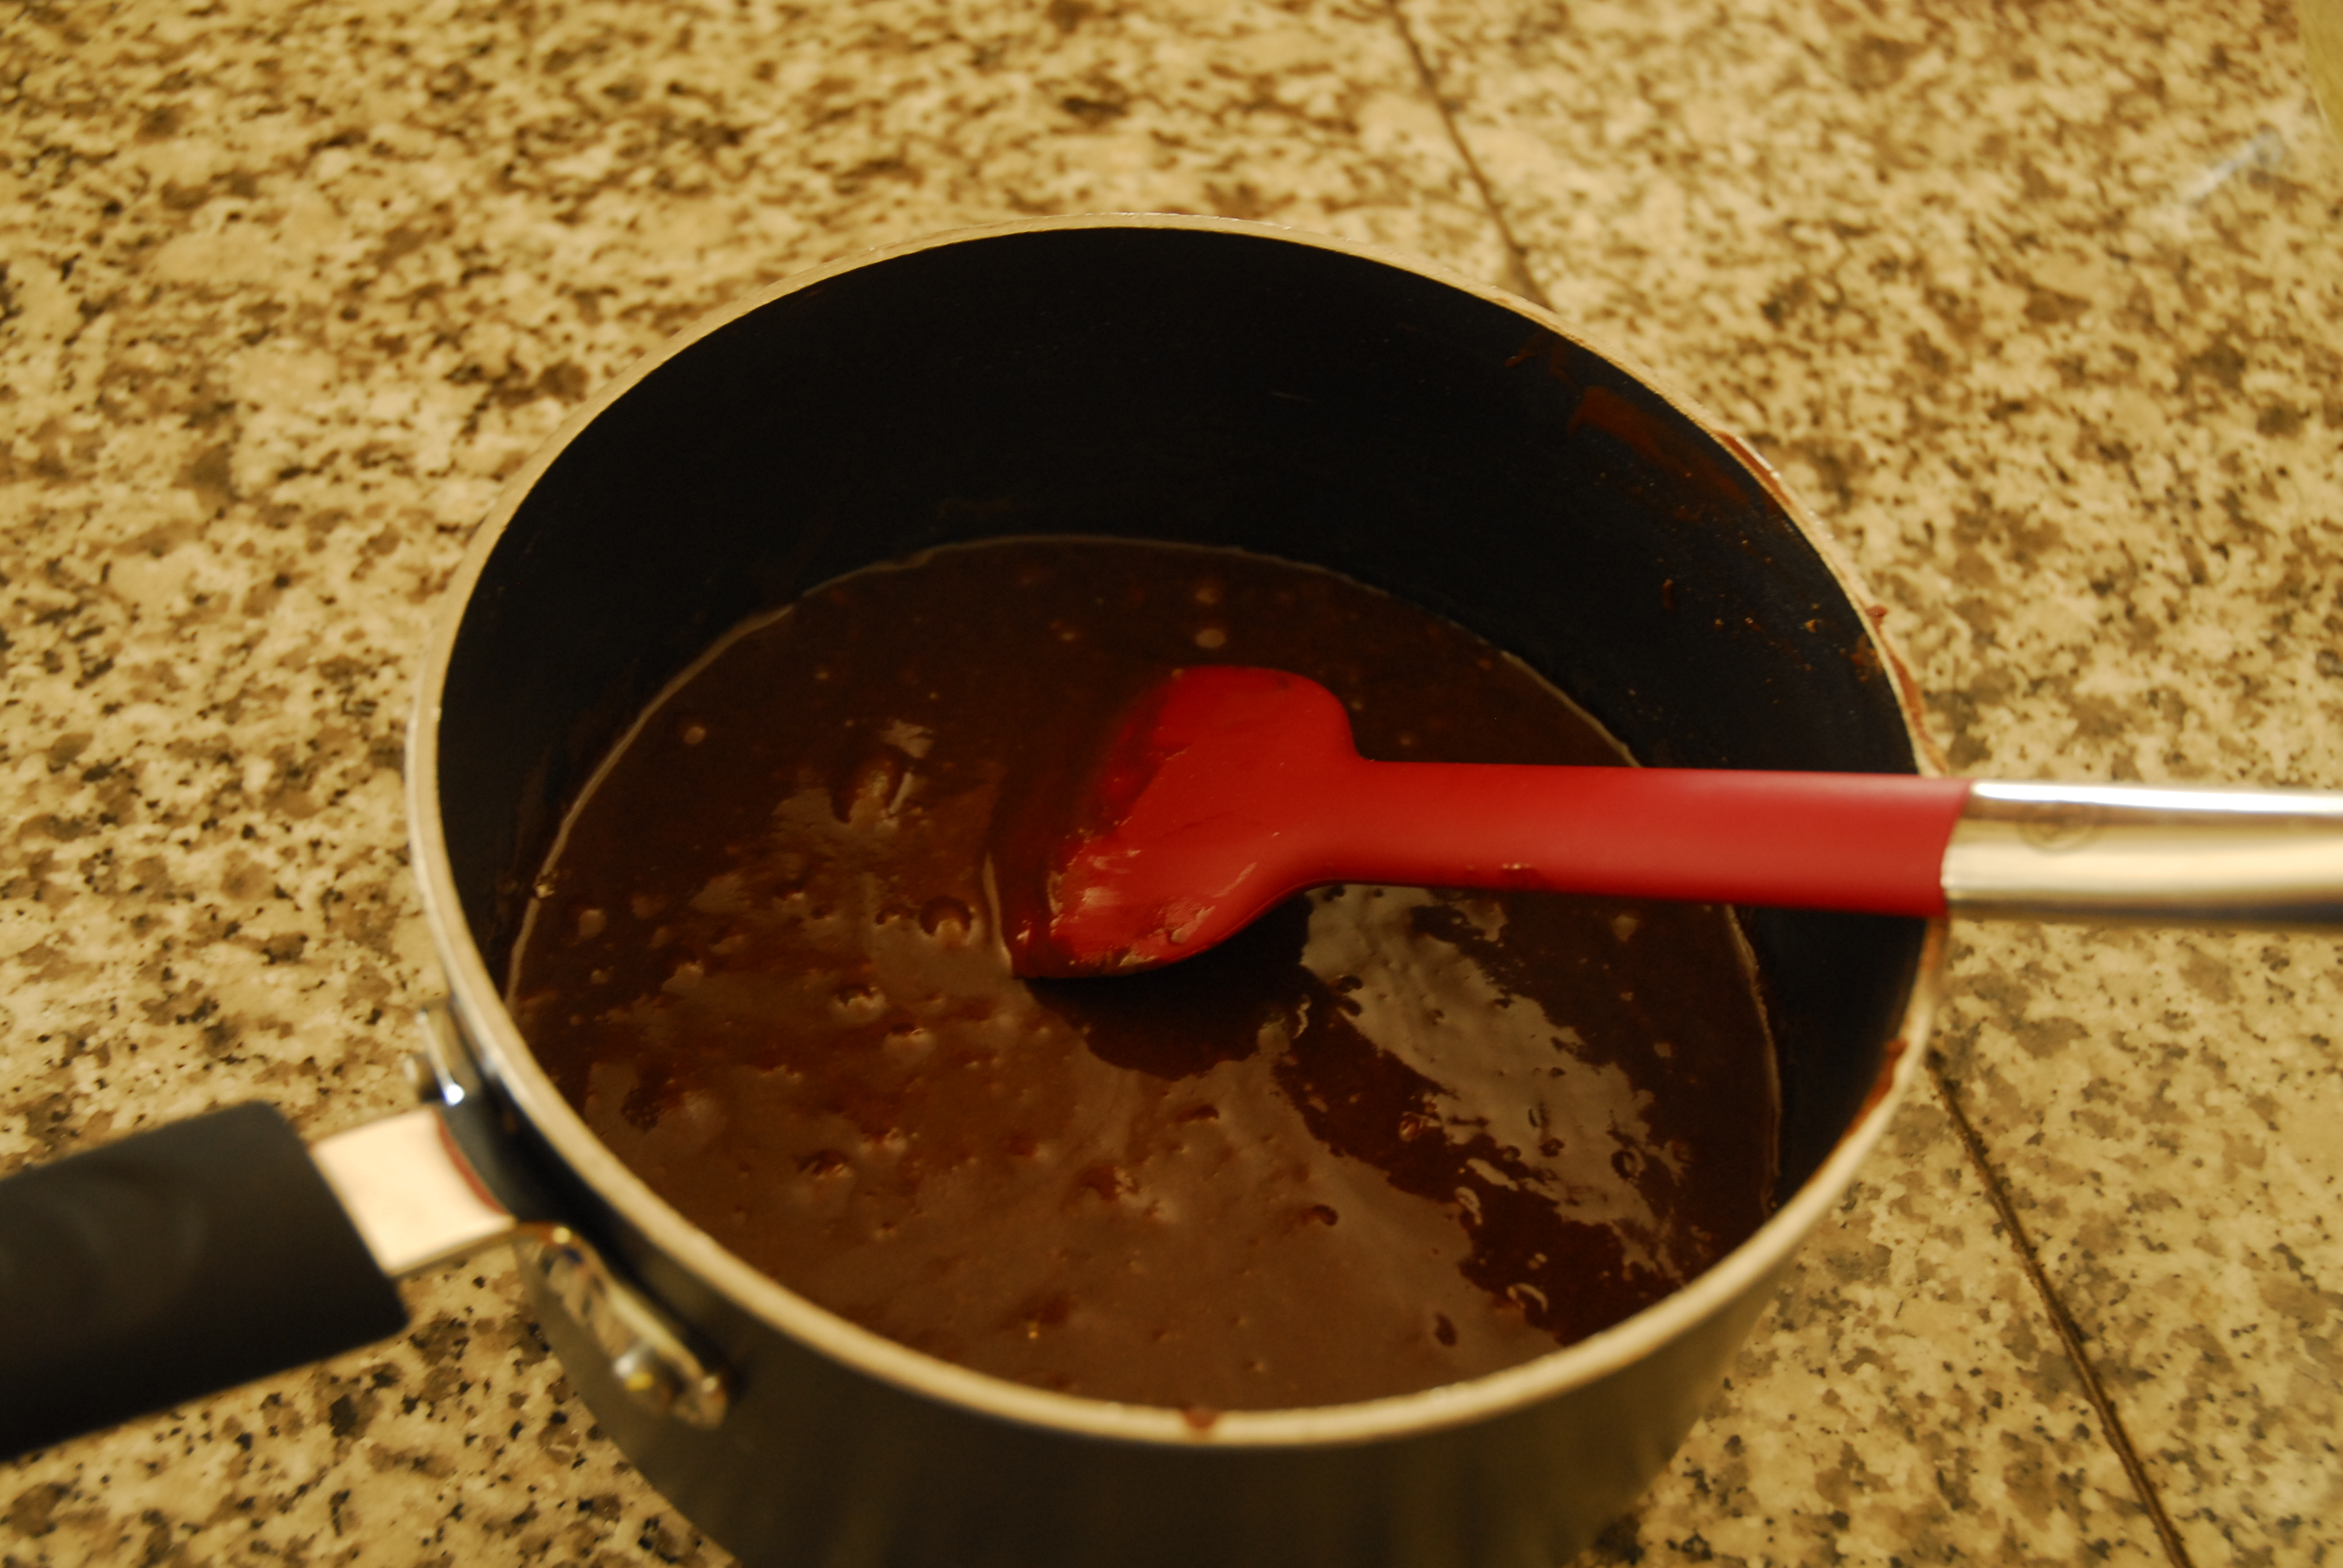
Start by melting the chocolate chips, the Andes mint chips and the butter in a saucepan.
Dump in the rest of the ingredients…
and stir well.
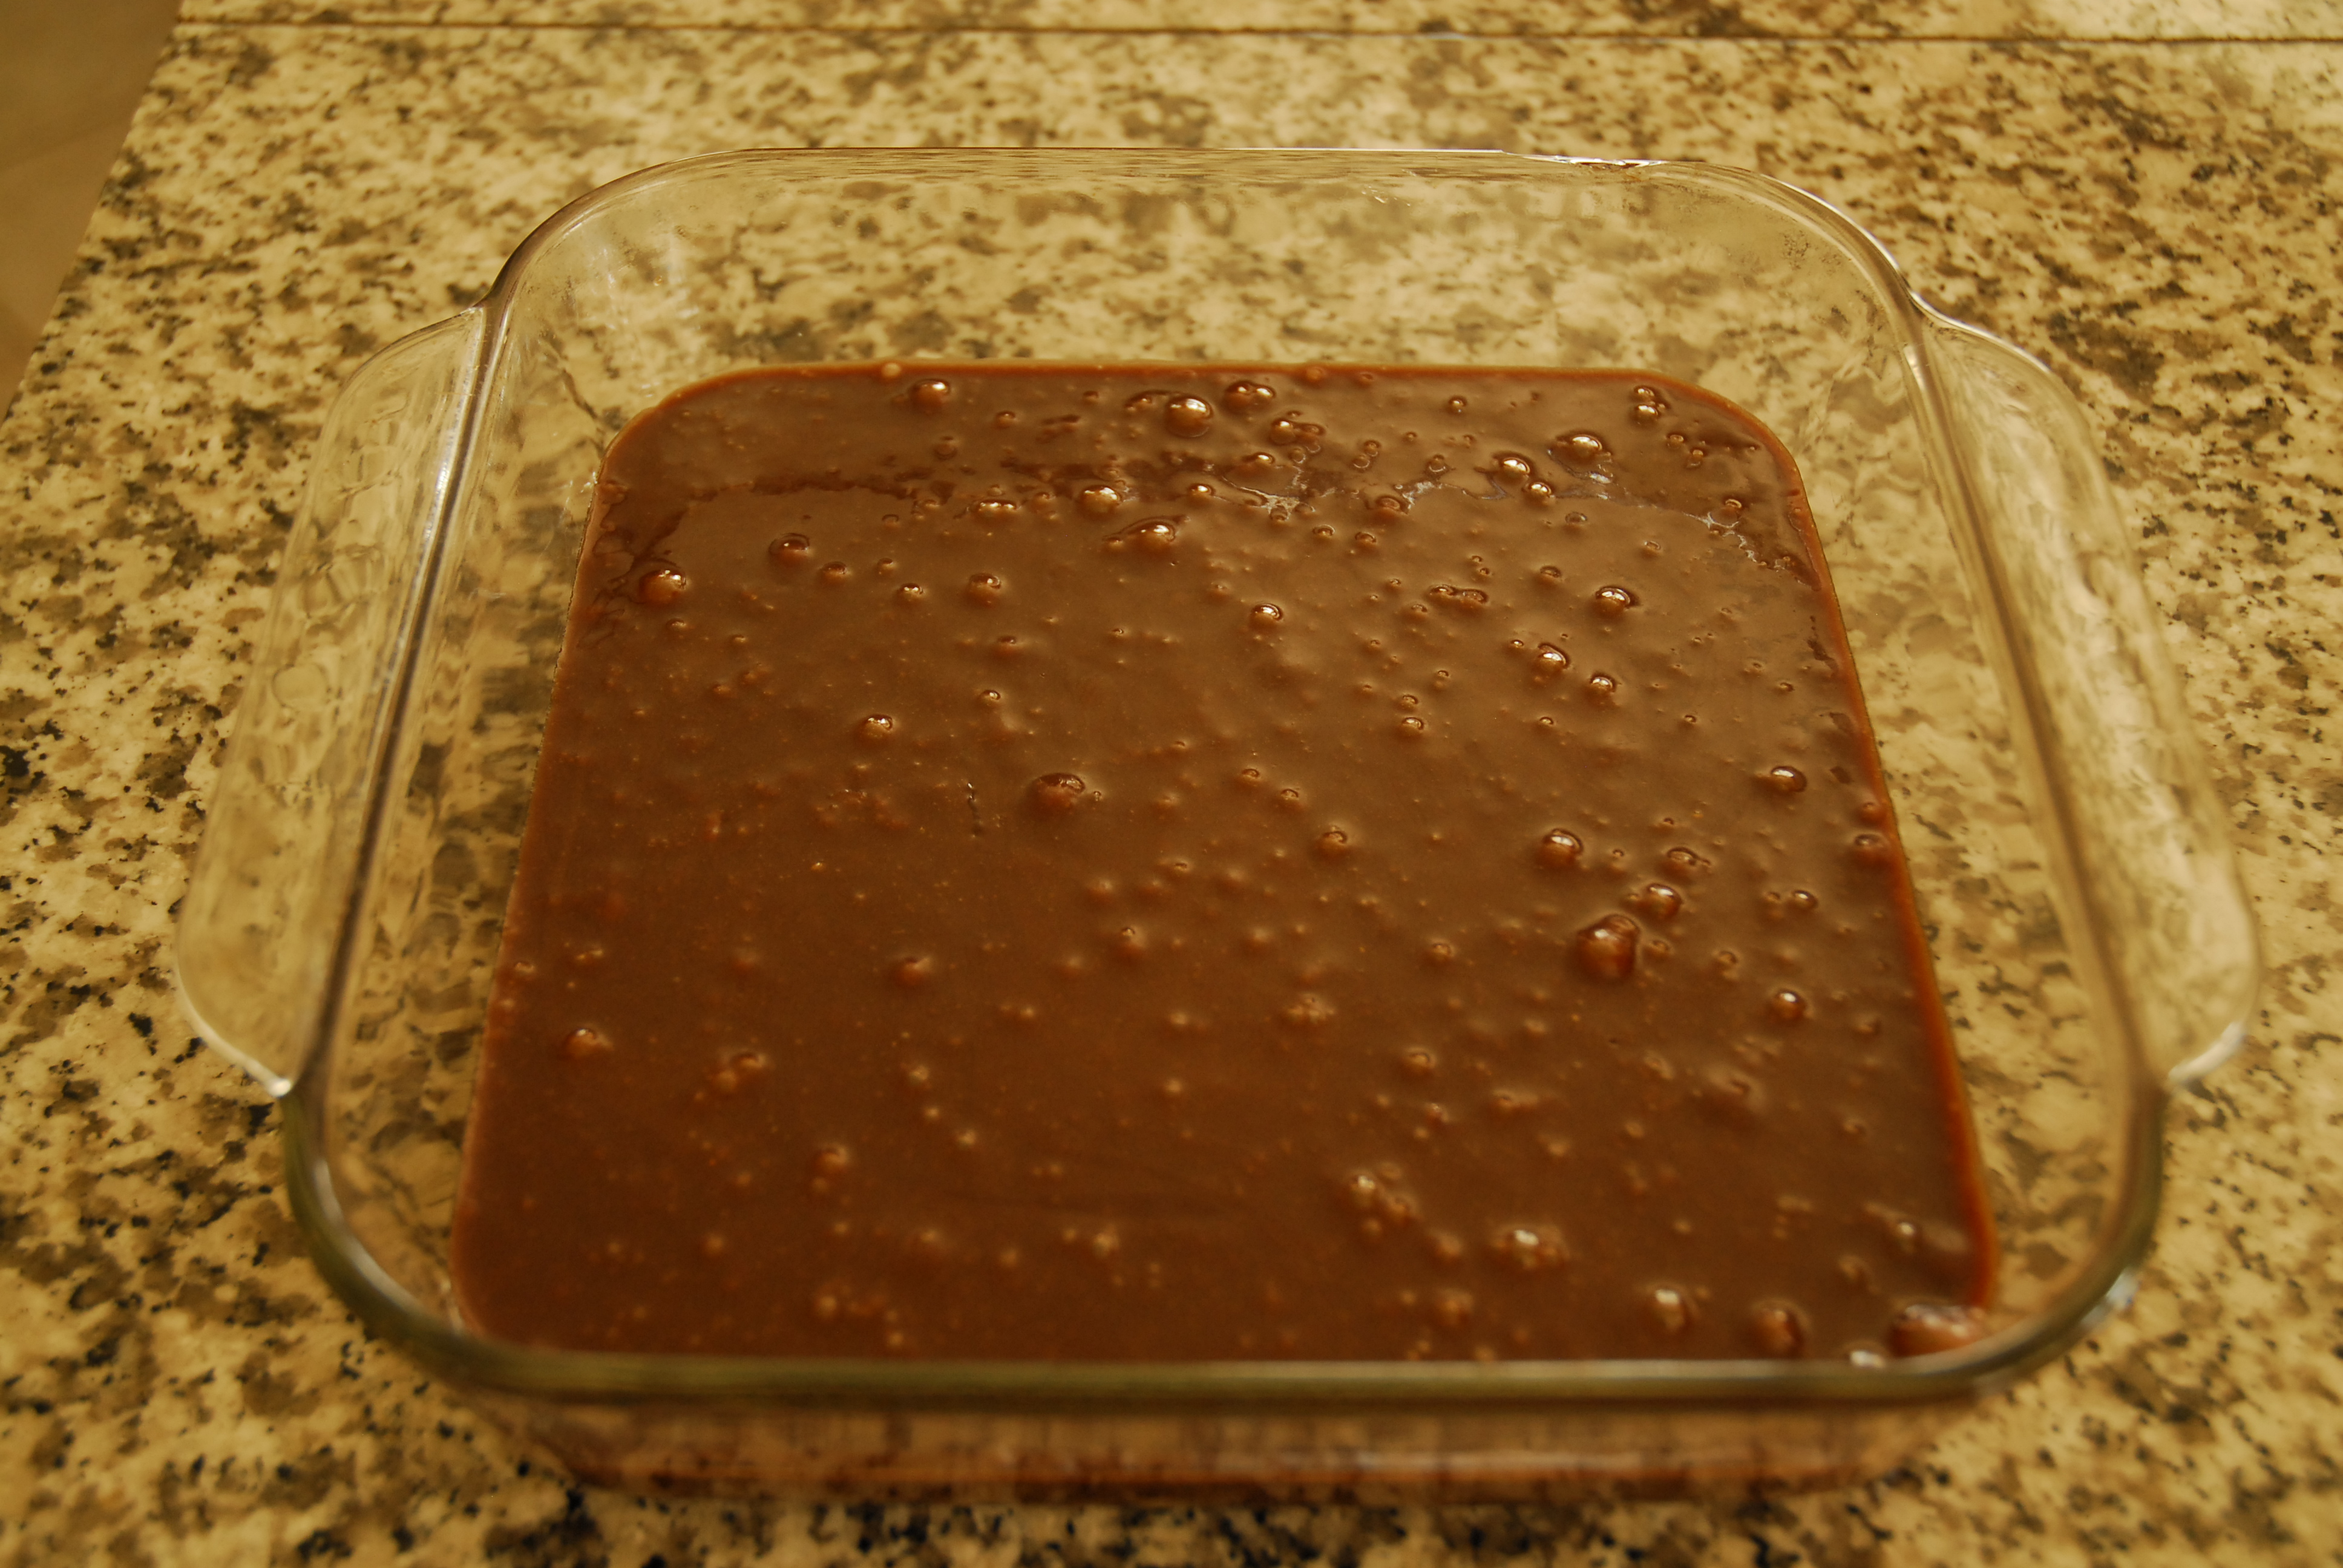
Pour into an 8×8 pan.
Bake at 325* for 45-50 minutes or until cooked through. Remove pan from oven, then sprinkle 1/8 of a cup of chocolate chips and 1/8 of a cup of Andes mint chips over the cooked brownies.
Allow the brownies to cool (slightly) and then dig in! We enjoyed ours with a scoop of yummy vanilla ice cream. Mmmmmmm!
Andes Mint Brownies
1/2 cup semi sweet chocolate chips
1/4 cup Andes Creme de Menthe Baking Chips
1 stick butter
1 1/4 cup sugar
3 beaten eggs
3/4 cup flour
1 tsp. vanilla
In a saucepan over low heat, melt together the 1 stick of butter, the chocolate and the mint baking chips. Once melted, remove from heat.
Add the rest of the ingredients and mix well.
Spread into a 8×8″ pan.
Bake at 350* for 45 to 50 minutes. As soon as you pull out of the oven sprinkle 1/8 cup of mini chocolate chips and 1/8 cup of Andes Creme de Menthe Baking Chips over the top of the cooked brownies. Allow the brownies to cool and then dig in! We enjoyed ours with a scoop of yummy vanilla ice cream.
We didn’t have internet at our house from Monday, 11/4, until last night at 8 p.m.
I know! Is a cold sweat breaking out on your forehead at the very thought?? We made do with coffee shop internet and some very kind neighbors allowing us to hack into their internet. Barely!
Throughout the week, I was flashing back to the “Dark Ages”, as we’re so fond of calling them- the good ol’ dial-up days! Remember? When your computer would make sounds as it connected to the internet? Listen and have a flash-back moment with me….
We’d bring a book to the computer with us so that we’d have something productive to do while waiting for each and every webpage to load. In my mom’s case, she’d knit in front of the computer. The unfortunate fact about that situation was that she actually got a lot of knitting done whenever she went online. One friend taught herself sign-language while waiting for her dial-up. It would take us at least half an hour to load a two-minute YouTube video. By the time your email loaded you felt like throwing your computer out the window. It was worse then waiting in line at the Post Office. If you think I’m exaggerating at all, think again. I’m very sorry to say that it really was that bad. Do you feel my pain yet?
I feel like now’s a good time to remind you that we live in the middle of no where. It takes 15 minutes to get “into town” to check the mail and go to the library and 30 minutes to go anywhere else. Going “into town” is an event that consists of very little excitement, since our little town just doesn’t have very much going on. I know that there’s probably some people out there reading this saying ‘that’s nothing- I live blank minutes from anywhere’. I have the utmost respect for you. Anyway, our internet options are pretty scarce out here in the sticks, and high-speed internet was just not an option until very recently. And even now, “high-speed” is a vast over-exaggeration. Anything beats dial-up though.
At least back then though, we did have some form of internet- this past week and a half we’ve had nothing. Nada. The AT&T guy came by our house on Day 5 of our departure into the dark ages, and informed us that our modem was broken and that he didn’t have a replacement modem in his service truck, so we’d have to wait for another person to come out and fix it for us. My question for Adam (the AT&T guy) was what self-respecting internet repair man doesn’t carry around a spare modem or two? Because you know, just in case someone has a problem with their internet and actually wants it fixed?!? I promise, I didn’t actually say this to him. I just thought it in my head. Loudly. If you can scream something in your head, I did.
Despite everything I just said in that rant, we’ve actually been seeing the perks in not having internet. We’ve realized that we do fill our time with some meaningless time online, and not being able to connect instantly has made us think about how we spend our free time. And having to get a Shivered Mint Cookie Frappuccino in order to use the local coffee shop’s internet has obvious benefits. Please don’t think that this means that you should call Adam for us and tell him that we really don’t want to keep our newly-restored internet, because we do. Oh we do.
In order to brighten my darkened existence, I found some adorable dark colored clothing to share with you all. I have to be completely honest (in case you were afraid that I wasn’t telling you how I really felt in the monologue above)- the real reason I’m doing this Fashion Friday post is because it gave me an excuse to hang out at the coffee shop and drink the afore-mentioned Shivered Mint Cookie Frappuccino. Life is good.
A friend and I just had a conversation about flannels, so when I saw this one I knew I had to post it. We agreed that the best place to buy flannels is in the men’s section of thrift stores. The perfect mix of oversized comfort and cute cozy flannel. Oh and adorable cheap thrift store wear.
I have a jacket that’s a similar cut to this but a different fabric. It’s a Free People denim jacket that I bought at a resale store for $25. I honestly think that it’s one of the best purchases I’ve ever made- it looks brand new, is the perfect size, and is obviously excellent quality. It looks like denim but is actually cotton so it’s super comfortable. I wear it a ton with dresses, and it also looks cute with black jeans.
In honor of Callie’s second birthday, I decided to bake her some special doggie treats. I originally planned on making a recipe that involved bacon, so while stopping at the store before taking Travis back to school, I picked up a few items too. He was shocked to see that I was buying bacon. Not that I have anything against bacon. I love bacon – that’s why I rarely buy it! I explained it was for Cal Cal and Travis said with disgust, “so you’ll buy bacon for the dog but not for us?” Too funny! It is her birthday after all.
However, I settled on a recipe with pumpkin in it because Callie loves fruit and veggies. Jordan and I stopped at the cooking store, Sur La Table, the other day to buy a dog bone shaped cookie cutter. I love that store- if you’ve never been, you need to go – it is amazing. I made a big $0.82 purchase and got to try a delicious cappuccino at the same time. I admitted that I was baking for my dog and the gal behind the counter told me about this pumpkin dog treat recipe.
I got the recipe off allrecipes.com and I modified it just a bit. The dogs seemed to really enjoy the treats and Jordan and I thought they weren’t too bad. Yep, we tried them 🙂
^^^The birthday girl waiting oh so patiently for her home-baked treat.
Peanut Butter and Pumpkin Dog Treats
2 1/2 cups flour, I used all purpose but the recipe recommended whole wheat
2 eggs
3 T peanut butter, I used chunky
1 cup canned pumpkin
1/2 tsp salt
1/2 tsp cinnamon
Preheat oven to 350*.
Put all ingredients together in bowl and mix well. I used my KitchenAid mixer. If you need a bit more moisture add water to the mixture one tablespoon at a time. The dough should be pretty dry, so don’t add too much water. I didn’t need to add any water. Once mixed, turn dough out onto a floured surface and roll out to 1/4 to 1/2″ thickness. Cut out to desired shape. Put onto an ungreased cookie sheet and bake for a total of 40 to 50 minutes. I turned the cookies halfway through the cooking time. Keep in an airtight container.
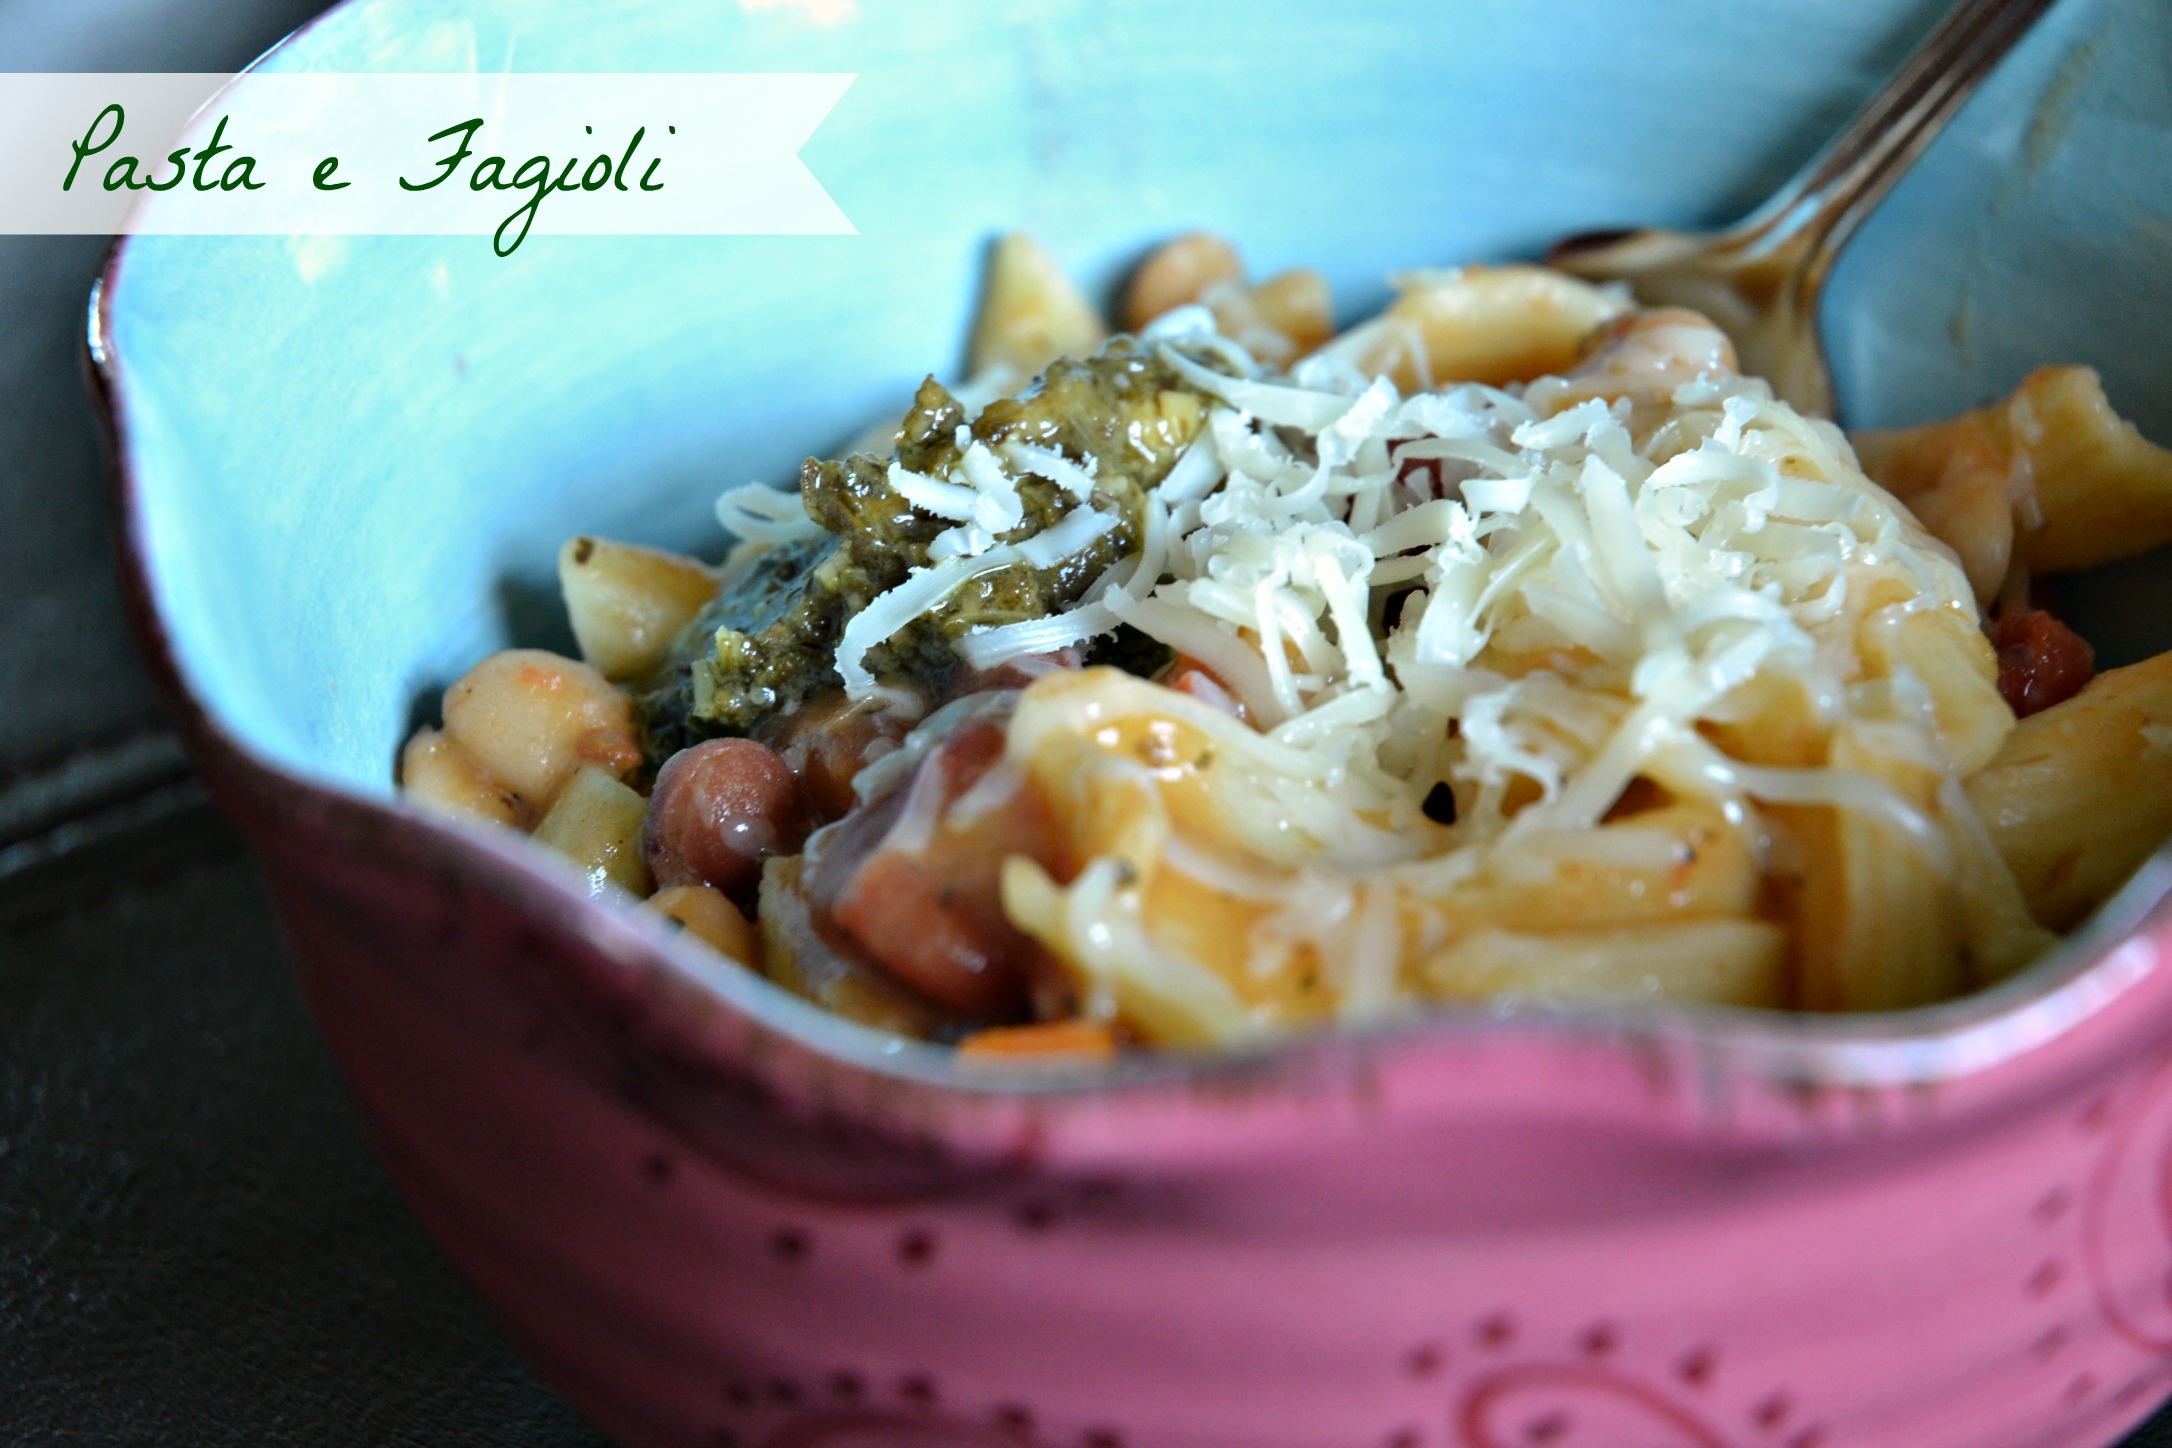
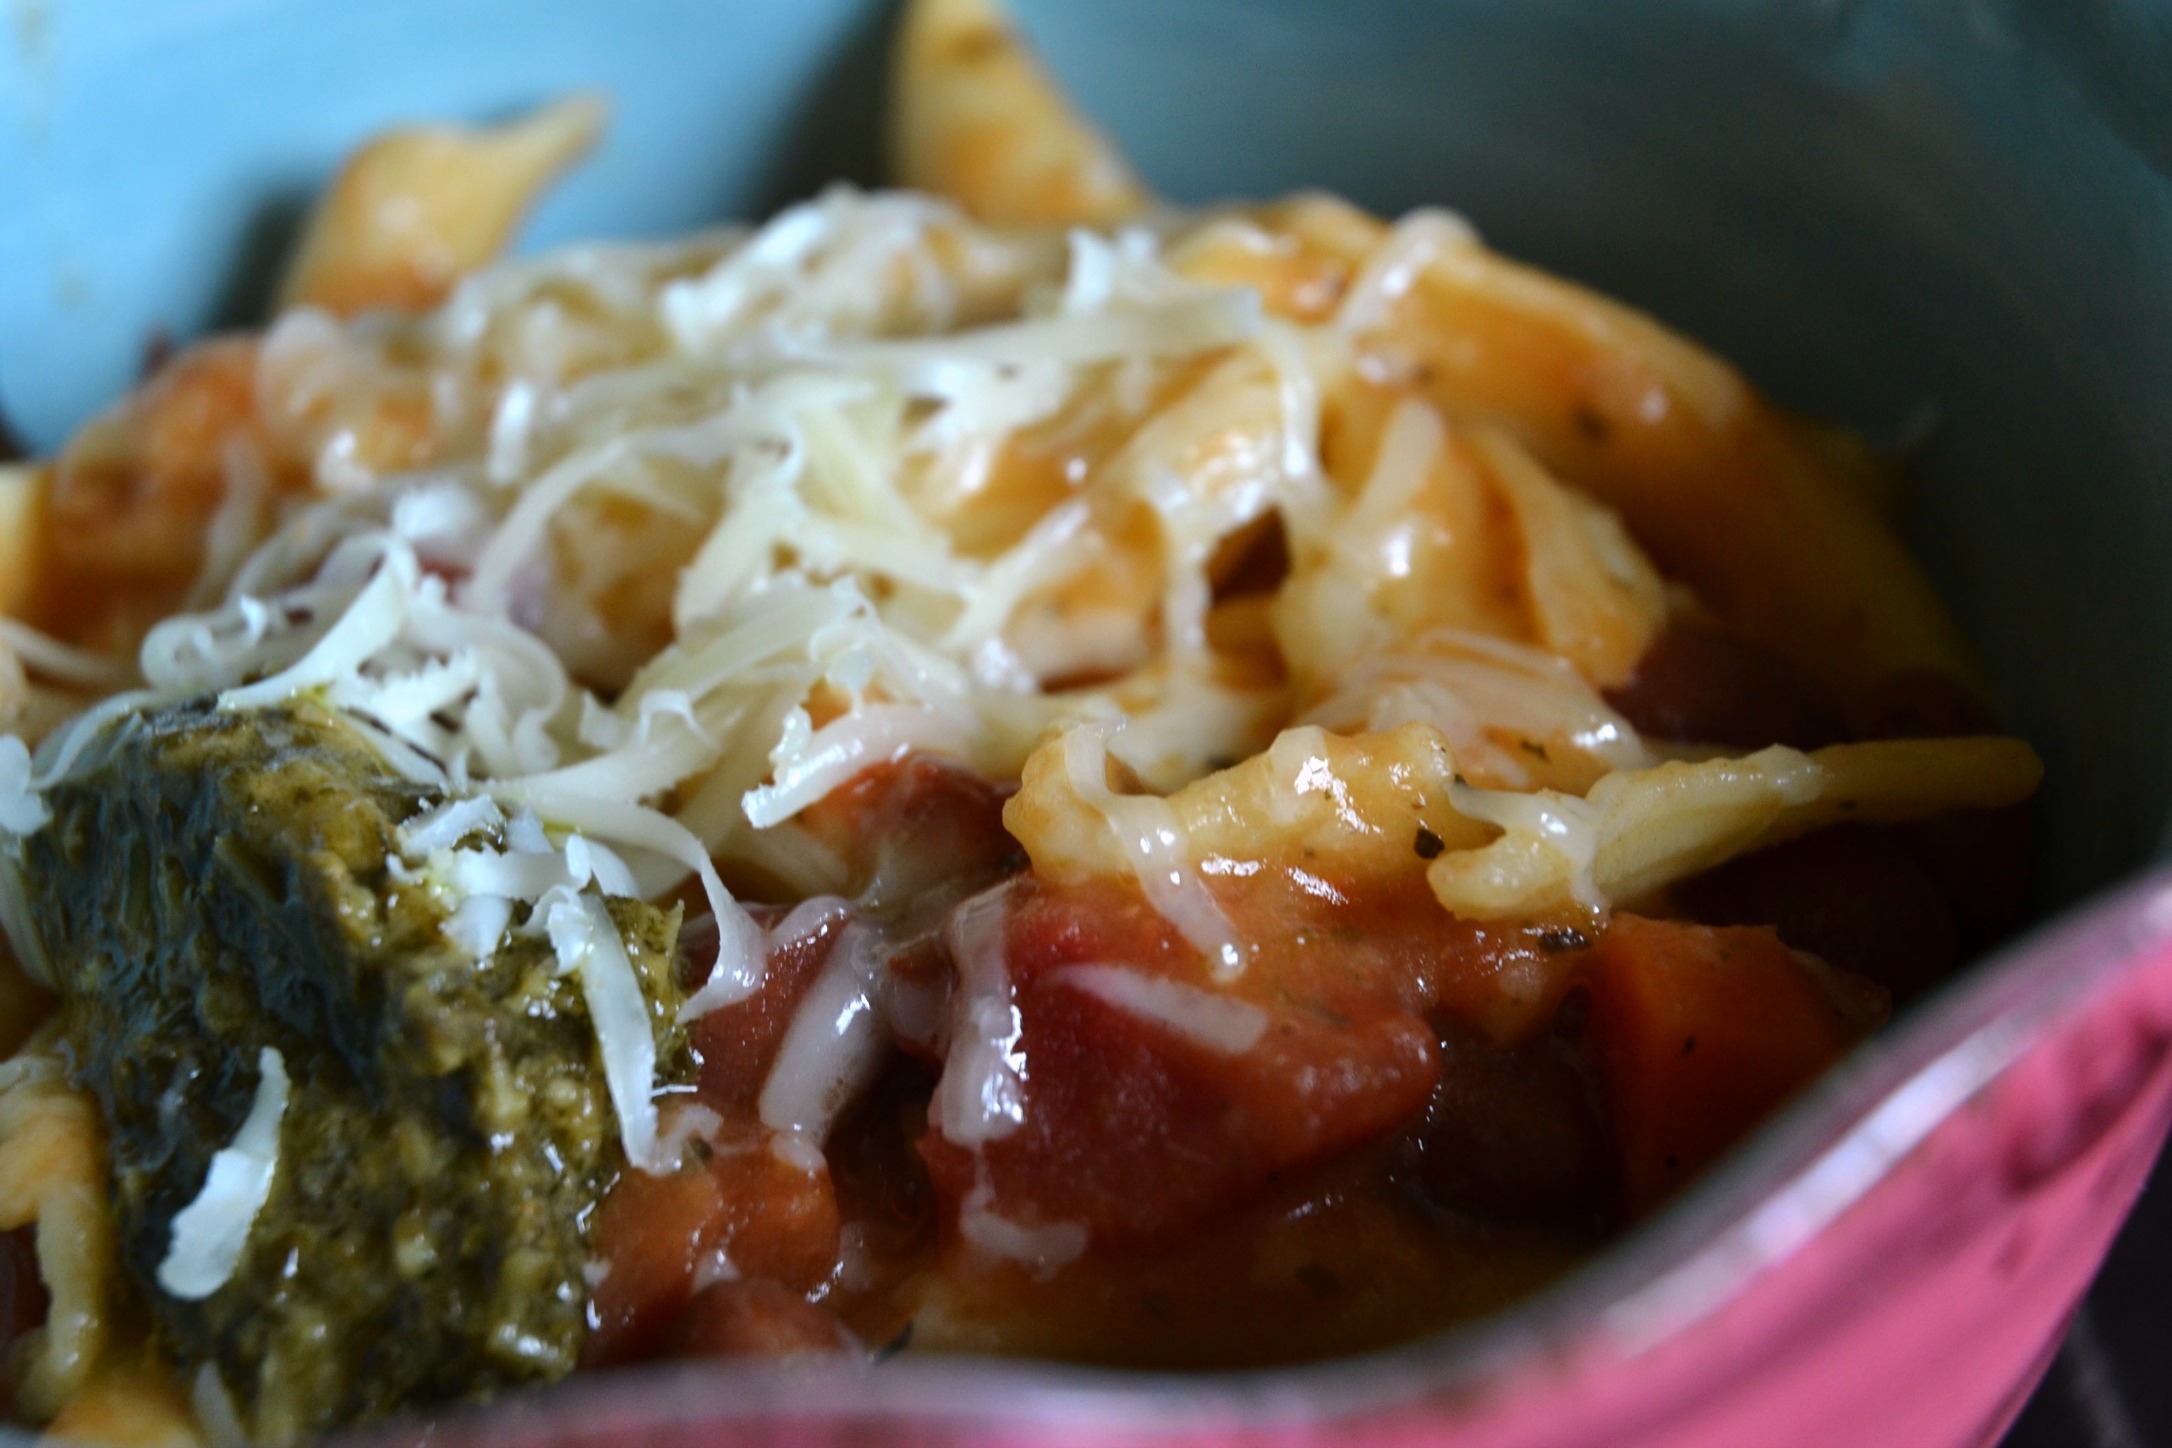
This Italian pasta and bean soup is hearty and very inexpensive. Jordan loves it and often requests that I make it. Last week we had several days of chilly weather, so this was a perfect warm and hearty meal. You can add cooked chicken or sausage to it, but we always eat it without meat. Just add the cooked meat when you add the pasta and allow enough time for it to heat through.
This recipe came from a book that I borrowed from the library – it’s all about being thrifty. I think it was actually called Be Thrifty – catchy huh? Being the thrifty gal I am, I didn’t buy the book, I just copied this page out of it! I modified the recipe a bit to suit our tastes.
Pasta e Fagioli
2 tsp olive oil
1 large onion, diced
3 medium carrots, peeled and sliced
1 clove garlic, minced
4 cans broth, whatever kind you like. Chicken, beef, vegetable, all good. I use the bouillon cubes and water, keeping with the thrifty theme.
3 -14 1/2 ounce cans Italian diced tomatoes
1 tsp dried Italian seasoning
1/2 tsp black pepper
1 tsp salt
1 tsp pesto sauce
4 – 15 ounce cans beans – I use a combo of white and red beans. The recipe calls for white and kidney beans. Use whatever you like or have in your pantry
2 to 3 cups of cooked pasta, again whatever you have. The recipe calls for elbow macaroni.
1/3 cup shredded or grated Parmesan cheese
Additional pesto for garnish
Fresh basil
Heat oil in Dutch oven or soup pot over medium heat. Add the diced onion and cook while getting the carrots ready. Add the carrots and continue cooking for about 4 minutes.
Add the garlic, broth, tomatoes with their juice, Italian seasoning, salt and pepper to the pot. Stir and then cover and bring to a boil. While the soup is cooking, I start opening the cans of beans and I drain and rinse them and then add to the soup and continue cooking on low with the lid on.
In a separate pot, cook the pasta. I normally under cook the pasta just a bit. When finished cooking, drain and set aside.
After about 20 minutes to 30 minutes, or close to when you’re going to eat, add the cooked pasta. It is a bit more work to cook the pasta separately, but I think it makes a huge difference in the consistency of the finished product.
Serve with a bit of freshly grated Parmesan cheese, pesto and basil on top.
I have no idea how long I’ve had this recipe, or where it came from. It is written on a tiny scrap of paper that is crumpled and stained – but everyone LOVES this macaroni and cheese. It is simple and delicious.
I’m sure you could mix all the ingredients together and bake it, but I never have. I usually cook the pasta until just under cooked since I don’t want it to get soggy. While the pasta is cooking, I get the rest of the ingredients together and into the Crockpot. Stir well and then let it cook. I normally stir it a couple of times while it is cooking. I often double the recipe- my Crockpot will just barely hold that much.
We love our Mac and cheese with crushed Cheez-It’s on top. As you can see from the picture, we added a bit of leftover chili this time and some chopped green onions to a bowl too. It’s also a great camping meal.
Crockpot Mac & Cheese
1- 16 ounce package macaroni, cooked
1- 12 ounce can of evaporated milk
12 ounces milk, I use 1%
1 tsp. salt
3 cups shredded sharp cheese
1/2 cup melted butter
Cook macaroni, drain well. Spray inside of Crockpot well with cooking spray. Put cooked macaroni and remaining ingredients into Crockpot and stir well. Cover and cook on low for 3 to 4 hours.