Parmesan Pasta with Butternut Squash & Bacon

butternut squash with bacon pasta 2 edited with text

We love our parmesan pasta recipe and we make it quite often.This time, I decided to add bacon and sautéed butternut squash to it. It was delicious! The sort of sweet, creamy butternut squash mixed with the salty and crunchy bacon and the always delicious parmesan pasta…this dish is amazing. The unfortunate thing was I pretended that I was eating something really healthy because of the squash so I ate way too much.

butternut squash with bacon pasta 1 edited final

Parmesan Pasta with Butternut Squash & Bacon

1/2 pound of bacon

1 pound of butternut squash

1 red onion

1 Tablespoon of minced garlic

1/2 tsp. of salt

1/4 tsp. of red pepper flakes

Ingredients for pasta:

1 lb. dried pasta

1 stick of butter (I know, it’s a lot but totally worth it)

1/2 cup milk (I use 1%, cuz I’m healthy that way)

1 tsp. minced garlic

1/2 tsp. garlic salt

1/2 tsp. Italian seasoning

1/4 tsp. black pepper

1/2 cup grated Parmesan cheese

Freshly grated Parmesan cheese for garnish, along with fresh herbs if desired.

I started out with pre-cut organic butternut squash from Costco – so easy! After frying up the bacon, I scooped out most of the grease. I probably kept about 1 T of bacon grease in the pan. I added a chopped red onion and garlic and I cooked it for about 1 minute. I then added about 1 pound of cubed butternut squash. Sauté for several minutes, until soft. Add about 1/2 tsp of salt and 1/4 to 1/2 tsp. red pepper flakes and continue cooking, until squash is soft. Once the squash is to the desired consistency, add the chopped bacon, and set aside until the rest of your pasta is ready.

While the squash is cooking, start cooking your pasta and preparing the sauce:

Cook pasta following package directions. While the pasta is cooking, prepare the sauce: put all of the sauce ingredients into a large measuring cup and heat it in the microwave. It normally takes about 2 minutes, but you want to watch it – you don’t want any of that yummy goodness to boil over and end up in the microwave instead of on your pasta! So I normally microwave it for one minute and check it and then just let it sit until the pasta is finished and then heat it for the next minute once the cooked pasta is drained and back in the pot. Pour the completely melted and sort of bubbly sauce mixture over the top of the cooked pasta and mix well.

Add the 1/2 cup of Parmesan cheese and mix well. Then add the bacon and squash mixture and mix again.

When serving, we grate a bit of fresh Parmesan cheese over the top and if we are feeling particularly fancy, we add some fresh herbs such as basil or Italian parsley.

And now in honor of Thanksgiving, here are a few recipes that would be perfect to complete your delicious Thanksgiving spread!

Corn Casserole

corn casserole 1 edited

Crockpot Mac & Cheese

mac & cheese 1

Pumpkin Cake with Cream Cheese Frosting

pumpkin cake 1 editedFaux Banana Cream Pie

banana dessert 1 edited

And in case you have any leftovers…

Ham & Swiss Cheese Quiche

q_DSC0085

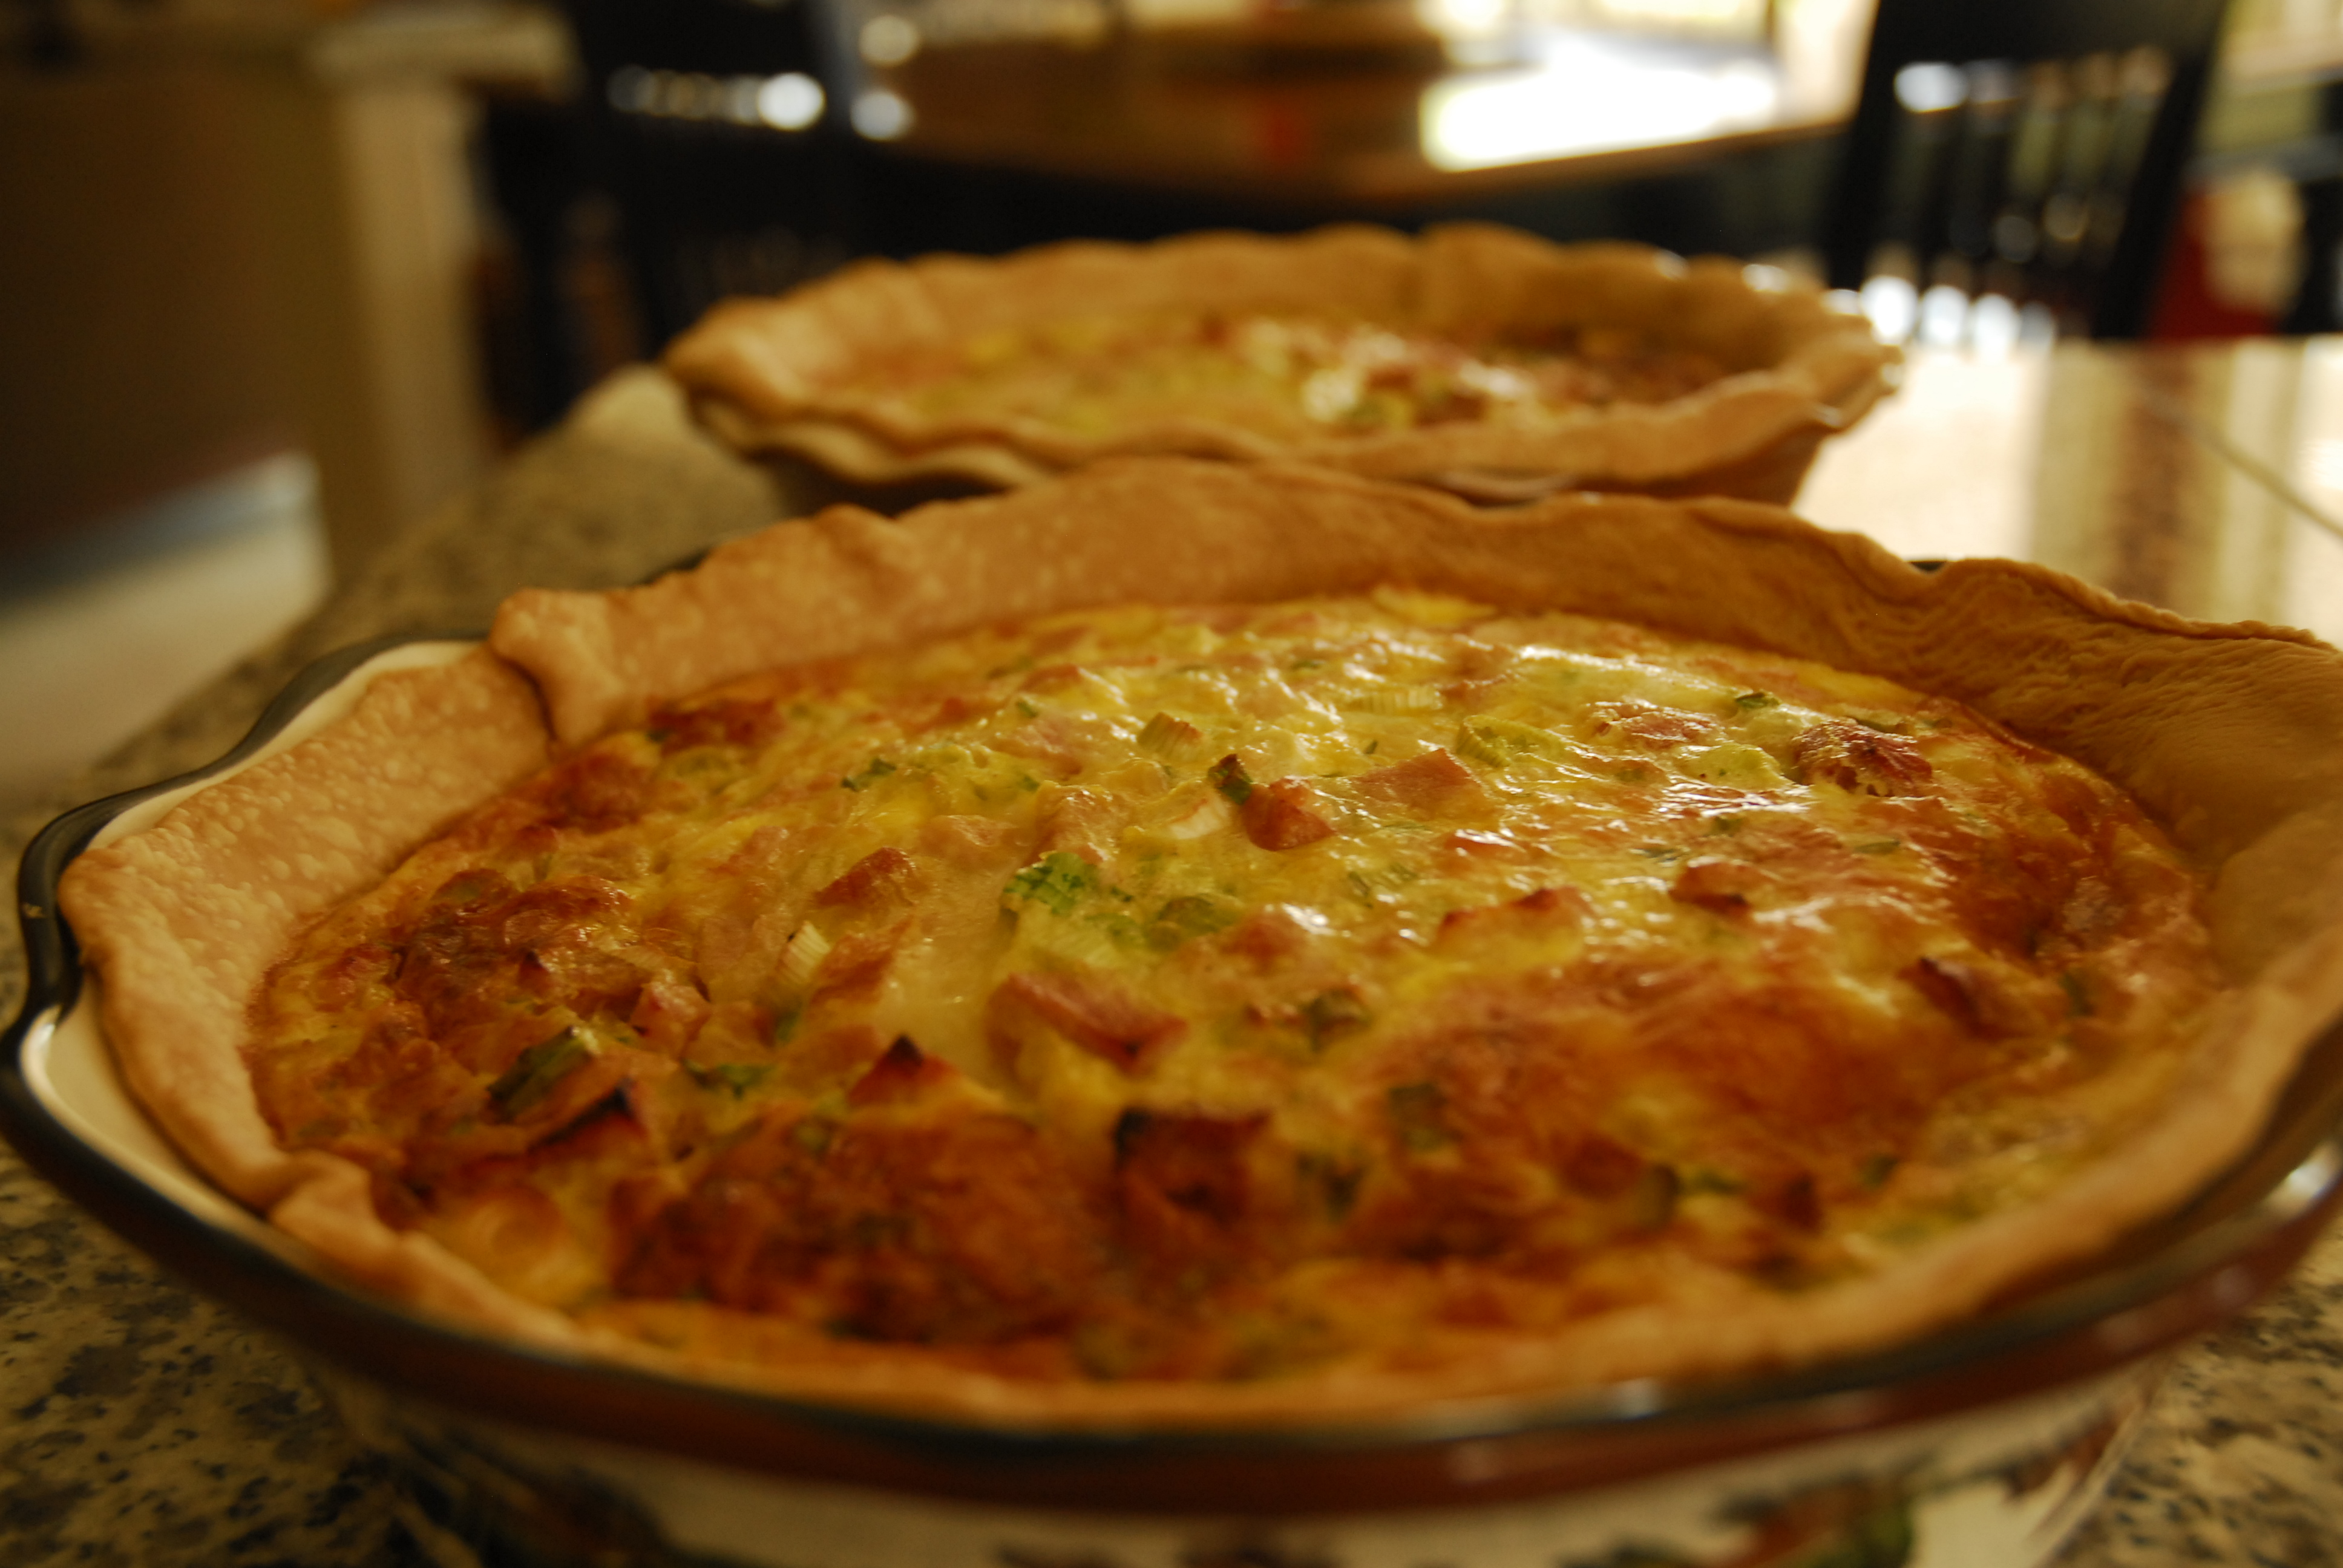
Chicken Pot Pie– just substitute turkey.

chicken pot pie 17 edited

Cindy

Winter Mint Double Chocolate Chip Cookies

Winter Mint Chip Cookies 1 edited

Have you seen these chips? I was so excited when I discovered them the other day at the grocery store. I just had to try the recipe printed on the back of the chocolate chip bag.

Winter Mint Chip Cookies 2 edited

I love chocolate mint and these cookies do not disappoint. Be warned- unless you are a huge fan of mint (like me!), these might be a little too mint-y for you.The cookies have a distinct mint flavor and the dark chocolate chips and chocolate cookie base are delicious. We also thought that the texture was perfect.

Winter Mint Chip Cookies 3 edited

They are awesome and they would be fun to bake for your friends and neighbors for Christmas.

Me-want-cookie.

^^^Words to live by!

Winter Mint Double Chocolate Chip Cookies
2 cups flour
2/3 cup unsweetened cocoa powder
1 tsp. baking soda
1/2 tsp. salt
1 cup butter, softened
2/3 cup granulated sugar
2/3 cup packed light brown sugar
1 tsp. vanilla extract
2 eggs
1 2/3 cups Nestle Winter Dark chocolate and mint morsels

Preheat oven to 325*

Combine flour, cocoa, baking soda, and salt in a small bowl. Beat butter, both sugars and vanilla in large mixing bowl and beat until creamy. Add eggs one at a time, beating well after each addition. Gradually beat in the flour mixture. Stir in morsels.

Drop by spoonfuls onto ungreased cookie sheets. Bake for 11 – 13 minutes or until centers are set. Cool on baking sheet for 2 minutes and then let cool on wire rack until completely cool.

Makes about 3 to 4 dozen, depending on the size of your scoop.

Winter Mint Chip Cookies 4 edited

Jordan and I enjoyed a couple straight out of the freezer today and they were amazing!

Cindy

The 100th Post!

100th post collage w-text final

{From top, left to right. Click on blue numbers to view original post} 

1/ Peanut Butter Chip Chocolate Chip Cookies 2Meet the Pets 3/ Corn Casserole 4/ Faux Banana Cream Pie 5/ Homemade Salsa 6/ Thai Pasta Salad 7/ Cinnamon Rolls 8/ Bean Salad 9/ Lemon Squares 10/ Kalua Pork 11/ Fresh Apple Cake 12/ Fashion Friday- Feeling a Little Winey 13/ Bruschetta Pizza 14/ Parmesan Pasta 15/ Snickerdoodles 16/ Best Blueberry Muffins

On April 18, 2013, we posted our very first recipe- S’mores Pie. And now, a short 7 months later, we are already posting our 100th post! Starting this blog has been an absolute blast- it’s so fun to hear about you guys trying our recipes!

Buying a domain, finding a photo editing program that improves our photos exponentially,  learning little tricks that make it easier for you to navigate the blog, and just coming up with creative ideas for post topics- it has been quite a learning process.

We’re looking forward to cooking more good food, posting about the silly things that are happening around here, and most of all, hearing from all of you. If you have any feedback or questions about our blog, feel free to leave us a comment, or email us at mydaughterandiblog@gmail.com.

Thanks so much for reading!

Cindy & Jordan

Throwback Time: Andes Mint Brownies

andes mint brownies edited 1

On Wednesday, we will be posting our 100th post!!! Because of this momentous occasion, we’re revisiting some of our favorite recipes/posts. So without further ado, a brownie recipe from way back in April!

I had a hankering for brownies the other day and I remembered that I had picked up a bag of Andes Creme de Menthe Baking Pieces just a few days before from the grocery store. Who knew these delicious little treats existed? I didn’t – and now I’m sort of sorry that I discovered them.

So back to the brownies, I took a basic brownie recipe and just modified it a bit. The result was a gooey, mint chocolate brownie that was delicious! You’re welcome!

Here are the ingredients…

andes mint brownies 2

Start by melting the chocolate chips, the Andes mint chips and the butter in a saucepan.

andes mint brownies 3

Dump in the rest of the ingredients…

andes mint brownies 4

and stir well.

andes mint brownies 5

Pour into an 8×8 pan.

andes mint brownies 6

Bake at 325* for 45-50 minutes or until cooked through. Remove pan from oven, then sprinkle 1/8 of a cup of chocolate chips and 1/8 of a cup of Andes mint chips over the cooked brownies.

andes mint brownies 7

Allow the brownies to cool (slightly) and then dig in! We enjoyed ours with a scoop of yummy vanilla ice cream. Mmmmmmm!

andes mint brownies 9

Andes Mint Brownies

1/2 cup semi sweet chocolate chips
1/4 cup Andes Creme de Menthe Baking Chips
1 stick butter
1 1/4 cup sugar
3 beaten eggs
3/4 cup flour
1 tsp. vanilla

In a saucepan over low heat, melt together the 1 stick of butter, the chocolate and the mint baking chips. Once melted, remove from heat.

Add the rest of the ingredients and mix well.

Spread into a 8×8″ pan.

Bake at 350* for 45 to 50 minutes. As soon as you pull out of the oven sprinkle 1/8 cup of mini chocolate chips and 1/8 cup of Andes Creme de Menthe Baking Chips over the top of the cooked brownies. Allow the brownies to cool and then dig in! We enjoyed ours with a scoop of yummy vanilla ice cream.


Cindy

Pasta e Fagioli

pasta e fagoli 1 edited

This Italian pasta and bean soup is hearty and very inexpensive. Jordan loves it and often requests that I make it. Last week we had several days of chilly weather, so this was a perfect warm and hearty meal. You can add cooked chicken or sausage to it, but we always eat it without meat. Just add the cooked meat when you add the pasta and allow enough time for it to heat through.

pasta e fagoli 2 edited

This recipe came from a book that I borrowed from the library – it’s all about being thrifty. I think it was actually called Be Thrifty – catchy huh? Being the thrifty gal I am, I didn’t buy the book, I just copied this page out of it! I modified the recipe a bit to suit our tastes.

pasta e fagoli 3 edited

Pasta e Fagioli
2 tsp olive oil
1 large onion, diced
3 medium carrots, peeled and sliced
1 clove garlic, minced
4 cans broth, whatever kind you like. Chicken, beef, vegetable, all good. I use the bouillon cubes and water, keeping with the thrifty theme.
3 -14 1/2 ounce cans Italian diced tomatoes
1 tsp dried Italian seasoning
1/2 tsp black pepper
1 tsp salt
1 tsp pesto sauce
4 – 15 ounce cans beans – I use a combo of white and red beans. The recipe calls for white and kidney beans. Use whatever you like or have in your pantry
2 to 3 cups of cooked pasta, again whatever you have. The recipe calls for elbow macaroni.

1/3 cup shredded or grated Parmesan cheese
Additional pesto for garnish
Fresh basil

Heat oil in Dutch oven or soup pot over medium heat. Add the diced onion and cook while getting the carrots ready. Add the carrots and continue cooking for about 4 minutes.

Add the garlic, broth, tomatoes with their juice, Italian seasoning, salt and pepper to the pot. Stir and then cover and bring to a boil. While the soup is cooking, I start opening the cans of beans and I drain and rinse them and then add to the soup and continue cooking on low with the lid on.

In a separate pot, cook the pasta. I normally under cook the pasta just a bit. When finished cooking, drain and set aside.

After about 20 minutes to 30 minutes, or close to when you’re going to eat, add the cooked pasta. It is a bit more work to cook the pasta separately, but I think it makes a huge difference in the consistency of the finished product.

Serve with a bit of freshly grated Parmesan cheese, pesto and basil on top.