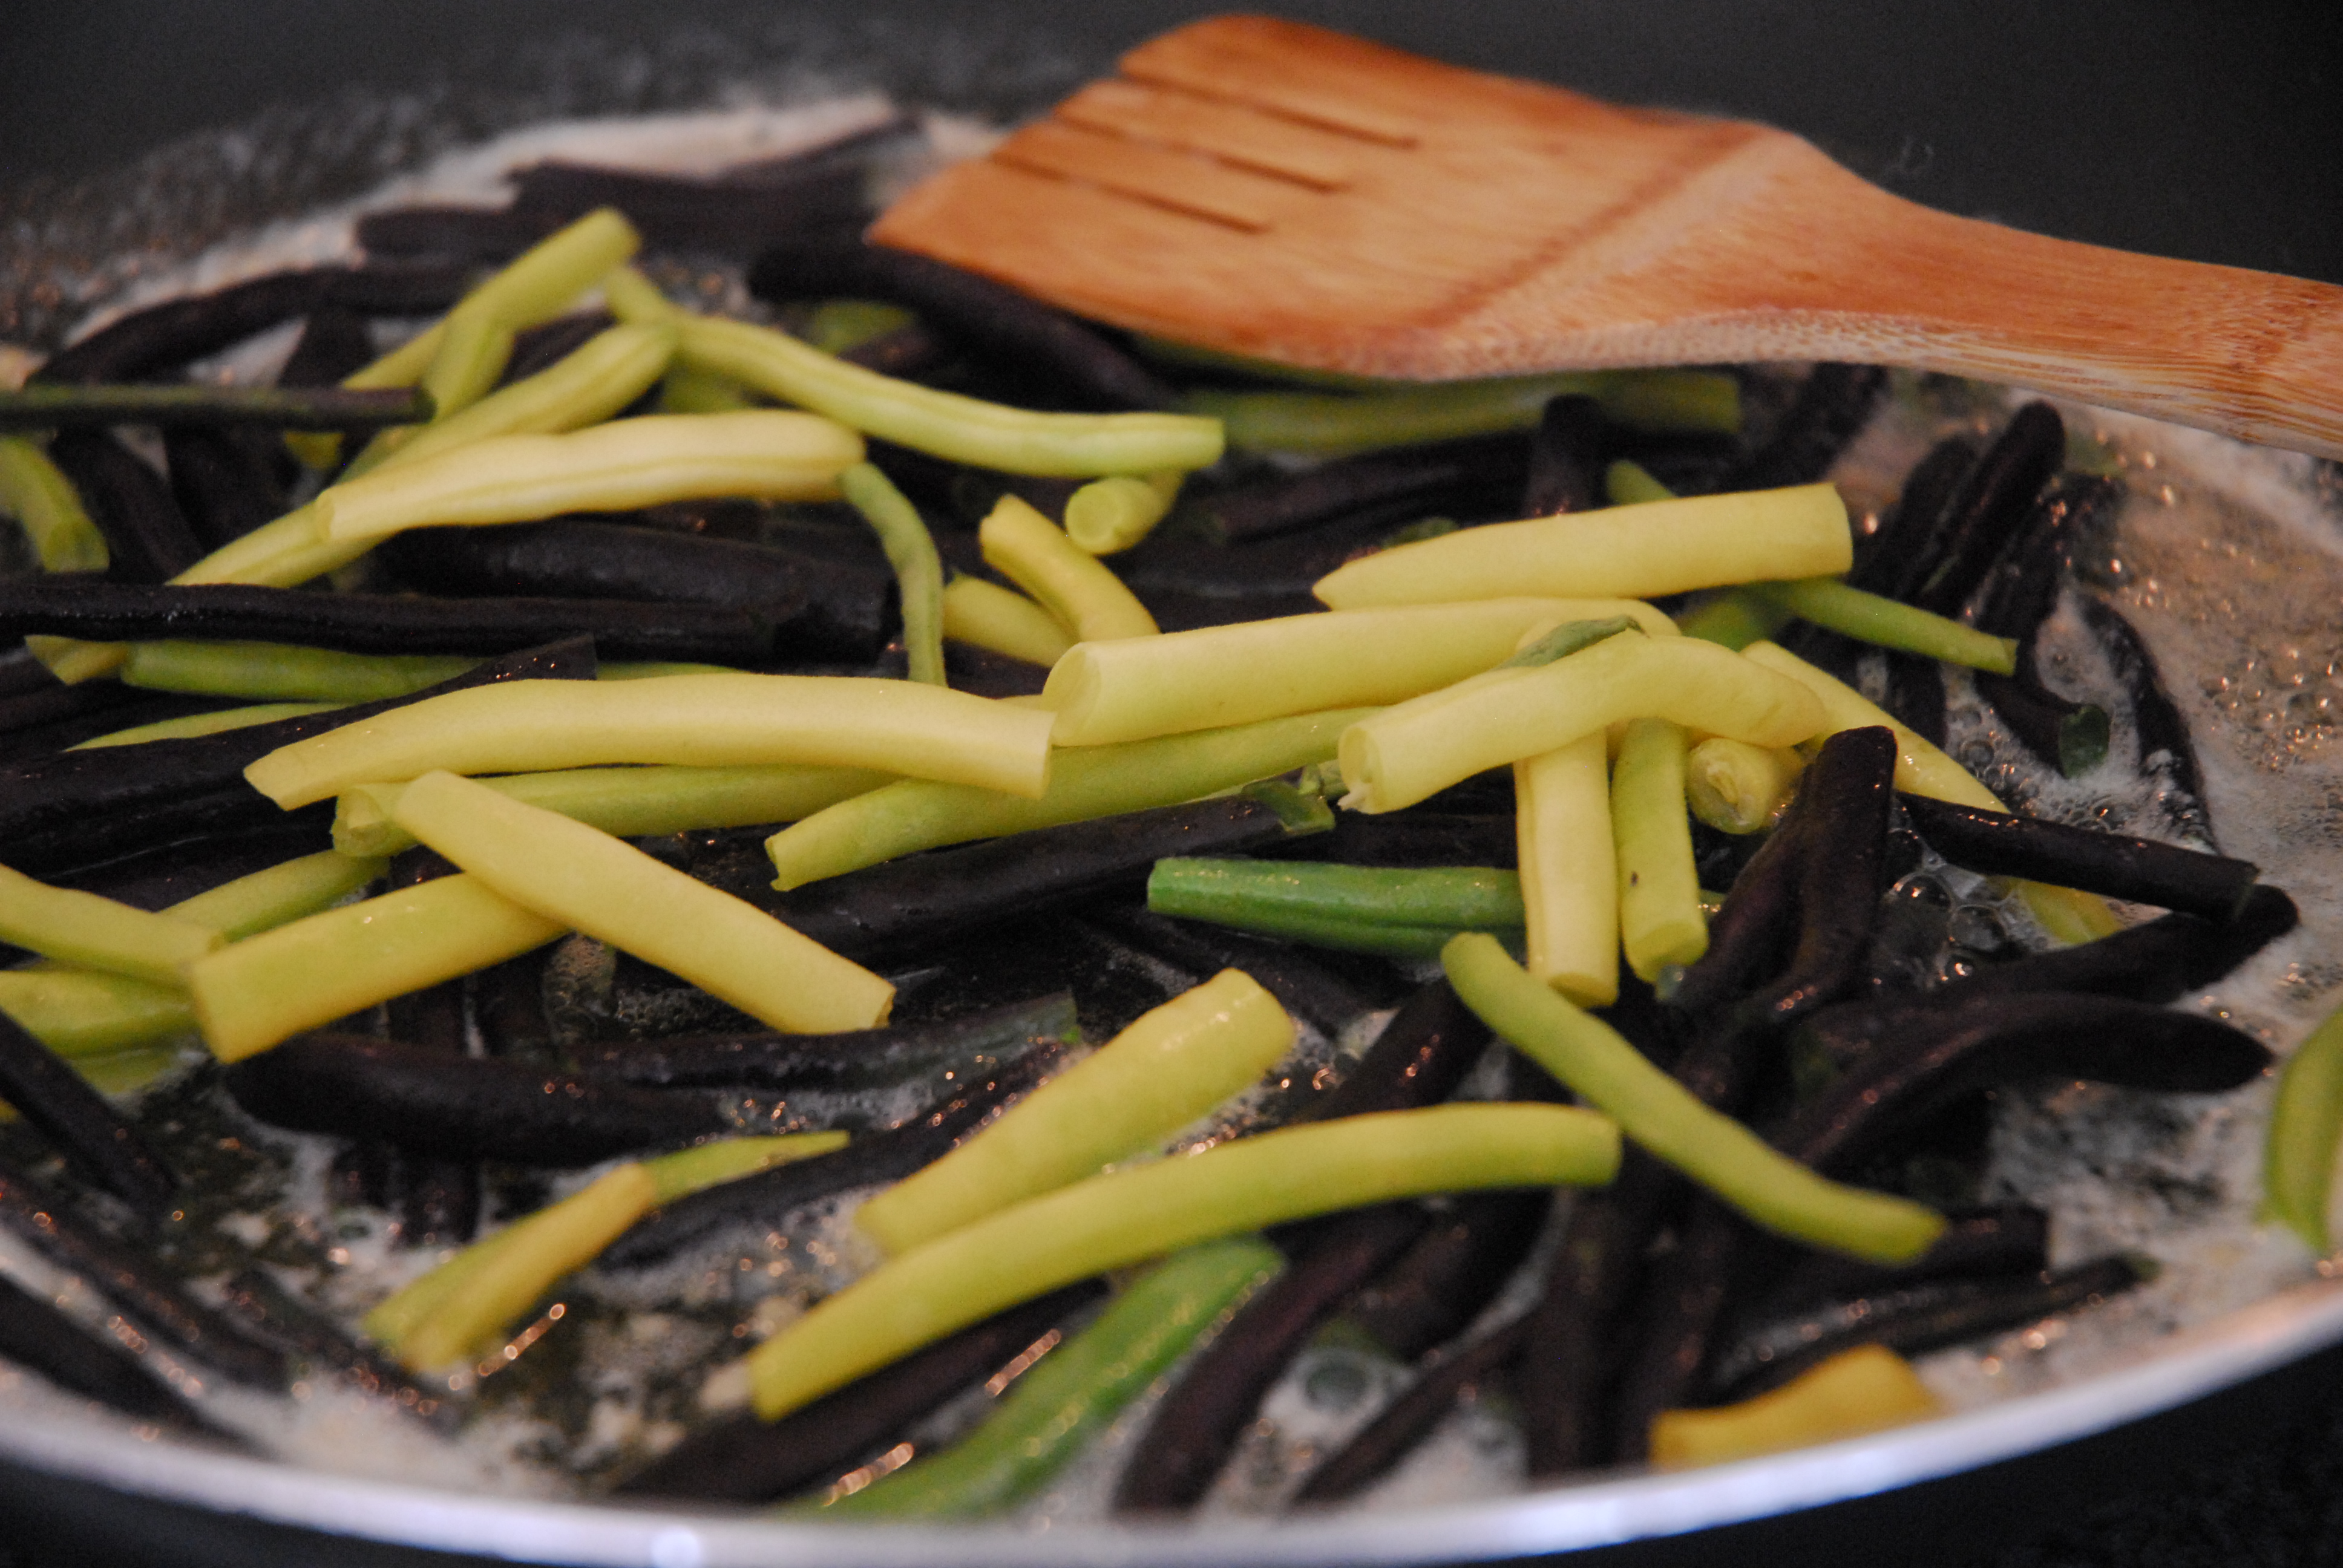
I am always on the look out for recipes that will work with whatever we currently have growing in the garden. While I was getting my haircut the other day, I came across this recipe. We have a lot of green beans in the garden right now- I especially love the purple green beans that turn green as you cook them. They are so beautiful and flavorful!
I normally don’t follow recipes very well, and today was no exception. The recipe in the magazine had asparagus and I wanted to use green beans. It also called for tarragon, and I wanted to use basil and parsley, so I basically completely changed it to make it work for us. Below is the modified recipe.
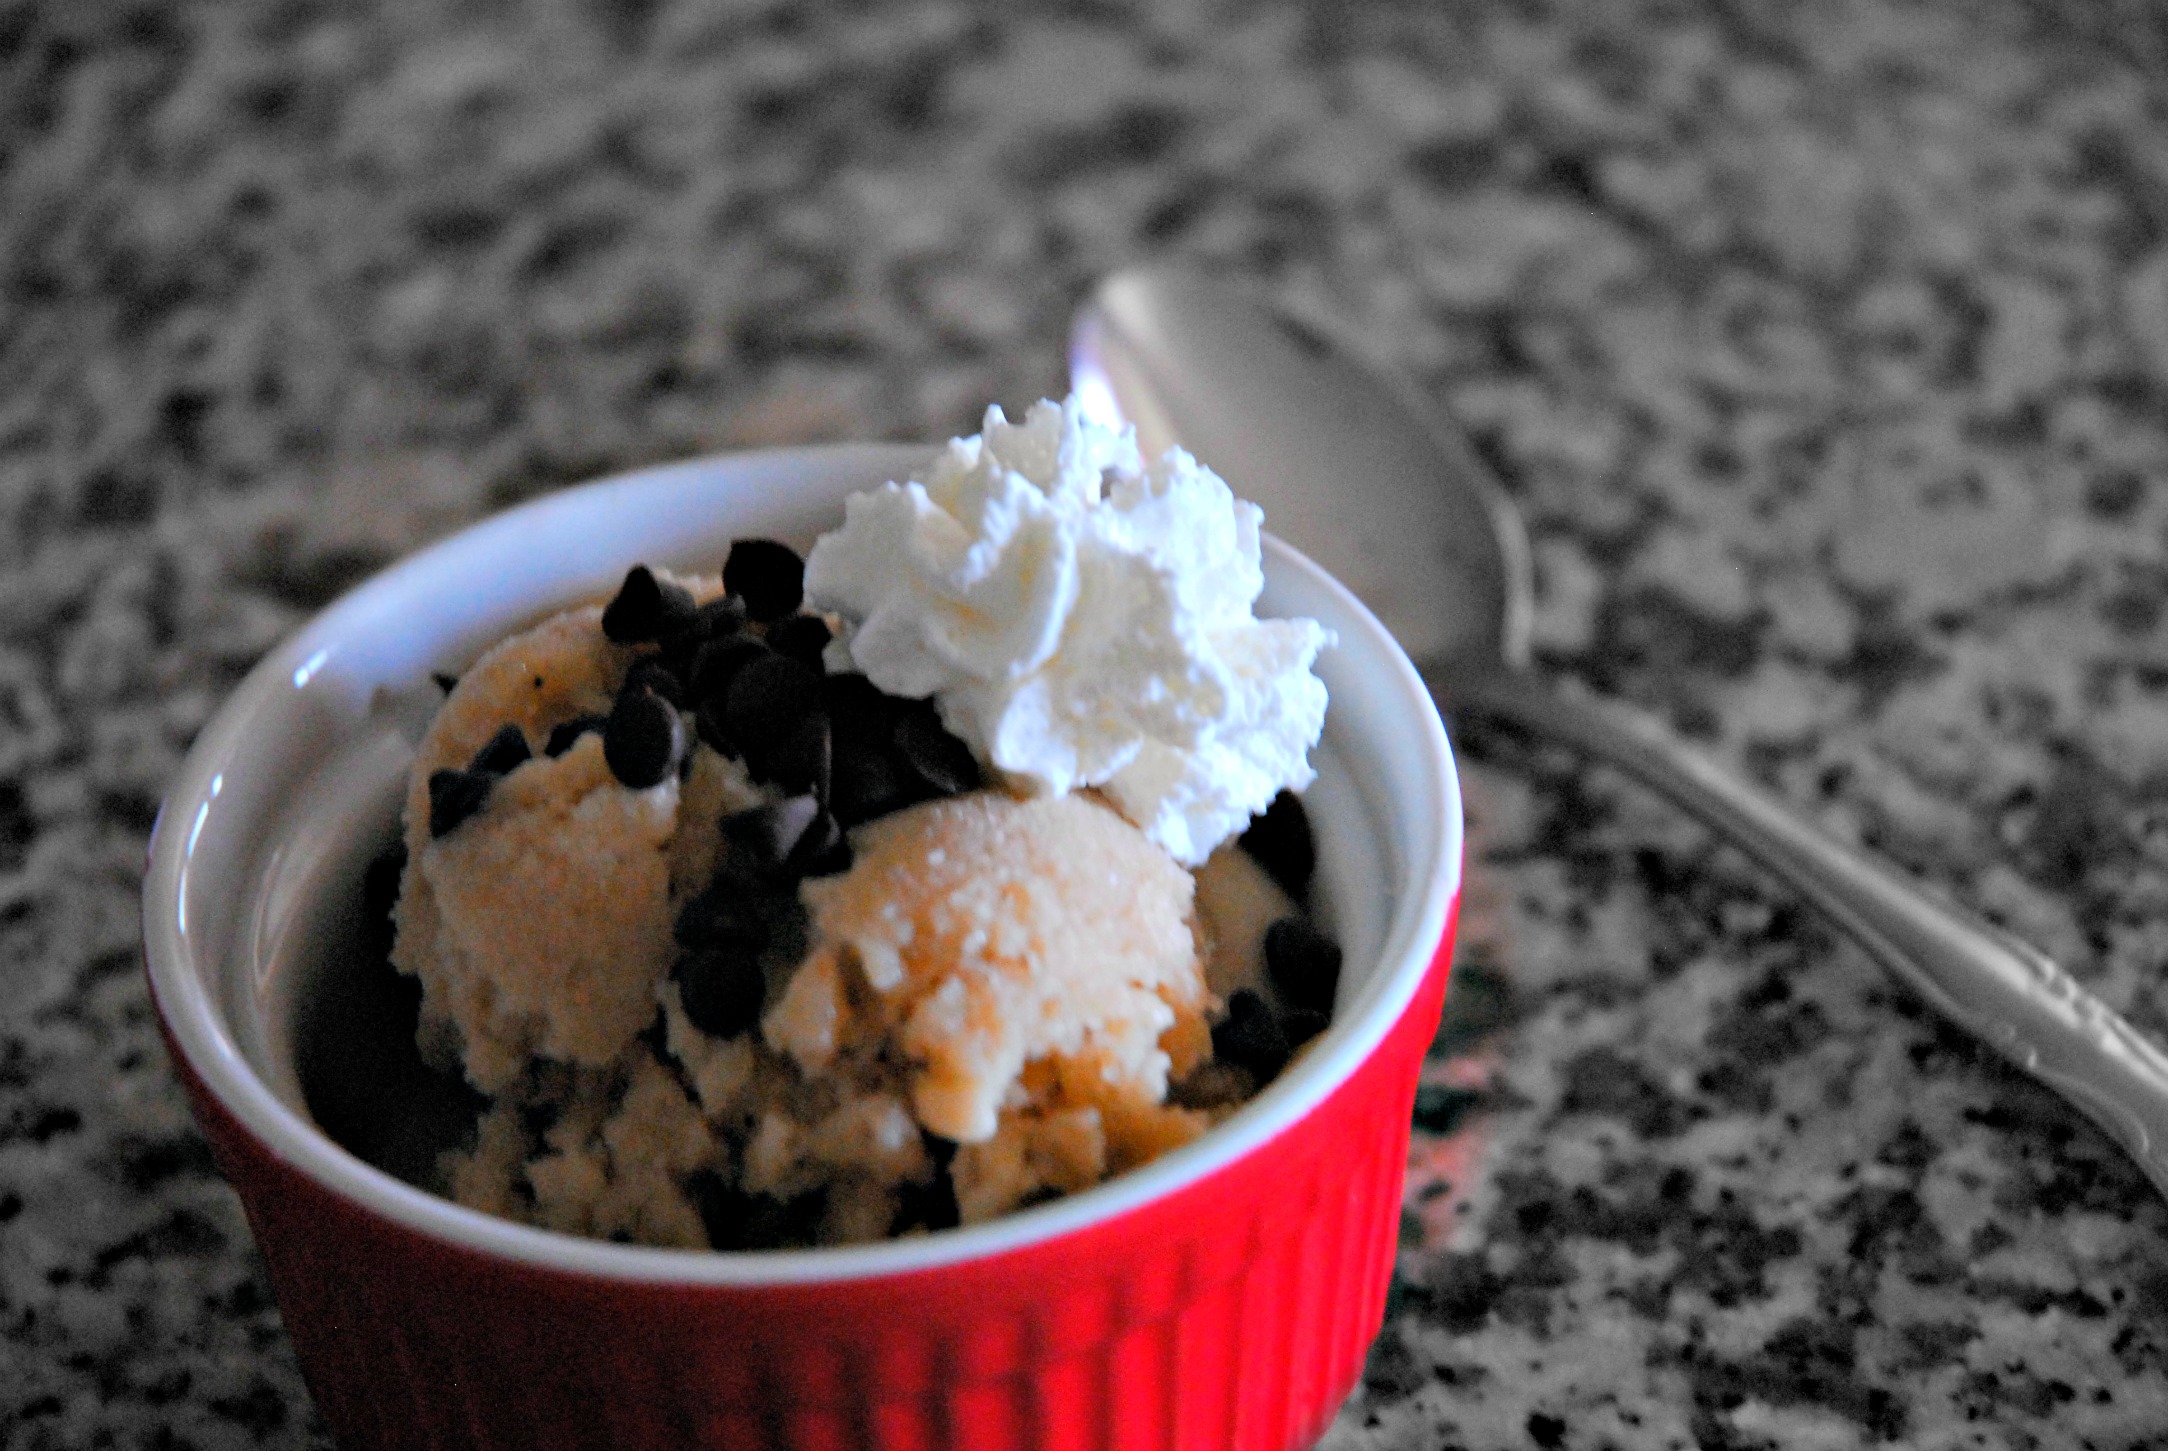
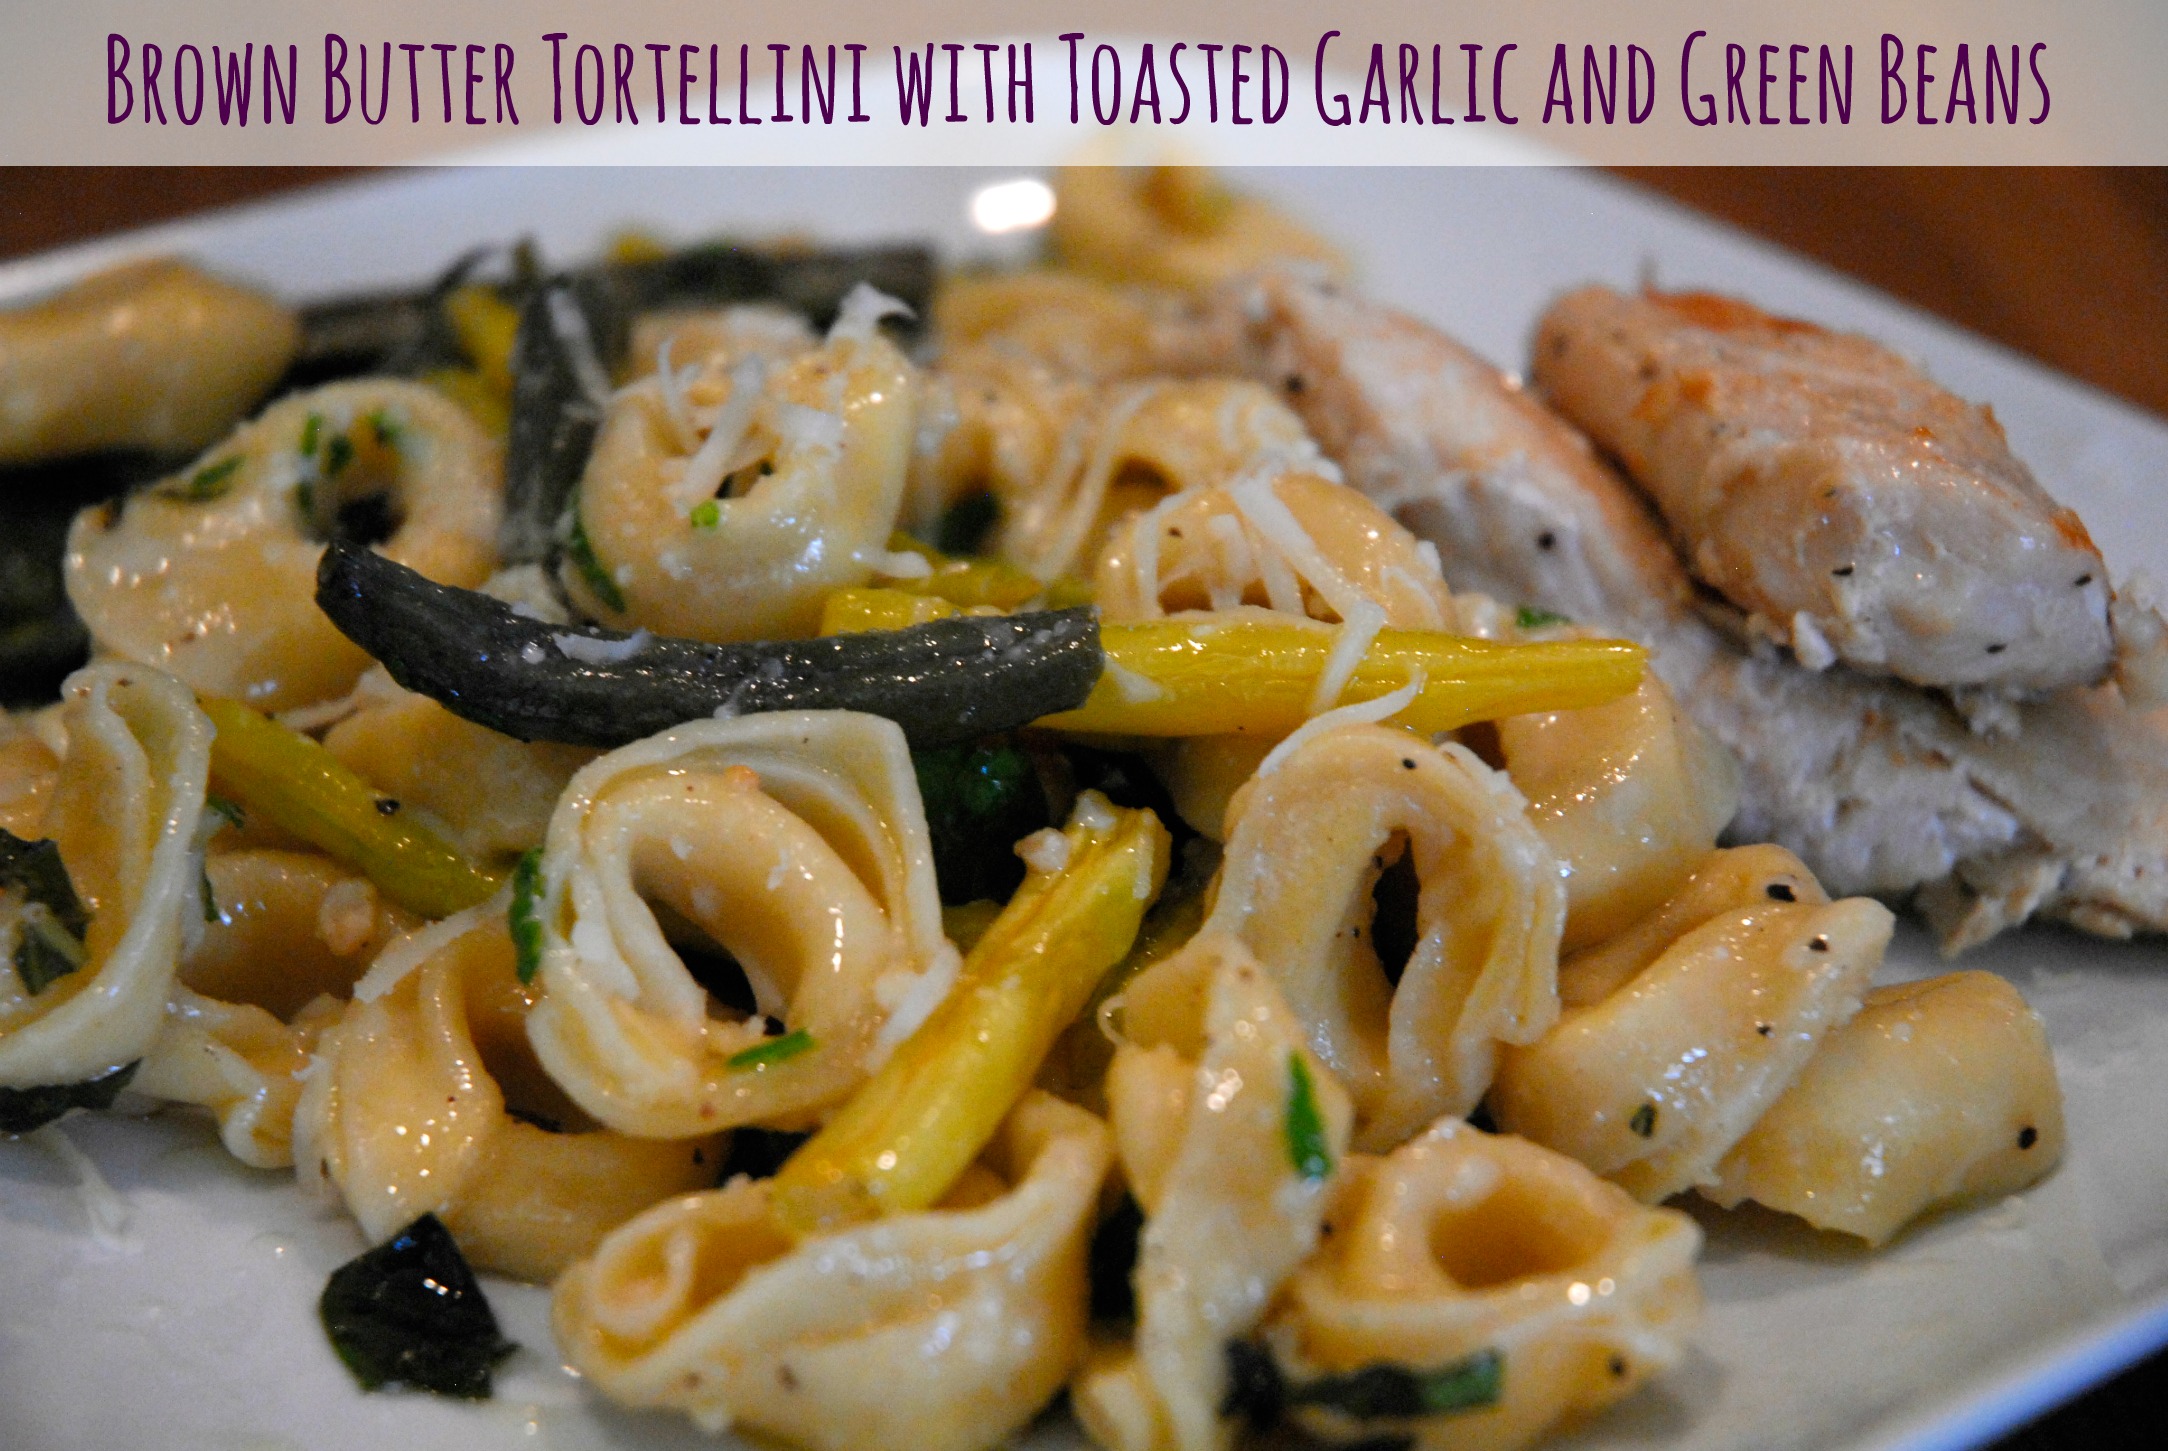
I have been noticing a bunch of cookie recipes with brown butter and I have been intrigued- in fact I have a brown butter chocolate chip cookie recipe just waiting to be tried. So back to the pasta – It all cooks very quickly, which is awesome especially if you are gone all day and forget to take something out of the freezer. We served ours with cooked chicken, but it was hearty enough without meat. The only thing I would have done differently was double the recipe. We ate it all, we didn’t leave any leftovers! Try it, you won’t be sorry. If you need any purple green beans, come over and we can get them out of the garden.
Cook the tortellini according to the package directions. Drain.

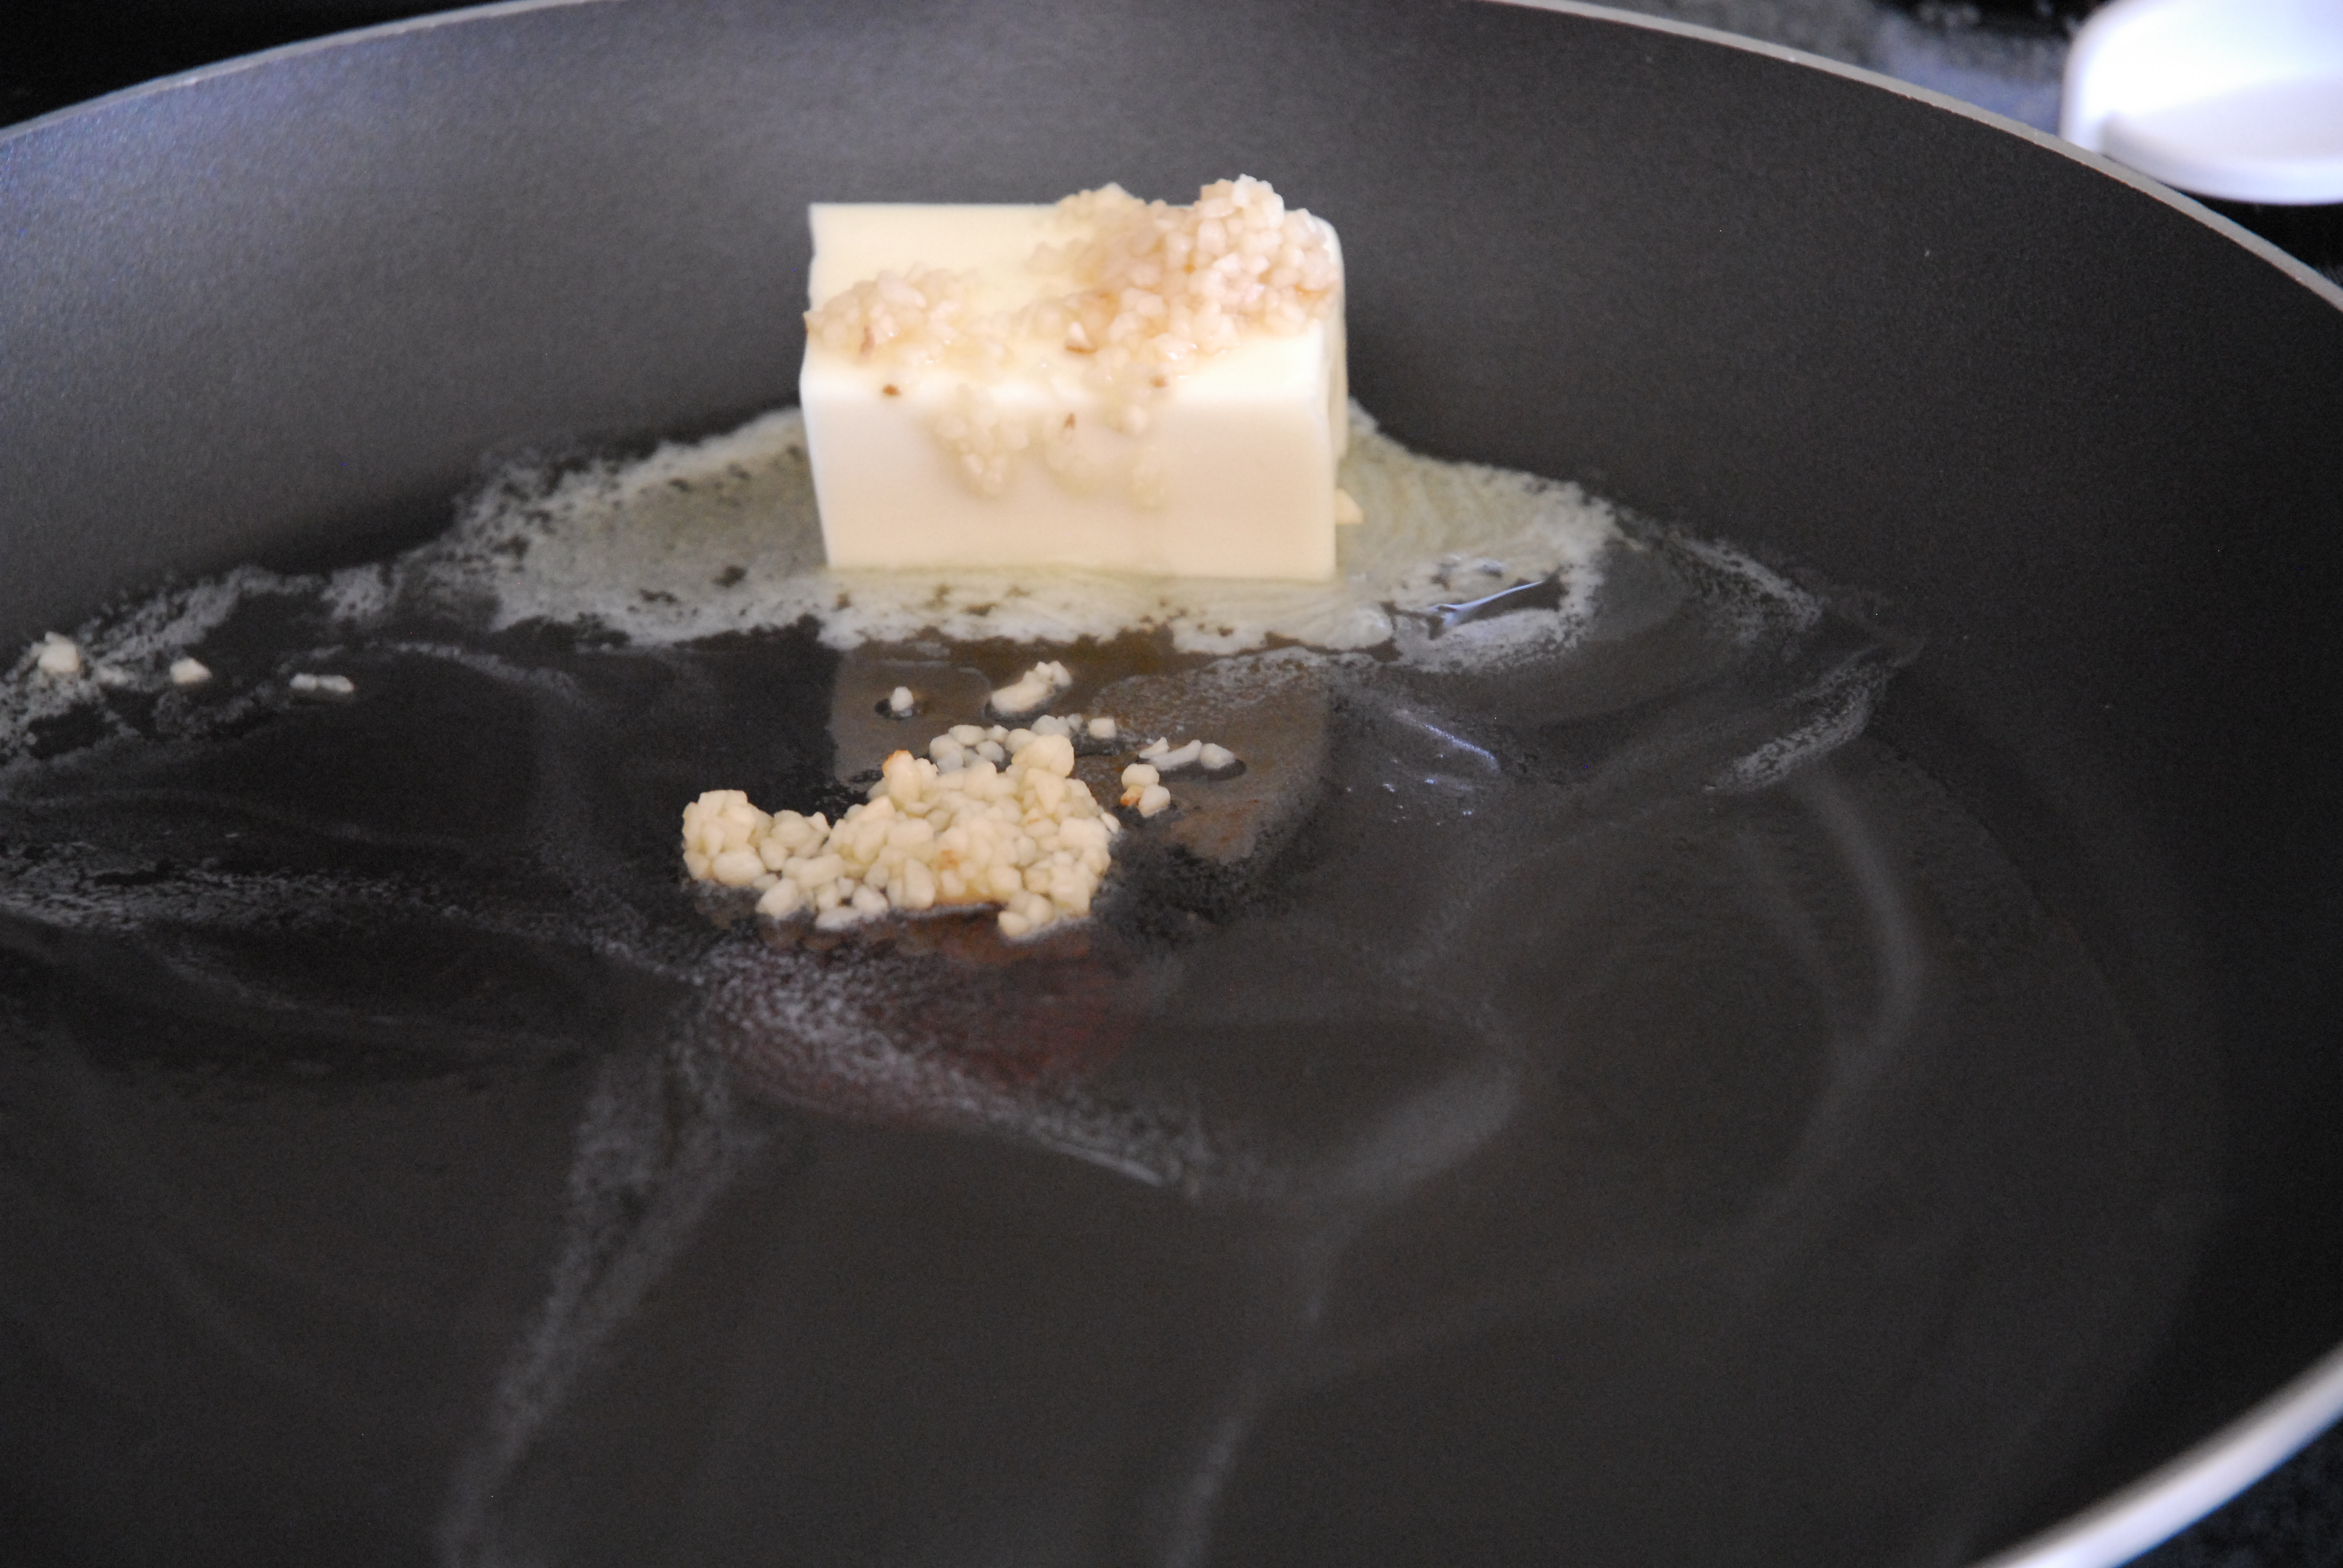
Meanwhile, melt the butter in a large skillet over medium heat. Add the garlic.
Add the green beans, season with salt and pepper and cook, tossing occasionally, for about 3 minutes or until the green beans start to soften.
Increase the heat to medium-high and continue cooking and tossing, until the butter turns golden brown, about 2 minutes.

Add the cooked tortellini…
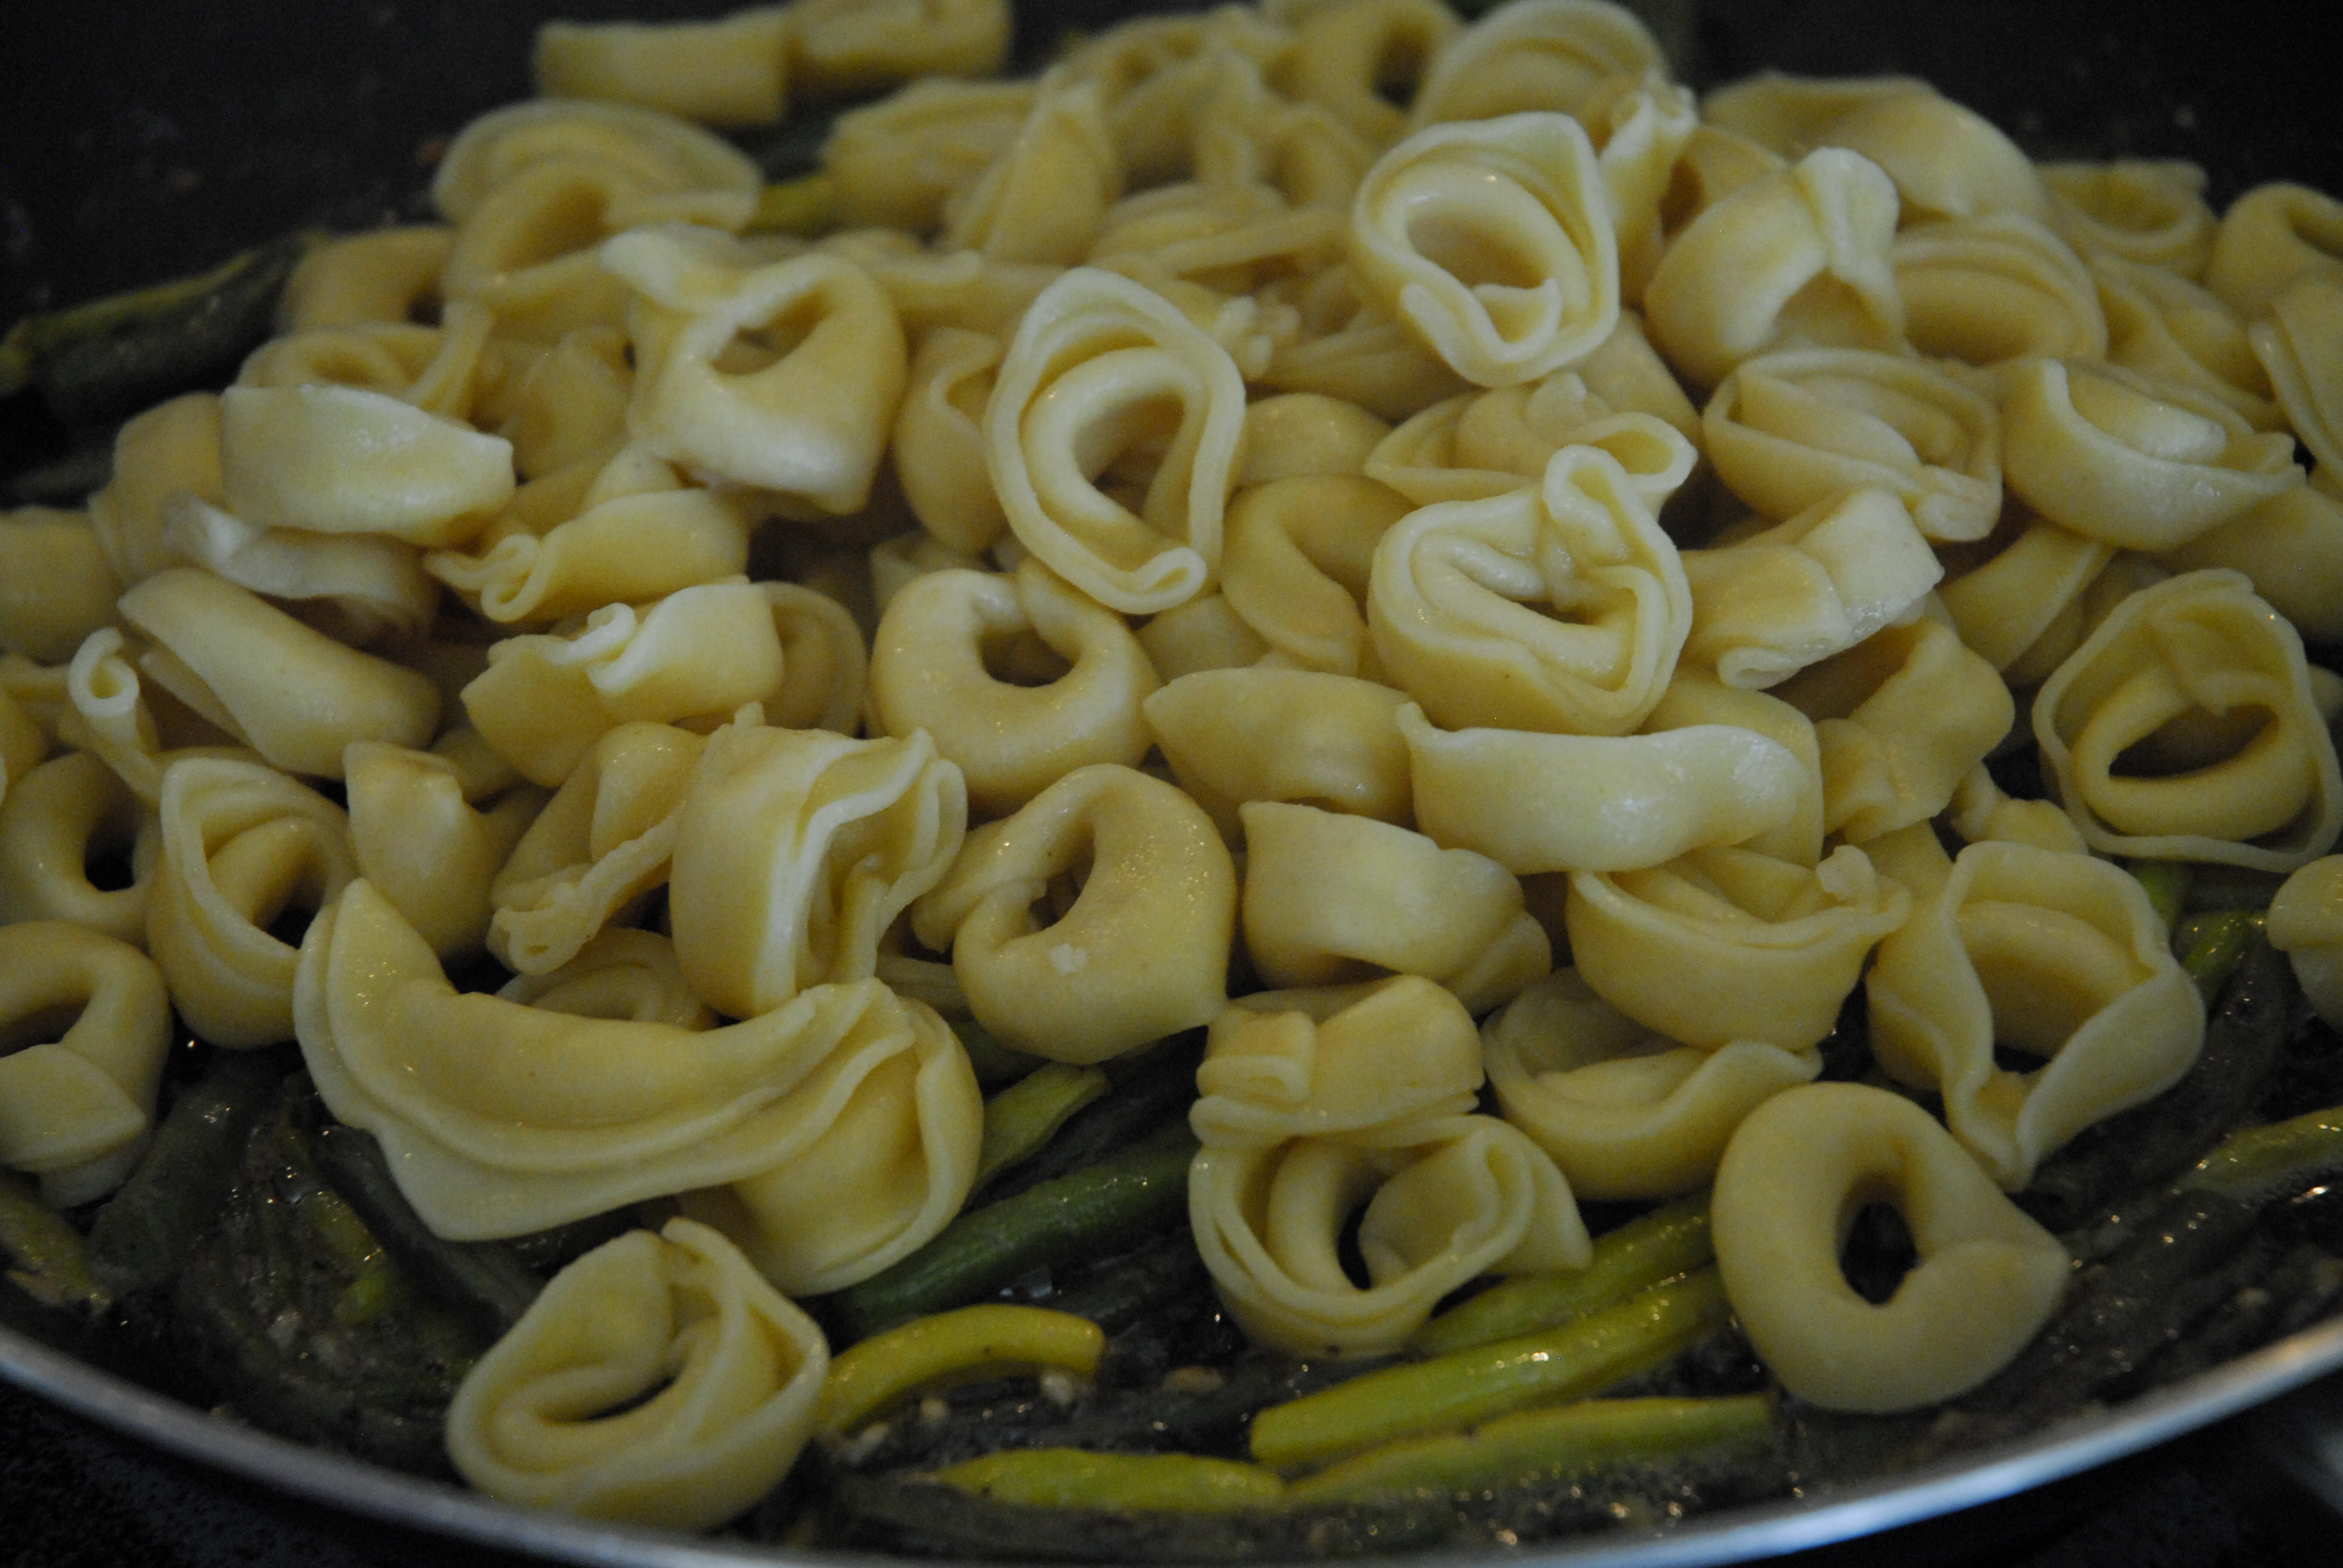
and toss again…
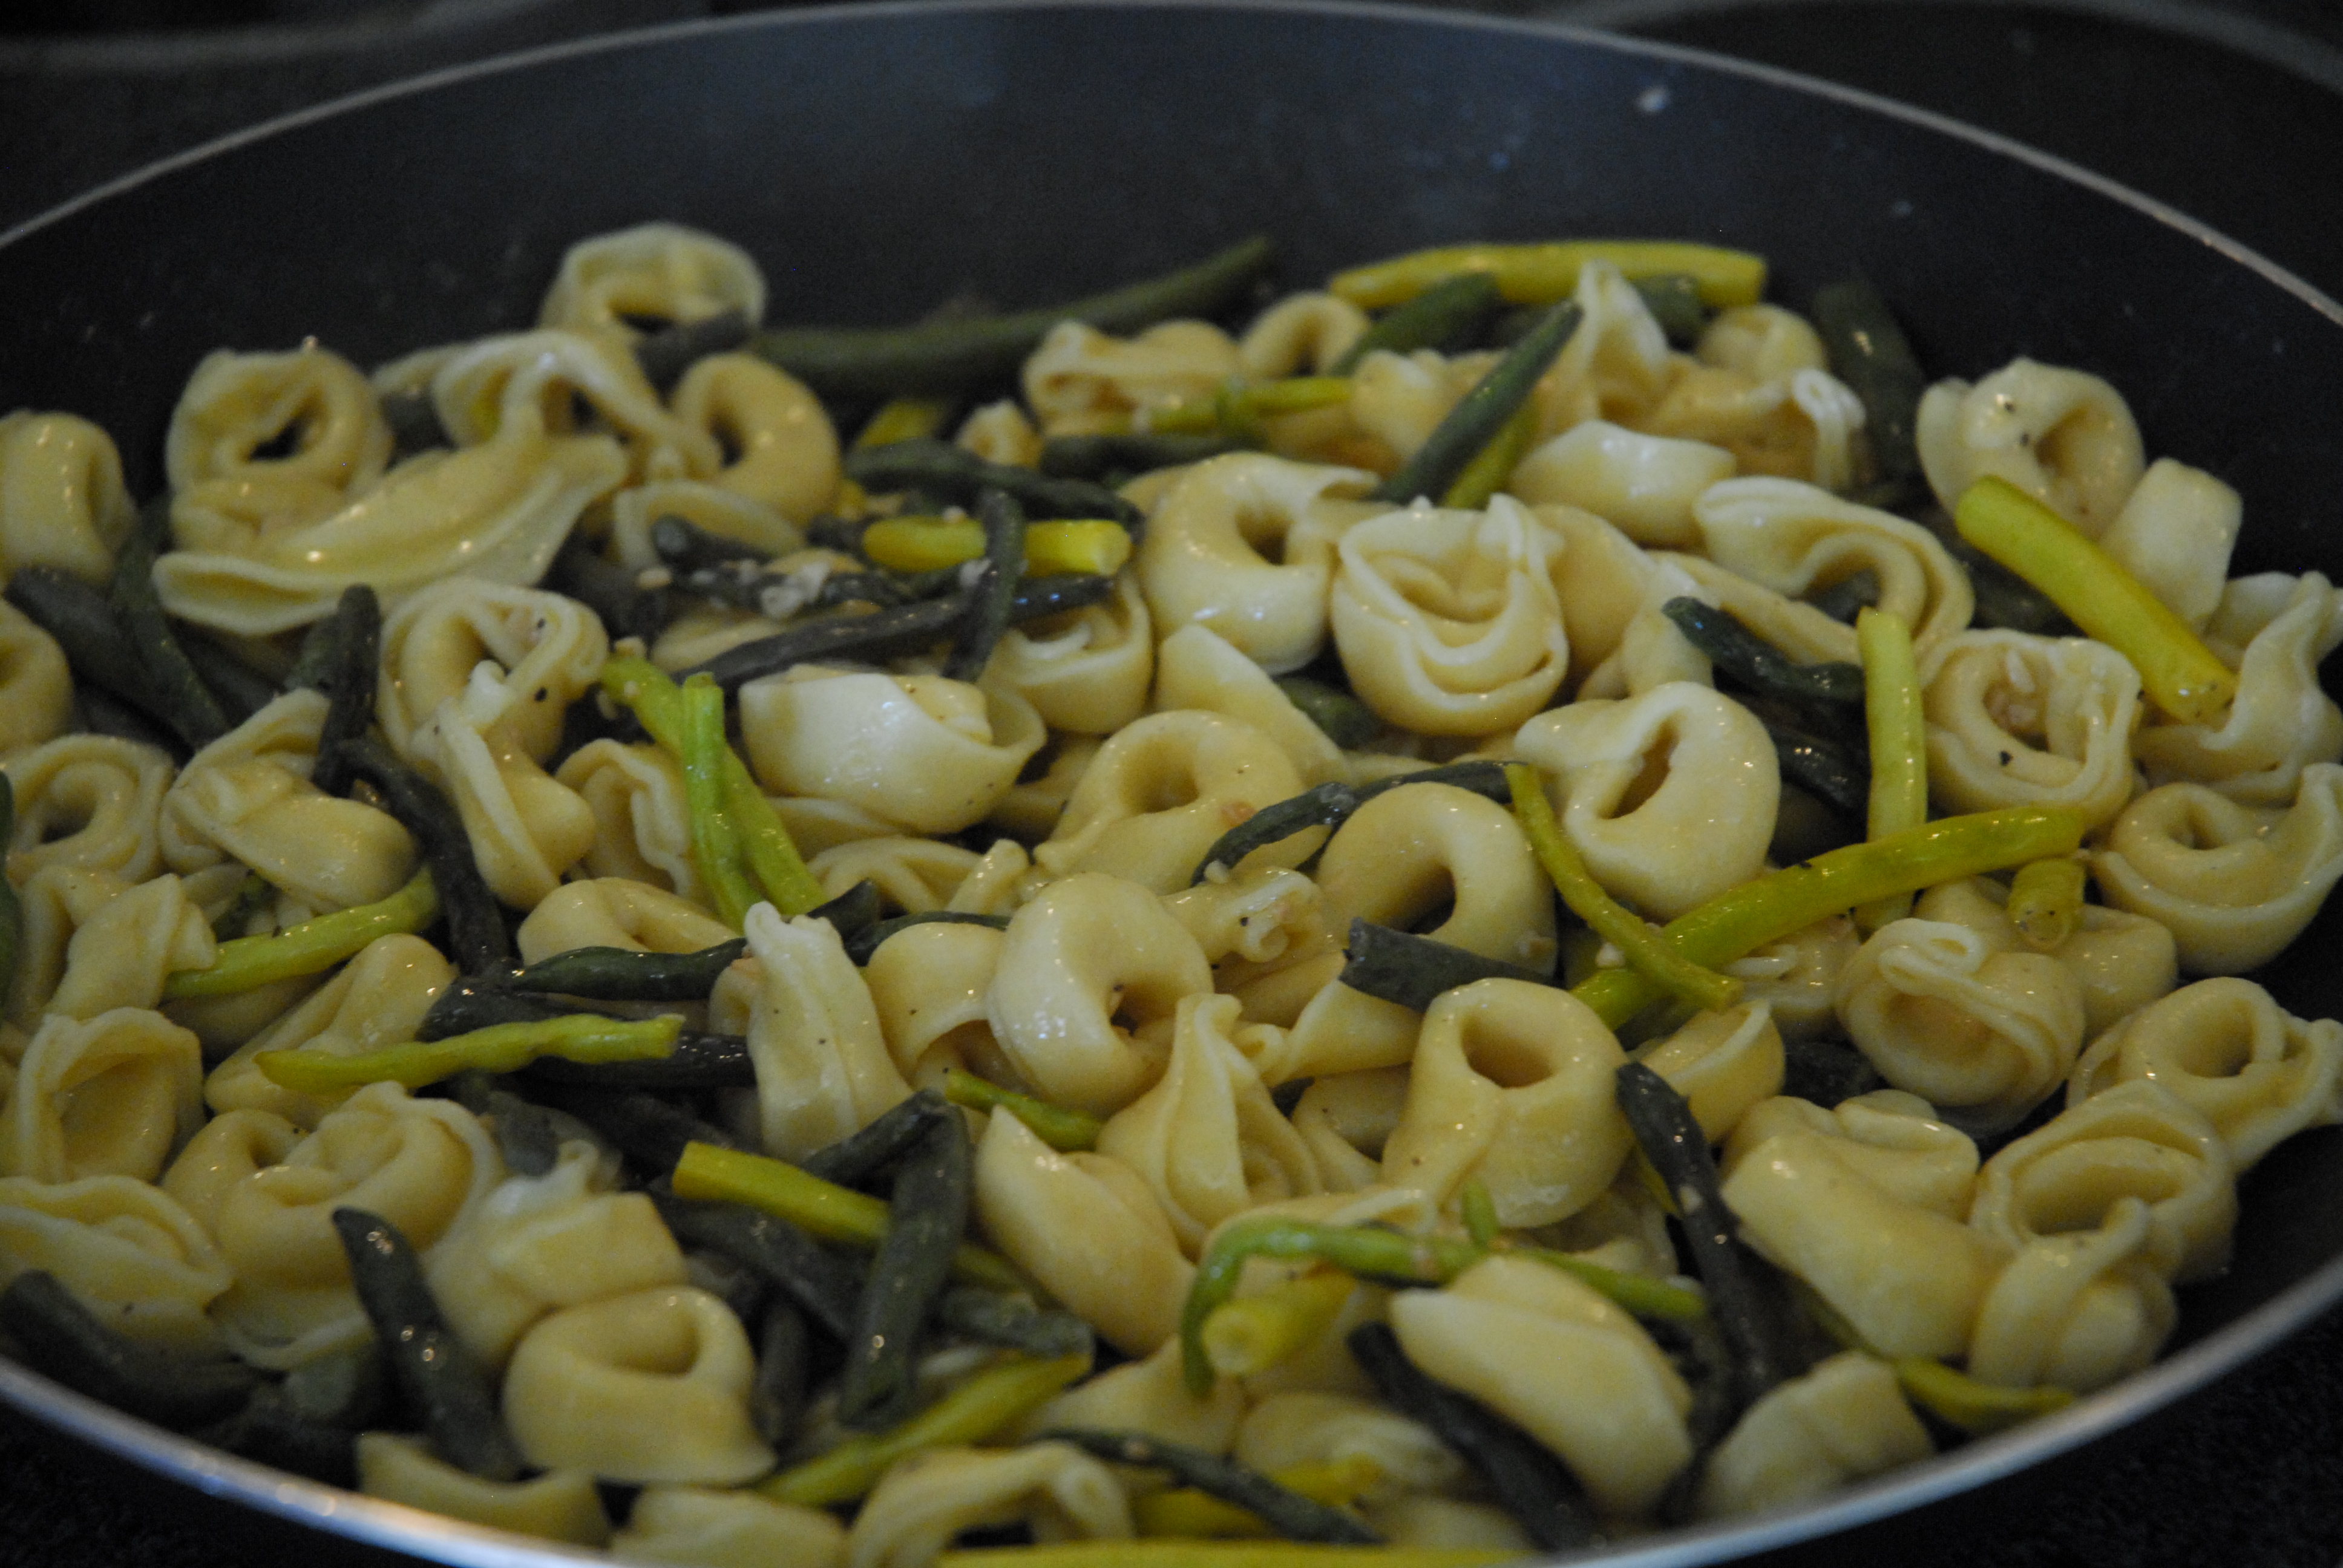
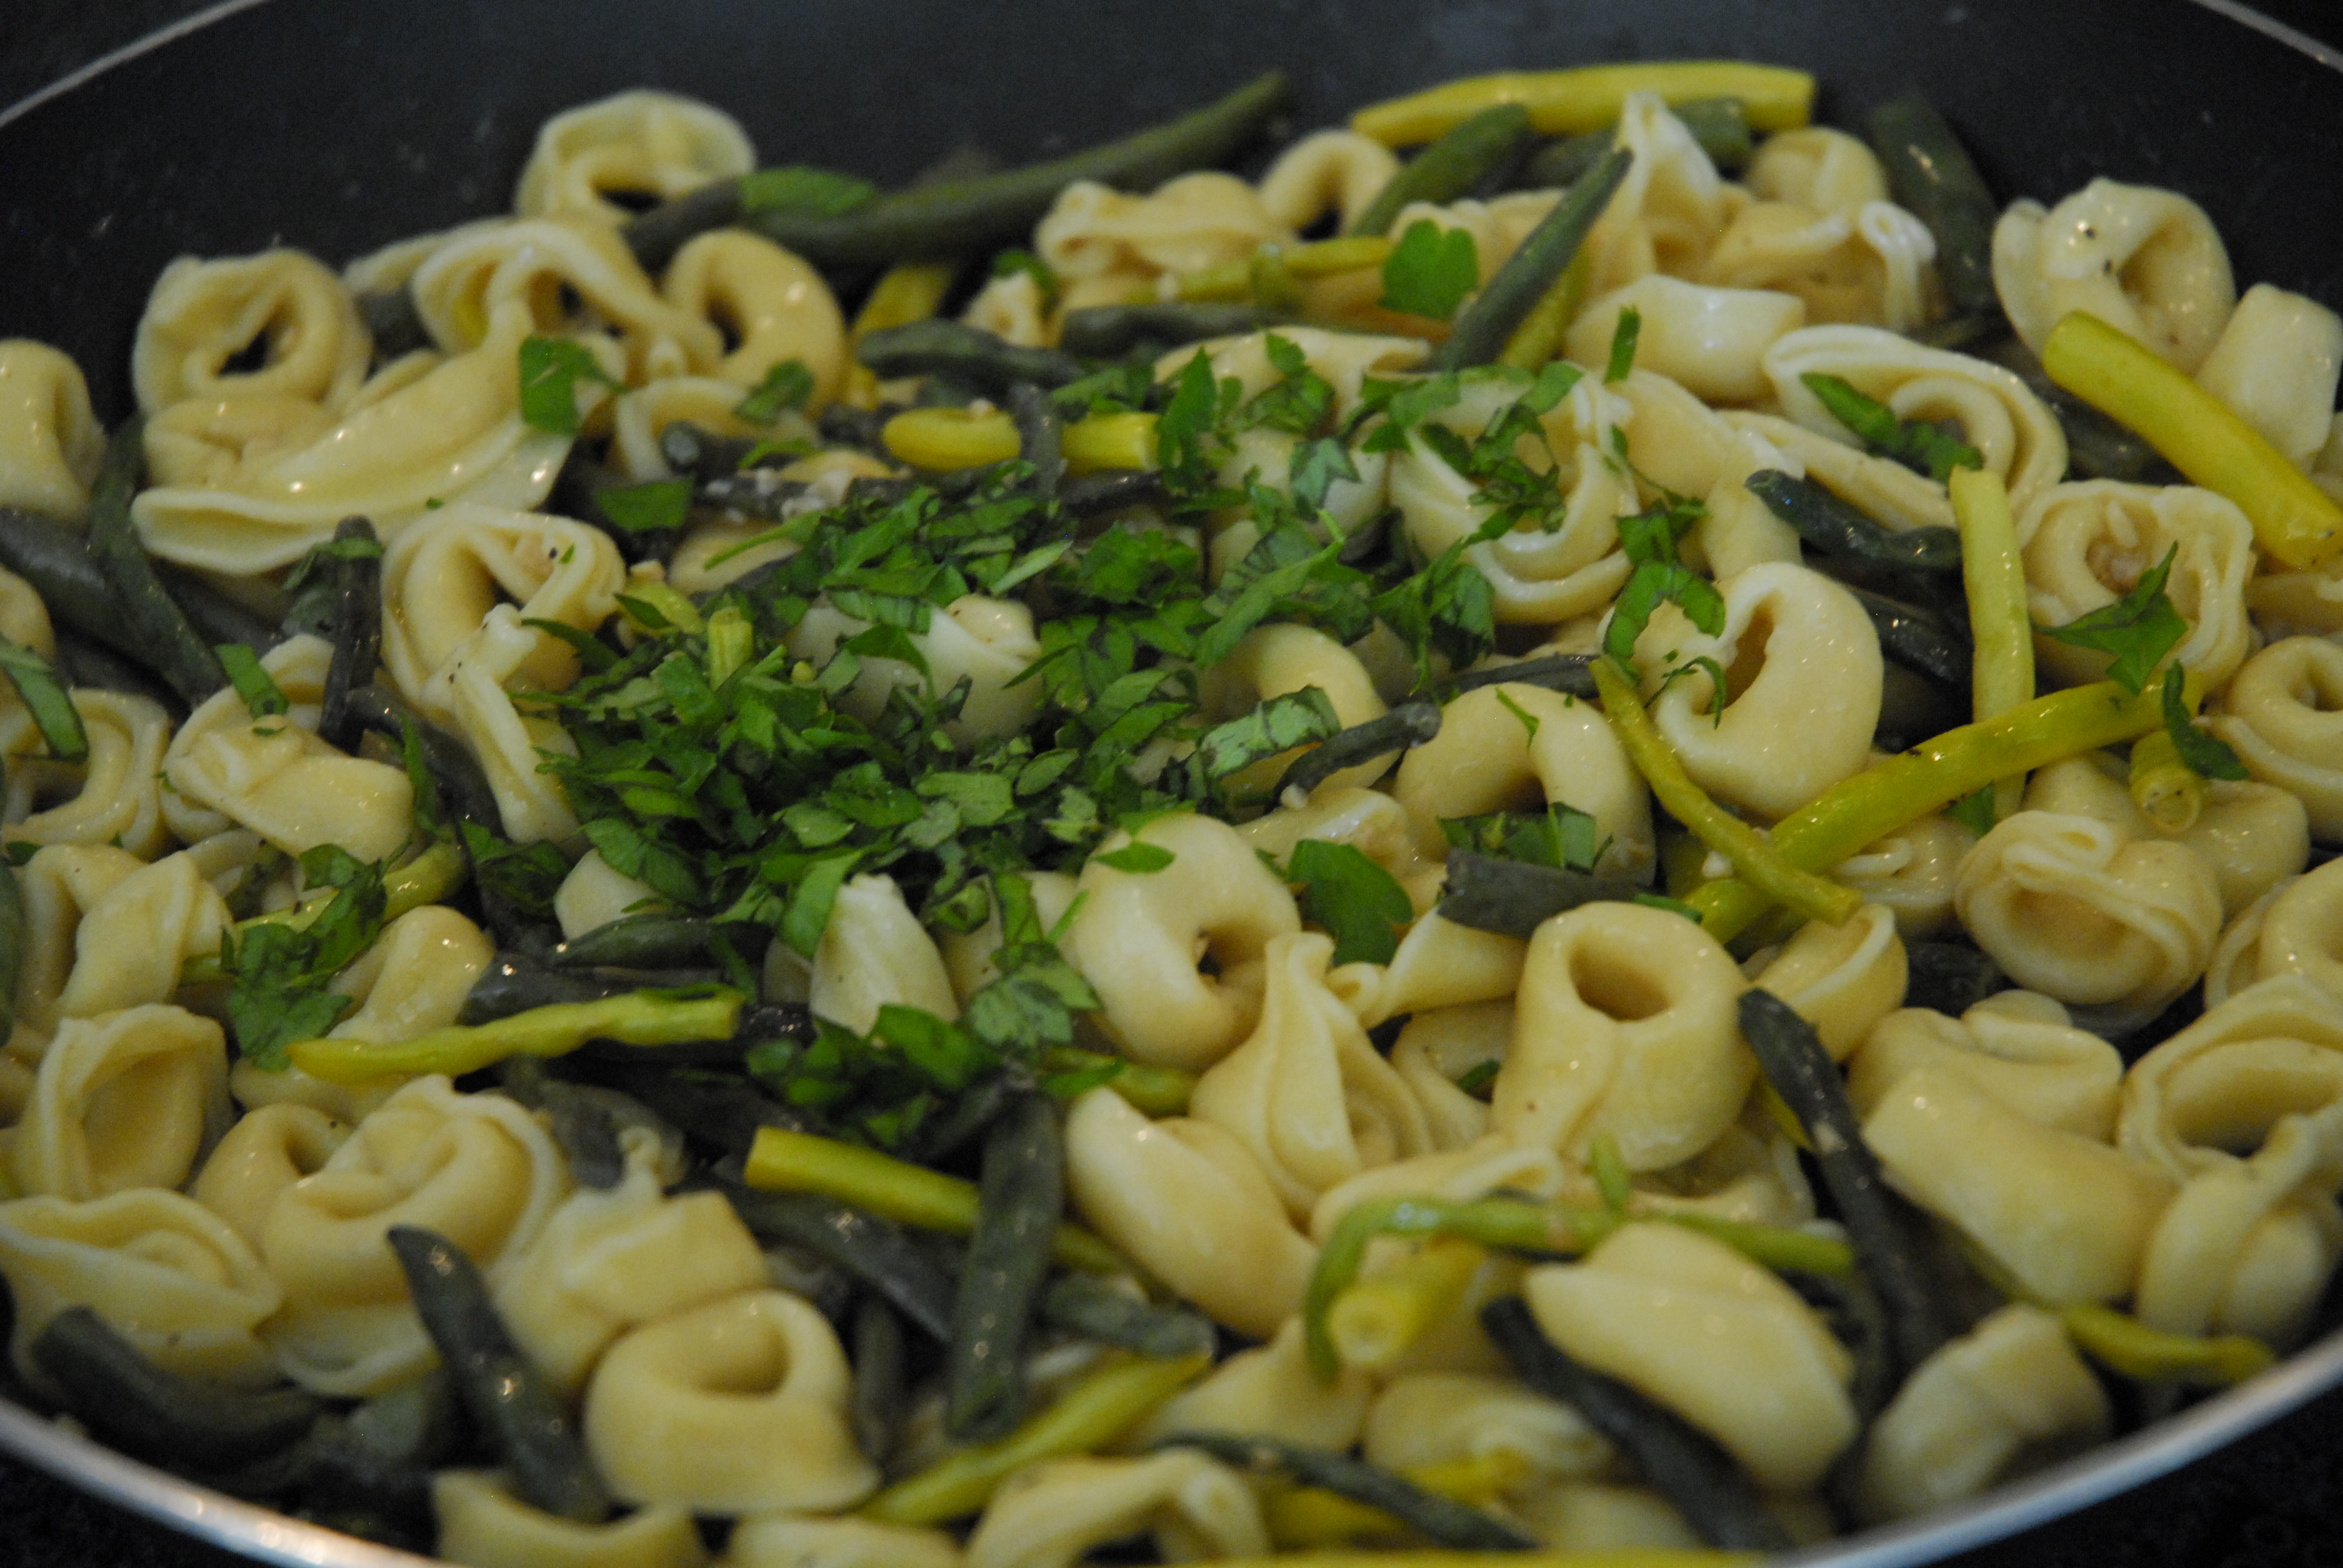
and then add the fresh basil and parsley…
and freshly grated Parmesan cheese and give it one more good stir before serving.
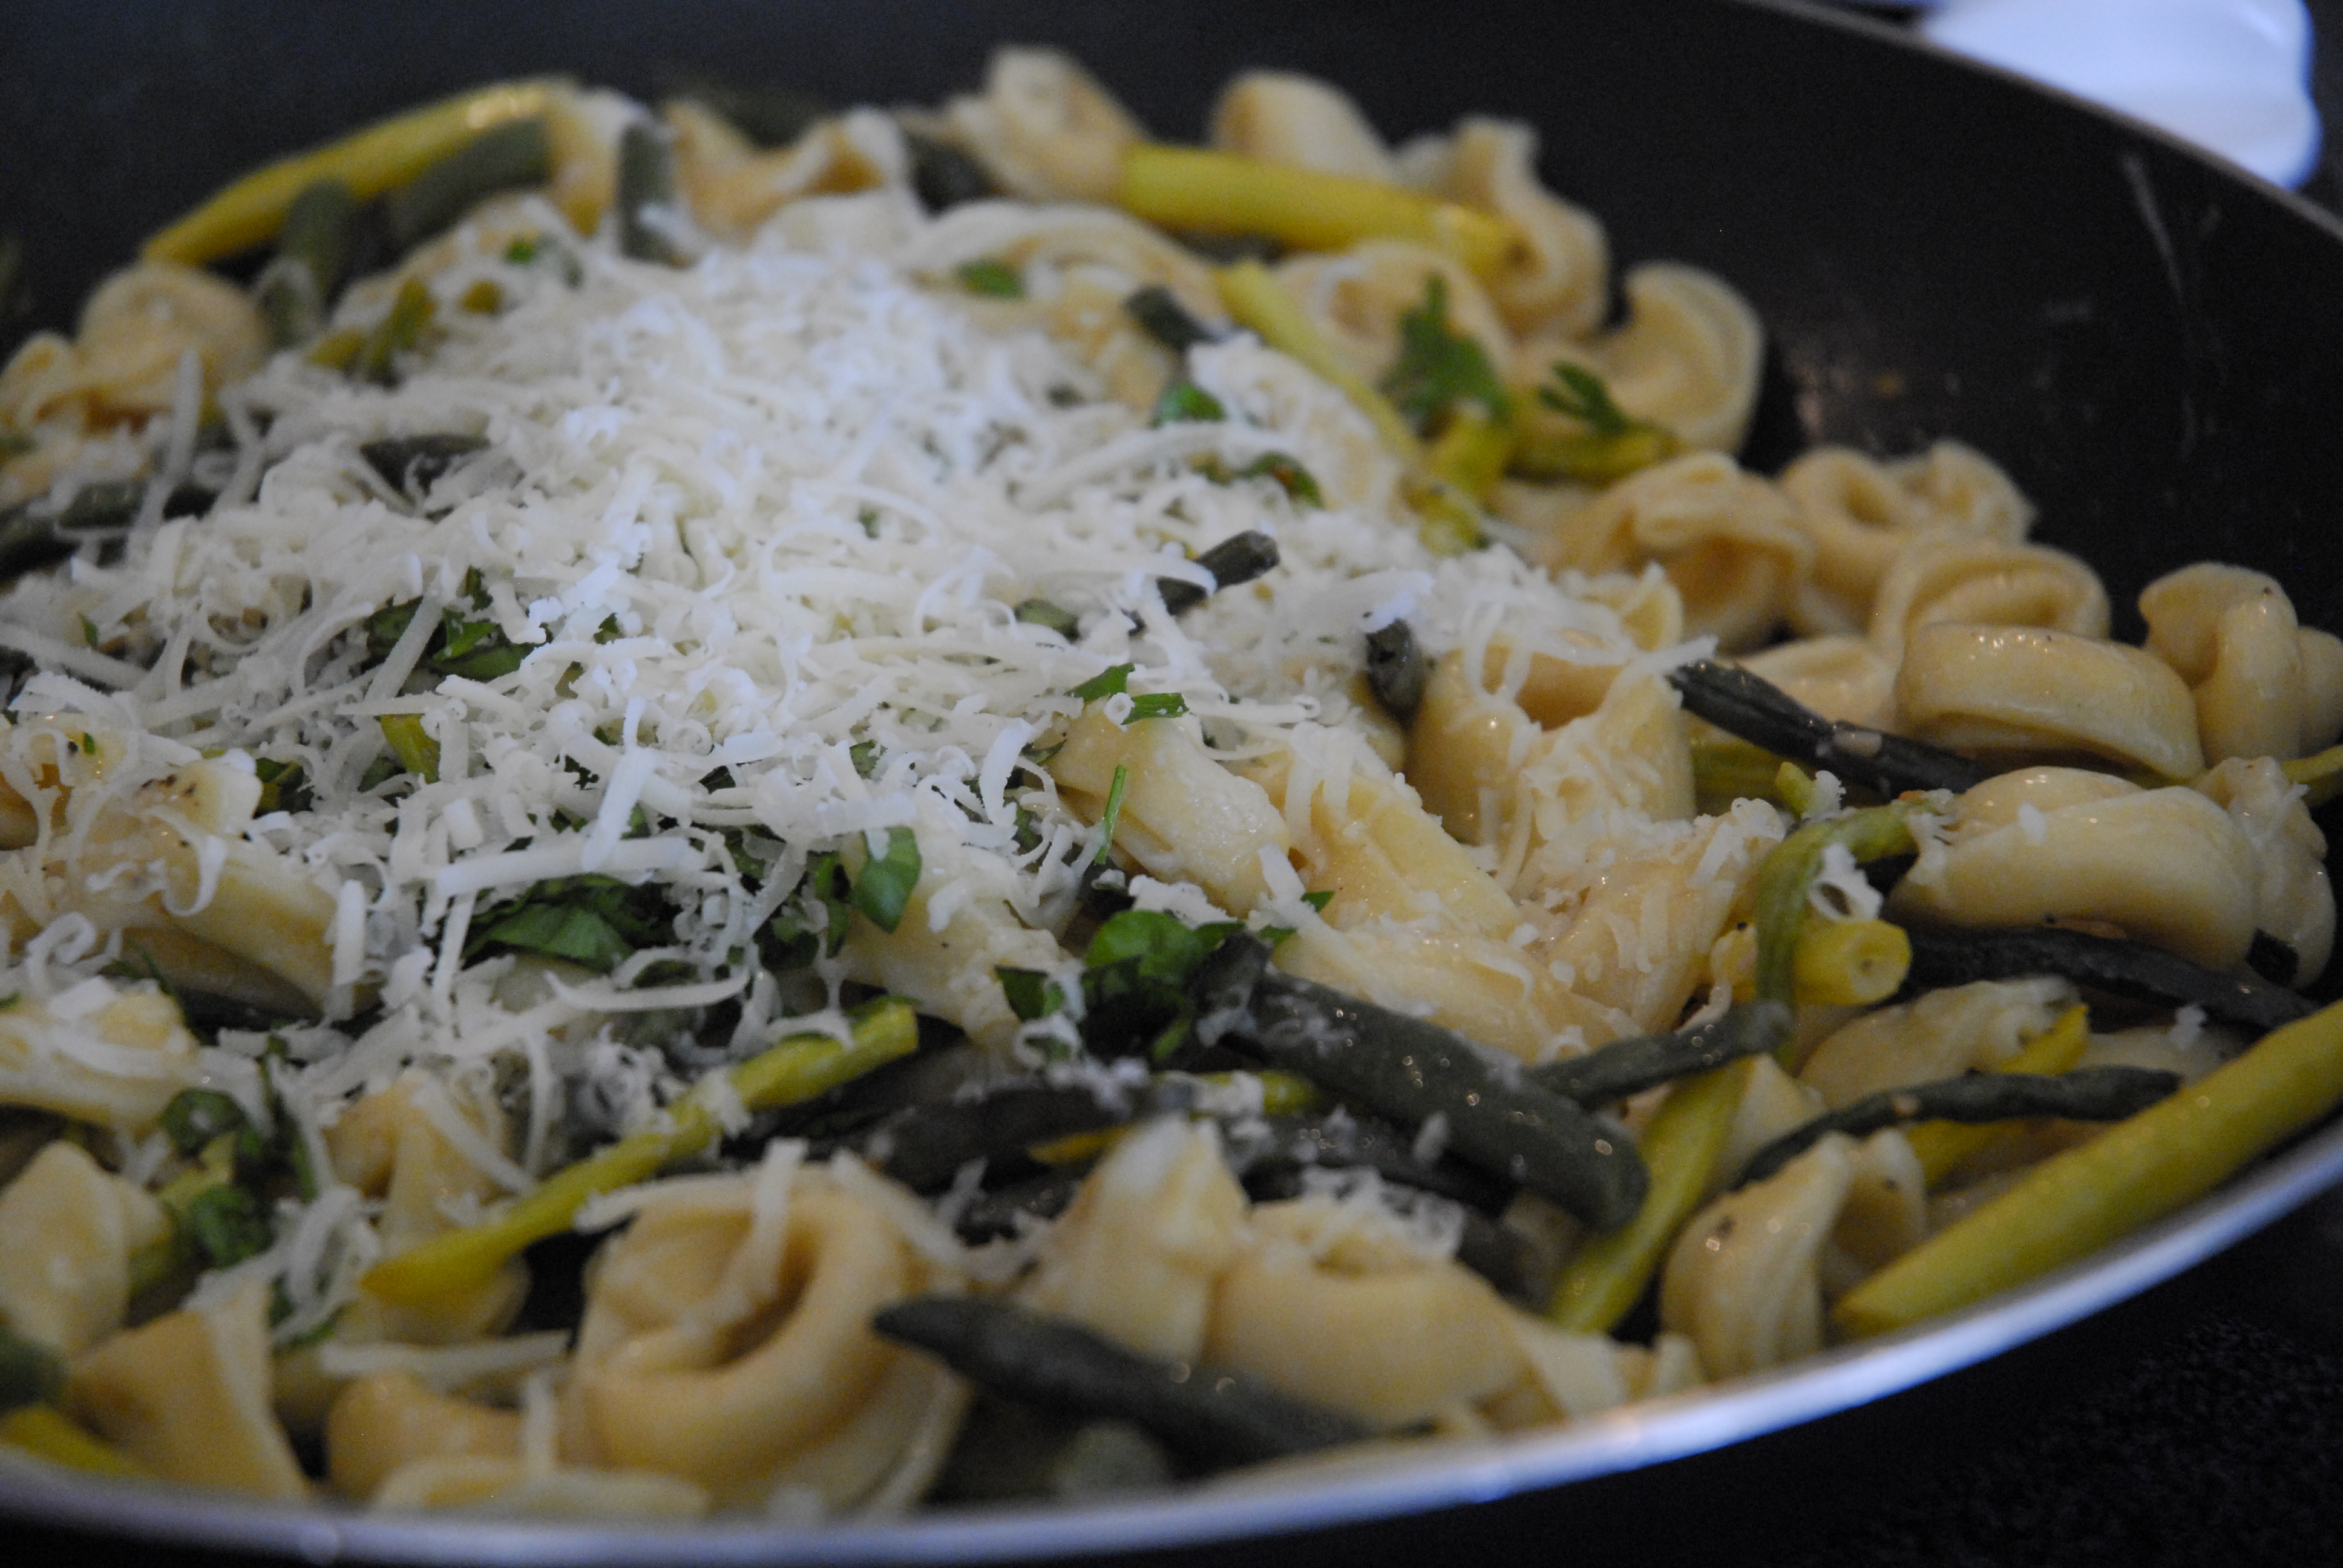
Enjoy!


Brown Butter Tortellini with Toasted Garlic and Green Beans
1 lb. cheese tortellini
6 T butter
8 ounces of fresh green beans, cut into segments
2 cloves garlic, finely chopped
Salt and pepper
1 T fresh basil
1 T fresh parsley
Grated Parmesan
Cook the tortellini according to the package directions. Drain. Meanwhile, melt the butter in a large skillet over medium heat. Add the green beans and garlic, season with salt and pepper and cook, tossing occasionally, for about 3 minutes or until the green beans start to soften. Increase the heat to medium-high and continue cooking and tossing, until the butter turns golden brown, about 2 minutes. Add the cooked tortellini and toss again and then add the fresh basil and parsley and freshly grated Parmesan cheese and give it one more good stir before serving. Enjoy!
tags: main dish, dinner, pasta, tortellini, green beans, garlic, butter, herbs, Parmesan cheese