Pasta with Roasted Butternut Squash, Goat Cheese and Bacon

My Daughter and I Pasta with Roasted Butternut Squash, Goat Cheese and Bacon

We love pasta around this house, but having been on an eating challenge for six weeks, we didn’t eat it for awhile. I mostly enjoyed my new way of eating, but this recipe was one that I was anxious to try once I was off my challenge. In fact, we made it the first day back from our challenge! It was delicious and creamy and very flavorful.

My Daughter and I Pasta with Roasted Butternut Squash, Goat Cheese, and Bacon 1

Pasta with Roasted Butternut Squash, Goat Cheese and Bacon

Ingredients
3-4 lb butternut squash, peeled, seeded and cut into ¾” cubes
1 red onion, cut into ½” cubes
3-4 tablespoons of olive oil
salt & pepper to taste
1 lb of pasta, we used rigatoni
8 to 10 oz. of goat cheese, crumbled
5 strips of bacon, diced and cooked to crispy
salt & pepper to taste
¾ cup of reserved pasta water

Instructions
Preheat oven to 425.
Spread out butternut squash and red onion on a baking sheet. Season with olive oil, salt, pepper. Toss to coat and spread out on baking sheet so it is in a single layer.

Bake for 40-45 minutes, until vegetables are tender.

In the meantime, heat a skillet to medium high heat. Add diced bacon and cook until crispy, stirring occasionally. {about 4-5 minutes}
Remove bacon from the pan and place on a plate lining with paper towel to soak up some of the grease.

Bring a large pot of water to boiling, add pasta to the boiling water and cook until al dente {follow directions on the back of the box, usually 8-10 minutes}

Once pasta is done, reserve ¾ cup of the cooking water and set aside. Drain the rest of the water.

Add goat cheese and pasta water to pasta pot and allow the goat cheese to melt completely. Add the pasta and toss to completely coat the pasta and then add in the butternut squash, onions, and bacon and mix gently again. Season with salt & pepper to taste.

Adapted slightly from http://www.joyfulhealthyeats.com


Cindy 

Advertisement

Flourless Almond Butter Chocolate Chip Cookies {gluten free!}

My Daughter and I Flourless Almond Butter Chocolate Chip Cookies 1

Jordan made these cookies the other day and we both thought they were great. They aren’t the prettiest cookies ever, but they were tasty and super simple to make. No butter, no flour, whipped up in one bowl in about five minutes! Why wouldn’t you give them a try?

My Daughter and I Flourless Almond Butter Chocolate Chip Cookies

Flourless Almond Butter Chocolate Chip Cookies {gluten free!}

Ingredients:
1 large egg

1 cup almond butter, we used crunchy, unsalted from Trader Joe’s

1/2 cup light brown sugar, lightly packed

1 tsp baking soda

2 tsp. vanilla

3/4 cup dark chocolate chips or mini semisweet chips

Instructions:
Preheat oven to 350F
Crack the egg into a medium bowl and beat it lightly. Add in the almond butter, vanilla, baking soda, and sugar and mix everything together well. Fold in the chocolate chips.

Scoop the dough onto a parchment or silpat lined baking sheet. I use a (1 3/4 inch) scoop, but you can use a tablespoon. Space the cookies well apart, and flatten them slightly with the back of a spoon.

Bake for 8 to 10 minutes. Don’t overbake these, the cookies will look underdone, but they will firm up as they cool.

Let them cool for a couple of minutes on the baking sheet, then transfer them carefully to a cooling rack.

Because we used a crunchy almond butter the cookies had a definite “healthy” look to them. I loved the extra texture, but if you’d prefer a little less texture, I would recommend using a smooth almond butter.

Recipe found on http://www.theviewfromgreatisland.com


Cindy & Jordan

Chicken Sausage Kebabs + Roasted Cauliflower

My Daughter and I- Chicken Sausage Kebabs + Roasted Cauliflower

So I mentioned awhile back that we were eating a bit differently lately. While I feel like I’m mostly healthy eater, I enjoy pizza, pasta and bread often! And don’t even get me started on beer!

The gym where Jordan and I work out offers these weight loss challenges on a regular basis and even though I’ve worked out there for almost three years, I’ve never taken part in one – until now. However, I didn’t do it to lose a bunch of weight. I did it to see if I could actually do it, and also to try something new with my eating. I went through a difficult period of time where I was bedridden due to chronic pain issues. After months on pain meds and more tests and doctor appointments then I care to recall, I was still in pain and my liver was damaged due to the meds. After months of pain, tests and meds; one doctor suggested that I might have an autoimmune disease. By then I was so over doctors and I decided to do something different. I started moving more – moving even though I was in agony, and you know what? It worked! I’m off all meds and feeling really well. I remember about four years ago going to my first stand up paddle board class and crying because I was able to do it. It was such a turning point for me. I started walking slowly around our house, and then eventually adding more distance and speed and after almost a year of that I got up the nerve to join a boot camp for one month on a Groupon. I was weak and so afraid to get hurt, but I kept going. It’s been the best thing for me. I love it and I feel like it has made such a huge difference in my overall health.

Over the past several months I have really increased my training. I still go to boot camp four mornings a week but I started incorporating yoga once or twice a week along with some serious hikes. Jordan and I are heading out on the JMT in July and I needed to get trail ready. We did a portion of the JMT last summer, but our goal this year is to do the whole thing. So I needed to get myself ready. One of the ways I am doing it it is by eating as healthy as I possibly can – fueling my body well for all the hard workouts. We cut all processed sugar, flour, grains, pasta, beans etc. I was a little worried if I’d be able to do it, but it was easier than I thought and the results have been amazing. I feel so much better. I don’t have the stomach aches that I had before, my energy level is higher and I’m drinking less coffee. My pain levels are much lower too. The six week challenge ends this week, but I plan to keep up a lot of the dietary changes. I will still eat pasta, bread and pizza – but just not as often as I did before the challenge.

DSC_0455

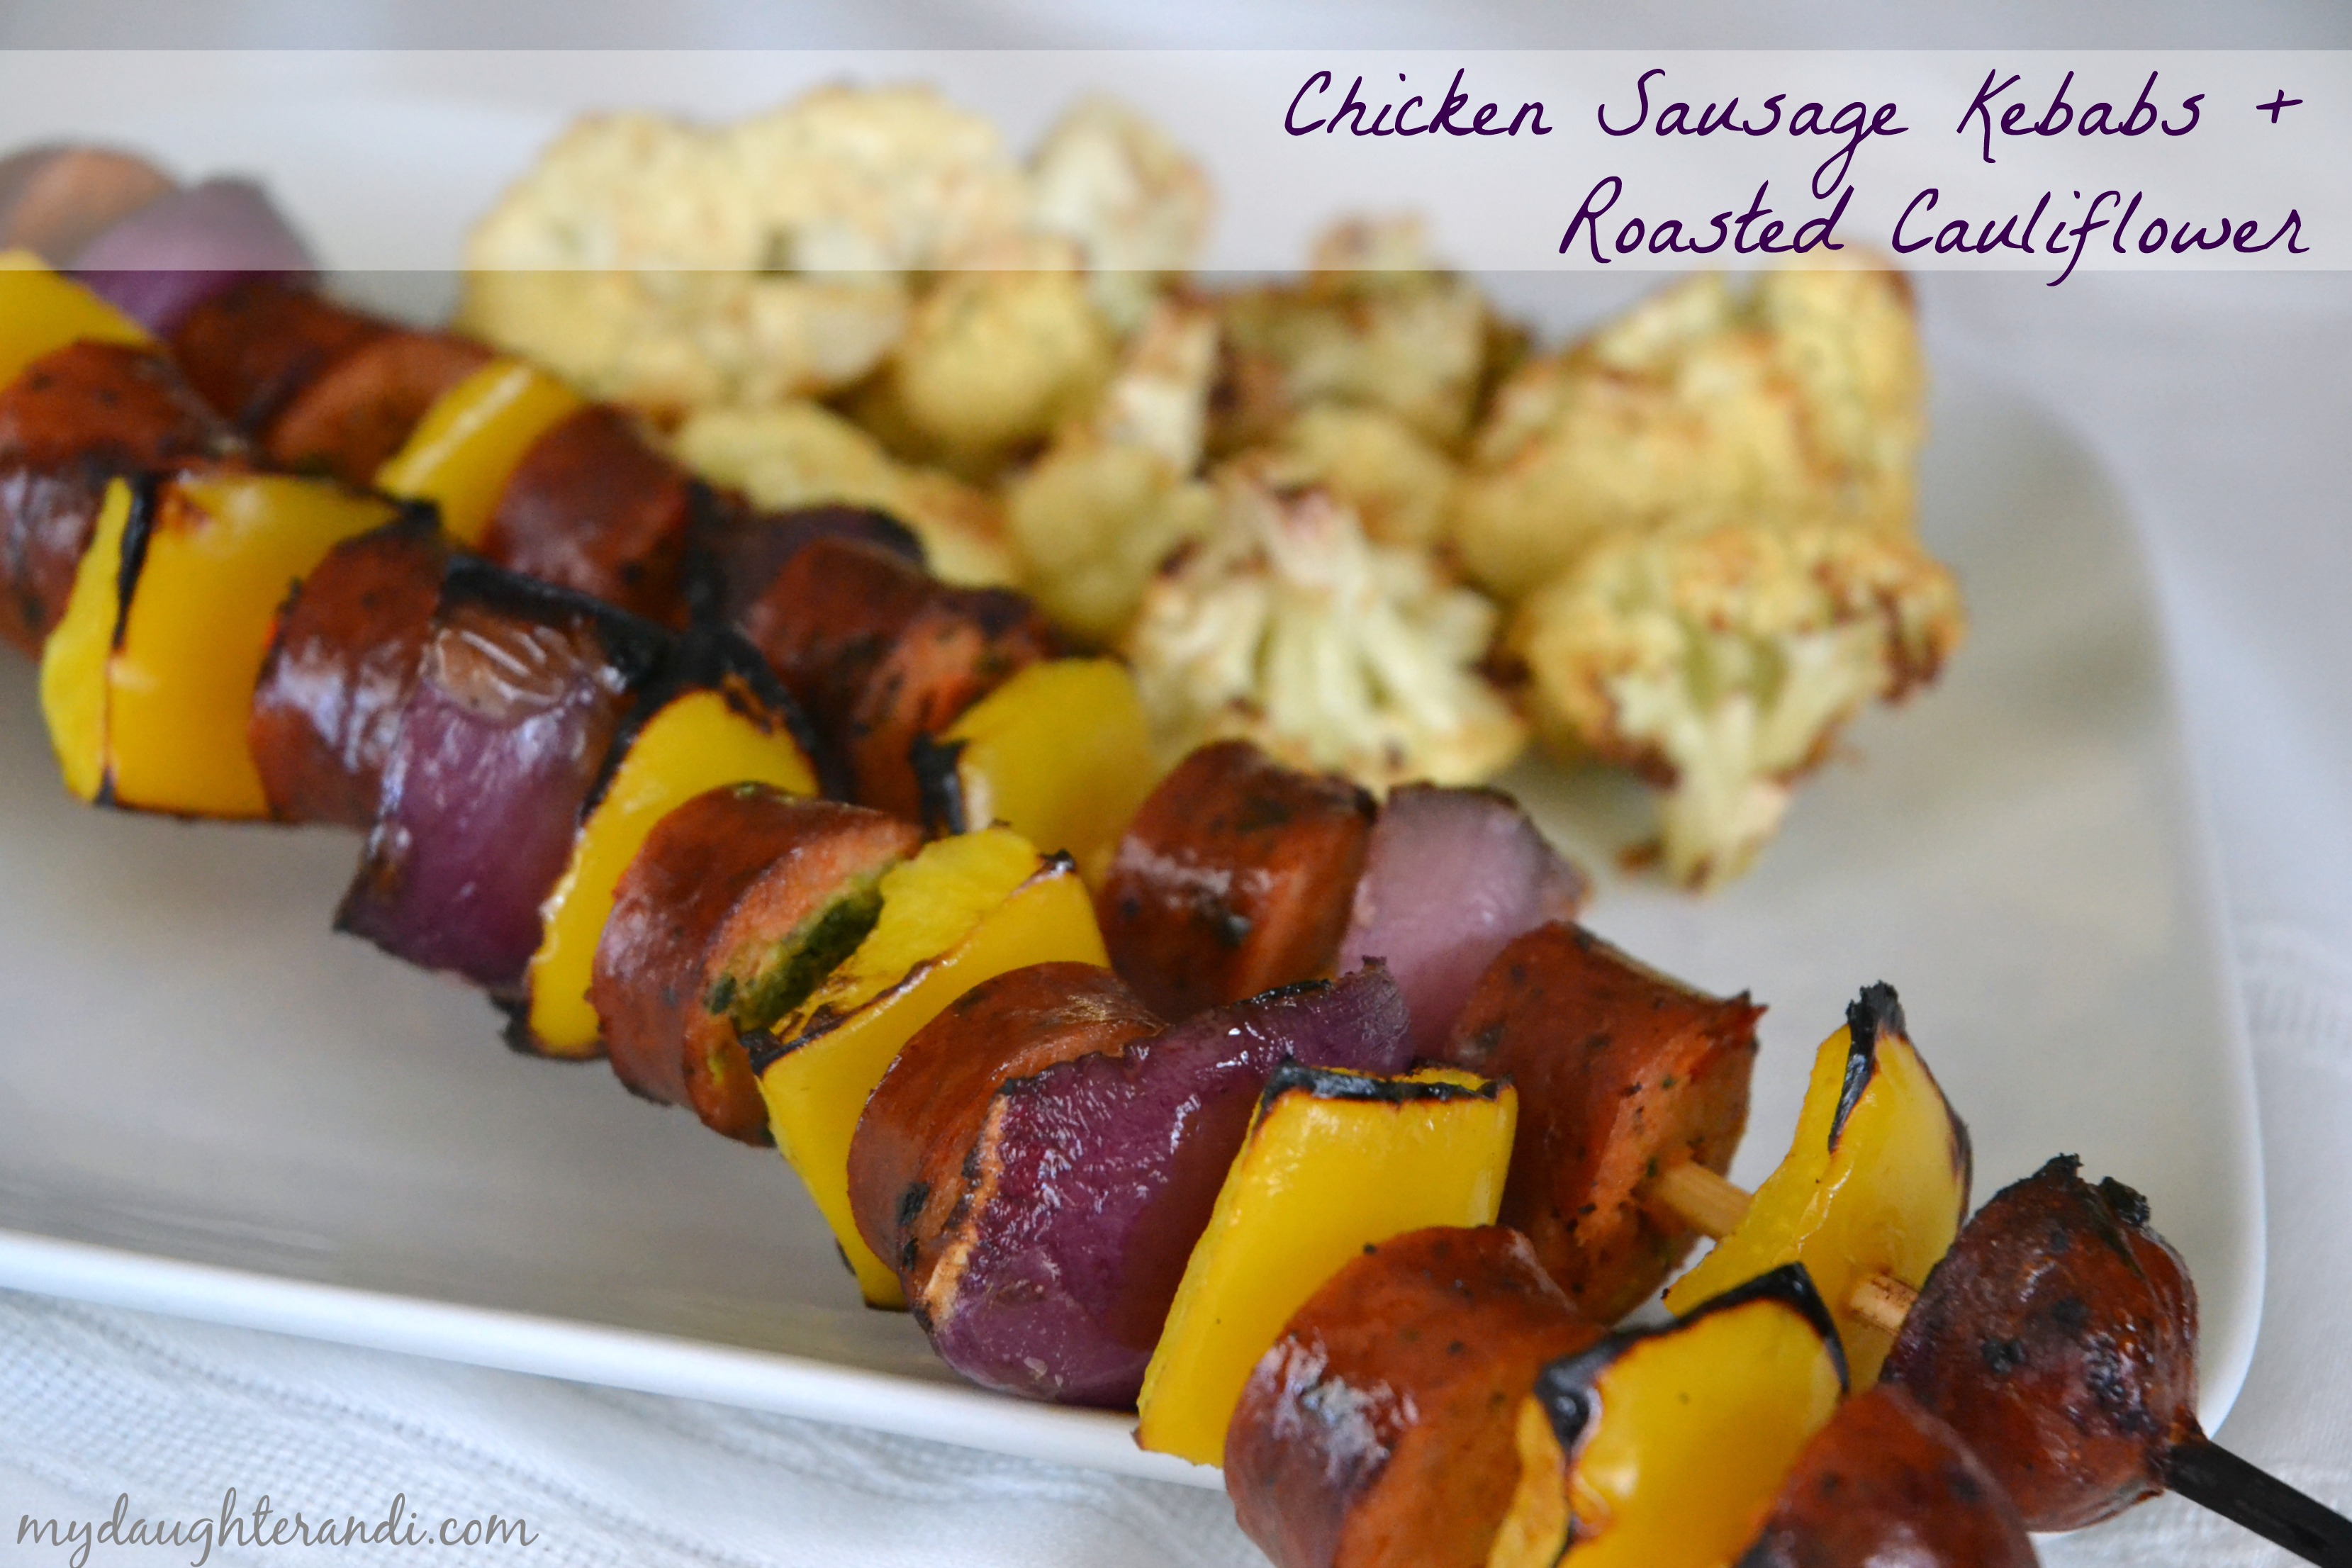
So with all of that said – here is a recipe I made the other day to go along with our new way of eating. We roast a lot of veggies, eat a lot of salads and grill fish and chicken. But I got it in my brain that I wanted to make kebabs but with sausage pieces. I found some amazing and delicious chicken sausages at Costco that were organic, gluten free and nitrite free. They were flavored with spinach and red peppers and were delicious.

Chicken Sausage Kebabs
1 bell pepper (any color), cut into 1″ pieces
1 red onion, cut into large pieces
1 package sausage of your choice

Thread the chicken, peppers, and onions onto water soaked wooden skewers. Spray lightly with olive oil or coconut oil spray and grill until everything is heated and has a bit of grill marks on it.

You can add any veggies you like such as squash, mushrooms etc. Because the sausage is precooked, this meal just takes minutes to heat on the grill.

Roasted Cauliflower

You can make this recipe with almost any veggie – it is definitely a favorite around here. I have made a yummy combination of cauliflower and broccoli before and we also follow this basic recipe when roasting asparagus, Brussels sprouts and even butternut squash.

I started the cauliflower first and got it roasting so everything would be ready at the same time.

1 head cauliflower, cut into chunks.
Minced garlic
Olive oil
Salt and pepper
Creole seasoning
Parmesan cheese

Preheat over to 425* and put the oven rack on the upper third of the oven. Line a baking sheet with foil. Put washed, cut veggies on tray. Drizzle with olive oil and then sprinkle on the garlic, seasonings of your choice, grated Parmesan cheese. Toss to cover and stick into a preheated oven. Stir veggies after about 10 minutes and keep checking on them. You want them to brown up a bit – but don’t over cook them. I usually cook mine for about 20 minutes.


Cindy

Apple Blondies with Cinnamon Almond Streusel

My Daughter and I- Apple Blondies with Cinnamon Streusel

I have to admit, I haven’t been baking quite as much lately. I’ve been changing up my eating a bit which has taken more time than I anticipated. When I do bake, I’ve been going to my regular, tried and true recipes. But the other day I decided to try something new. I had this recipe bookmarked on my computer for months and I finally made it. The bars were delicious. I followed the recipe exactly and then scrolled to the bottom to find different instructions if you live under 3500 feet in elevation. What?! Too late for me. The recipe turned out fine without the adjustments, but the bars took a bit longer to cook than listed on the recipe. I went ahead and made adjustments to the recipe here to make it as simple as possible.

My Daughter and I- Apple Blondies with Cinnamon Streusel 3

I love baking with apples. We have several apple recipes that we bake on a regular basis. One of my all time favorite is this apple cake recipe but I think these apple blondies could end up being a favorite too. I followed the instructions to spray the pan and then line it with parchment paper. I’m not sure why you would spray it and then line it – so do whatever you think is best. It was nice to remove the whole pan at once and the bars cut really well. This is a great recipe and is a little unique. Enjoy!

My Daughter and I- Apple Blondies with Cinnamon Streusel 1

Apple Blondies with Cinnamon Almond Streusel

1 1/2 cup all-purpose flour

1 teaspoon baking powder

1 teaspoon ground cinnamon

½ teaspoon cream of tartar

¼ teaspoon salt

1½ cups packed light brown sugar

¾ cup salted butter, at room temperature

2 large eggs

2 teaspoon vanilla

1 cup diced apples, peeled

¼ cup chopped almonds


For the strudel:

6 tablespoons salted butter, chilled and cut into small dice

⅔ cup all-purpose flour

½ cup sugar

¼ cup chopped almonds

1 teaspoon ground cinnamon


  1. Preheat the oven to 350 degrees F.
  2. Spray an 8 X 8 inch pan (or 9 X 9 inch) with non-stick spray then layer with parchment paper so it hangs over at least two edges of the pan and fits tightly into the corners.
  3. Whisk the flour baking powder, cinnamon, cream of tartar and salt in a medium size bowl and set aside.
  4. Beat the brown sugar and butter in the bowl of a stand mixer. Add the eggs and vanilla and mix until well combined. Add the dry ingredients and mix until incorporated. Add the apple and nuts and mix on low for 2-3 turns. Spread the batter in the prepared pan.
  5. Add all of the ingredients for the strudel to the bowl of a food processor and pulse to mix. Sprinkle evenly over the top of the batter.
  6. Bake for 40-50 minutes or until the top is lightly golden and a toothpick inserted into the center of the pan comes out clean. Allow to cool completely then pull out of the pan by holding onto the parchment overlap. For extra clean cuts, use a large knife or pizza cutter.
  7. Original recipe from Foodie Crush

Fashion Friday- Themes

As I was looking through my fashion board on Pinterest, I noticed some definite themes, and I thought it would be fun to share a couple of the styles I’ve been loving lately.

Pleated Skirts

My Daughter and I- Fashion Friday- Inspiration- Pleated Skirts


I bought a green pleated midi skirt at a resale store for last year’s Halloween costume. It turned out that I love wearing the skirt normally, so that purchase was a total win-win. I’m loving how these gals styled their pleated skirts- they look cute and a bit fancy.

Blue & White

My Daughter and I- Fashion Friday- Inspiration- blue & white

Blue and white is just a timeless combination.

Crochet & Lace

My Daughter and I- Fashion Friday- Inspiration- Crochet and Lace


Crochet and lace are always a favorite, but they seem especially springy and fun right now.

Black & White

My Daughter and I- Fashion Friday- Inspiration- Black & White


Another timeless combination. Maybe it’s just me, but wearing just black and white seems to make any outfit elegant.

Polka Dots & Stripes

My Daughter and I- Fashion Friday- Inspiration- polka dots & stripes


Polka dots and stripes forever. Seriously, what’s better than a great striped shirt or a cute polka dotted skirt? Nothing, in my opinion 🙂


That’s it! Hope you have an amazing weekend!

Jordan